Logging In to RUCKUS IoT Controller
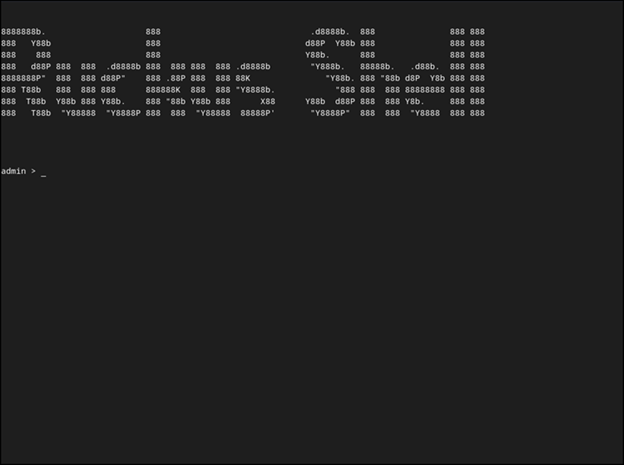
- Log in to the console of the RUCKUS IoT Controller using the username "admin" and password "admin".
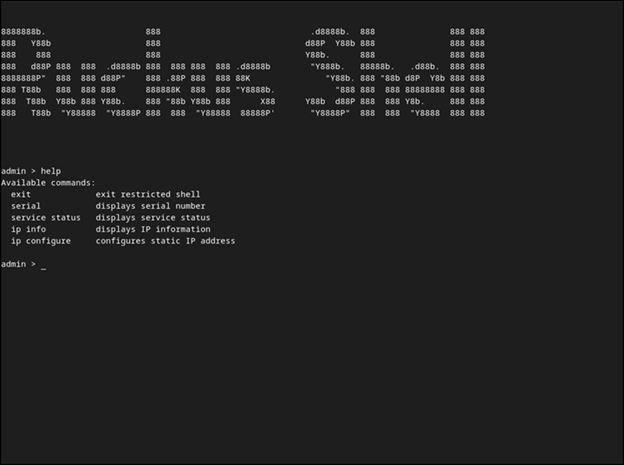
- Enter help at the admin prompt to view the list of available commands.
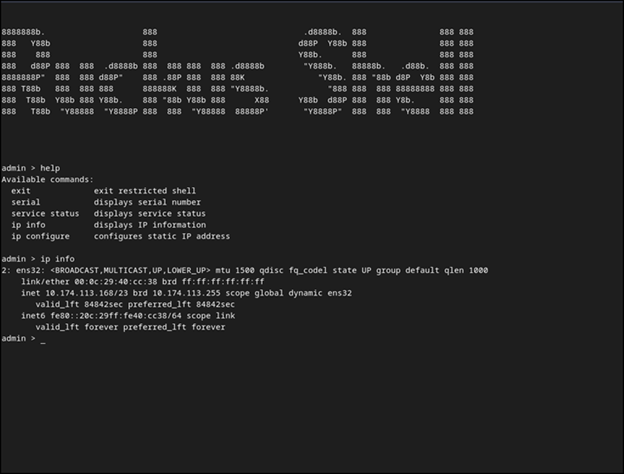
- Enter ip info at the admin prompt to get the IP address of the virtual machine.
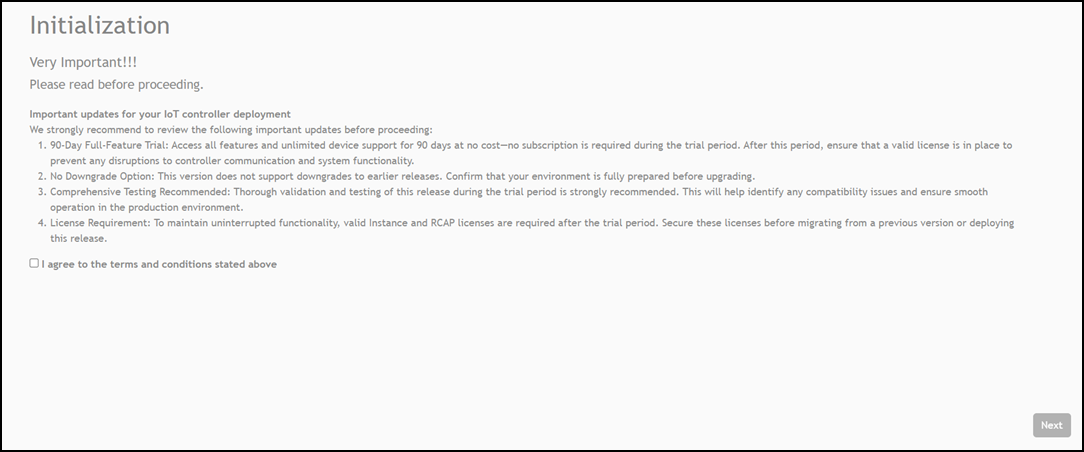
- Open a web browser, enter the IP
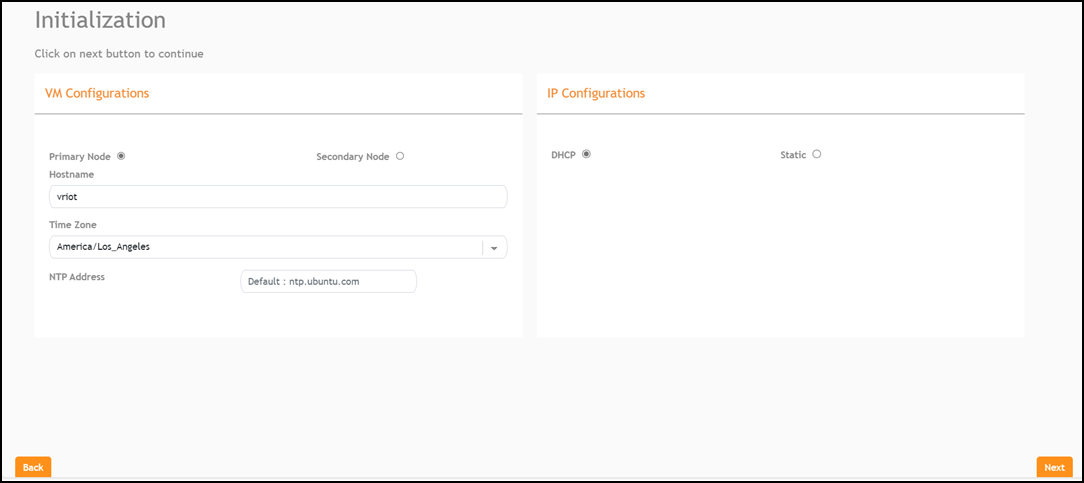
address in the address bar, and press Enter.The Initialization page is displayed.
- Select Primary Node to configure the controller as standalone or select Secondary Node to add the controller to the HA cluster. Enter the Hostname, Time Zone, and select the IP Configuration (DHCP or Static), and click Next.
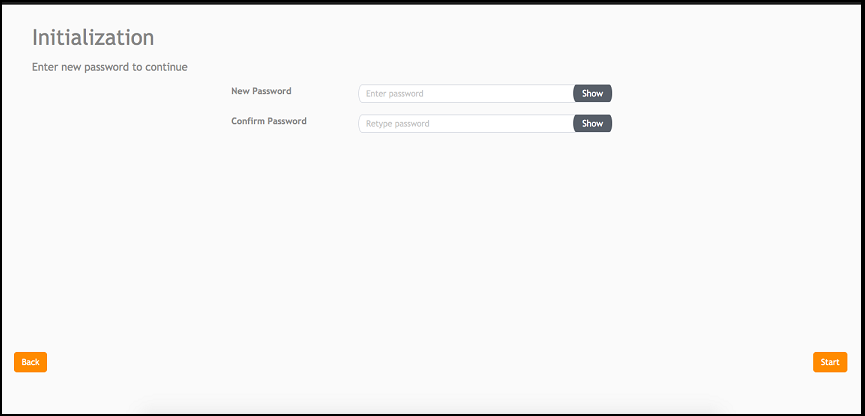
- Enter the RUCKUS IoT Controller password in the New Password field. Re-enter the password in the Confirm Password field. The password must be a least eight characters in length and contain one uppercase letter, one lowercase letter, one digit, and one special character. Click Start.
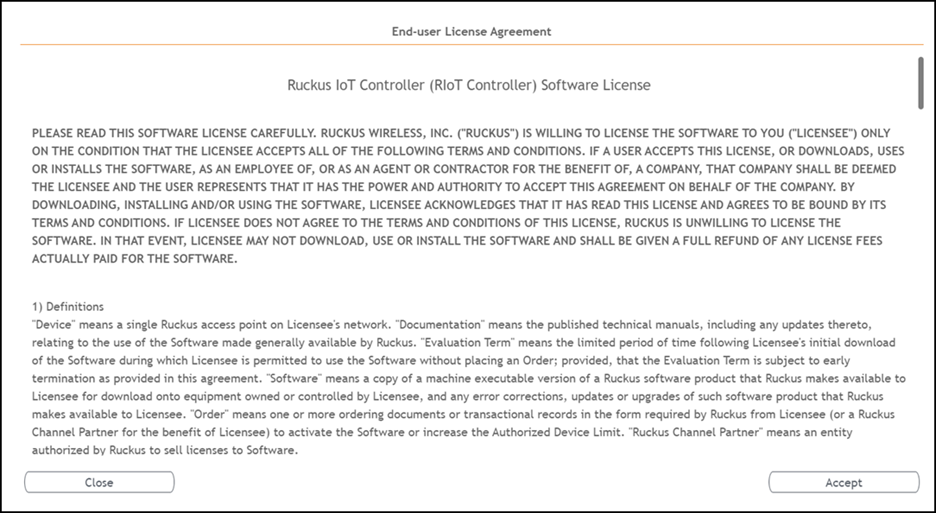
- On the End-user License Agreement page, click Accept to accept the RUCKUS IoT Controller license.