Adding a DPSK Network
You have a add a DPSK network for the DPSK
users.
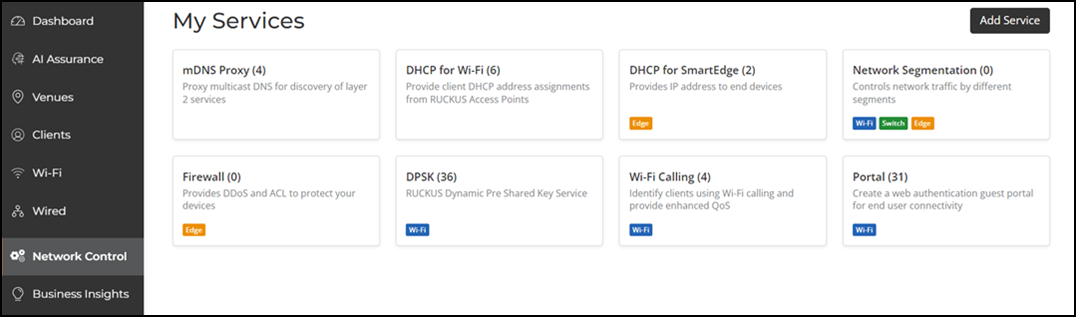
- On the navigation bar, click .
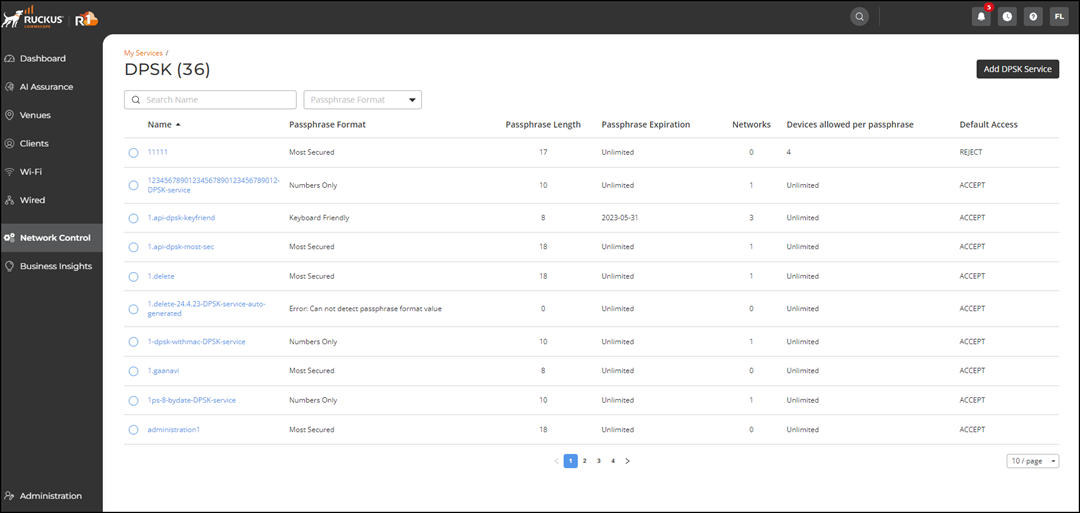
- Select DPSK .
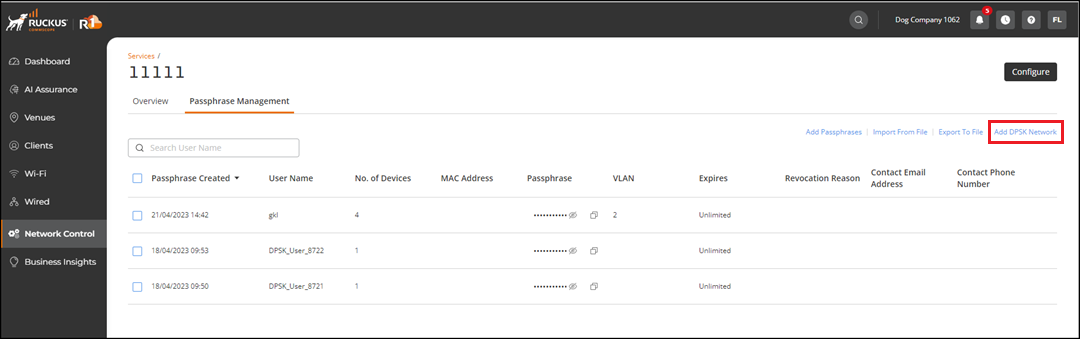
- Click the DPSK name. The Services window is displayed with the Overview and Passphrase Management tabs.
- Click the Passphrase Management tab.
- In the upper-right corner of the Passphrase Management tab, click Add DPSK Network.
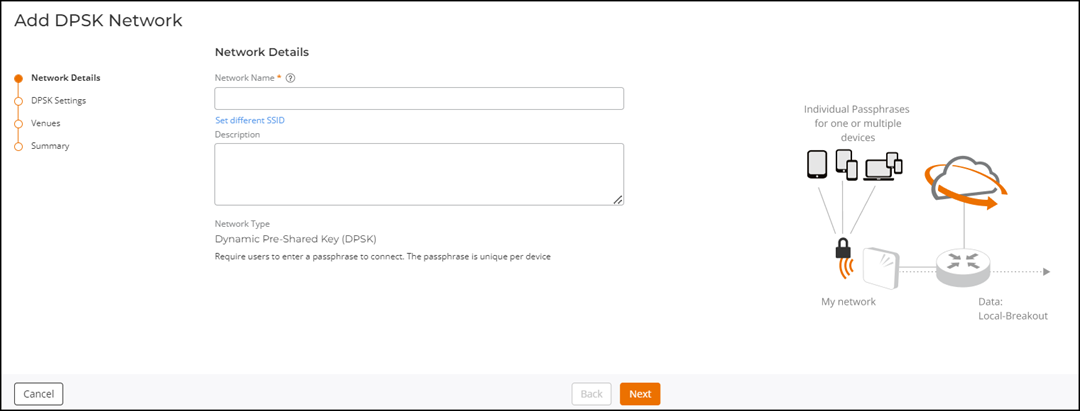
- In the Network Details page, complete the following steps.
- In the DPSK
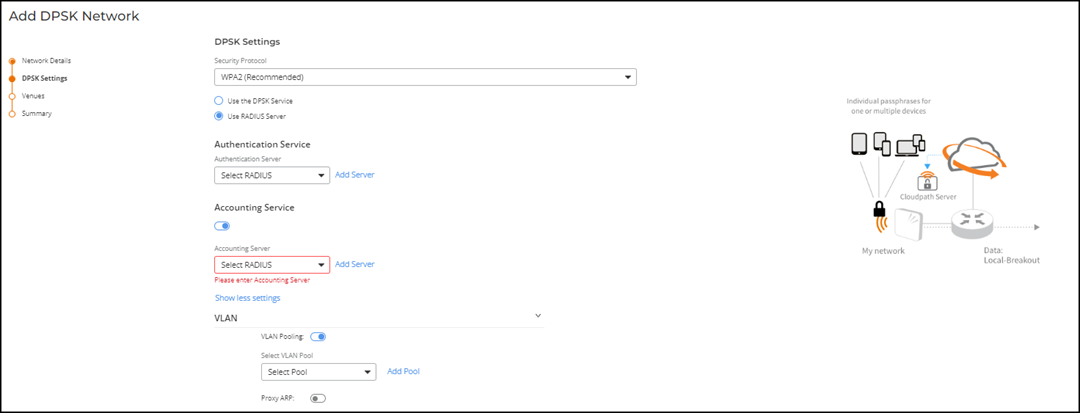
Settings page, complete the following steps.
- (Optional) Select the security protocol.
- (Optional) Choose one of the following
options:
- Use the DPSK
Service
- Under DPSK Service, select a DPSK service from the list or click Add DPSK Service. Refer to Adding a DPSK Service.
- Use RADIUS
Server
- Under Authentication Service, select
the authentication RADIUS server from the list or click
Add Server.
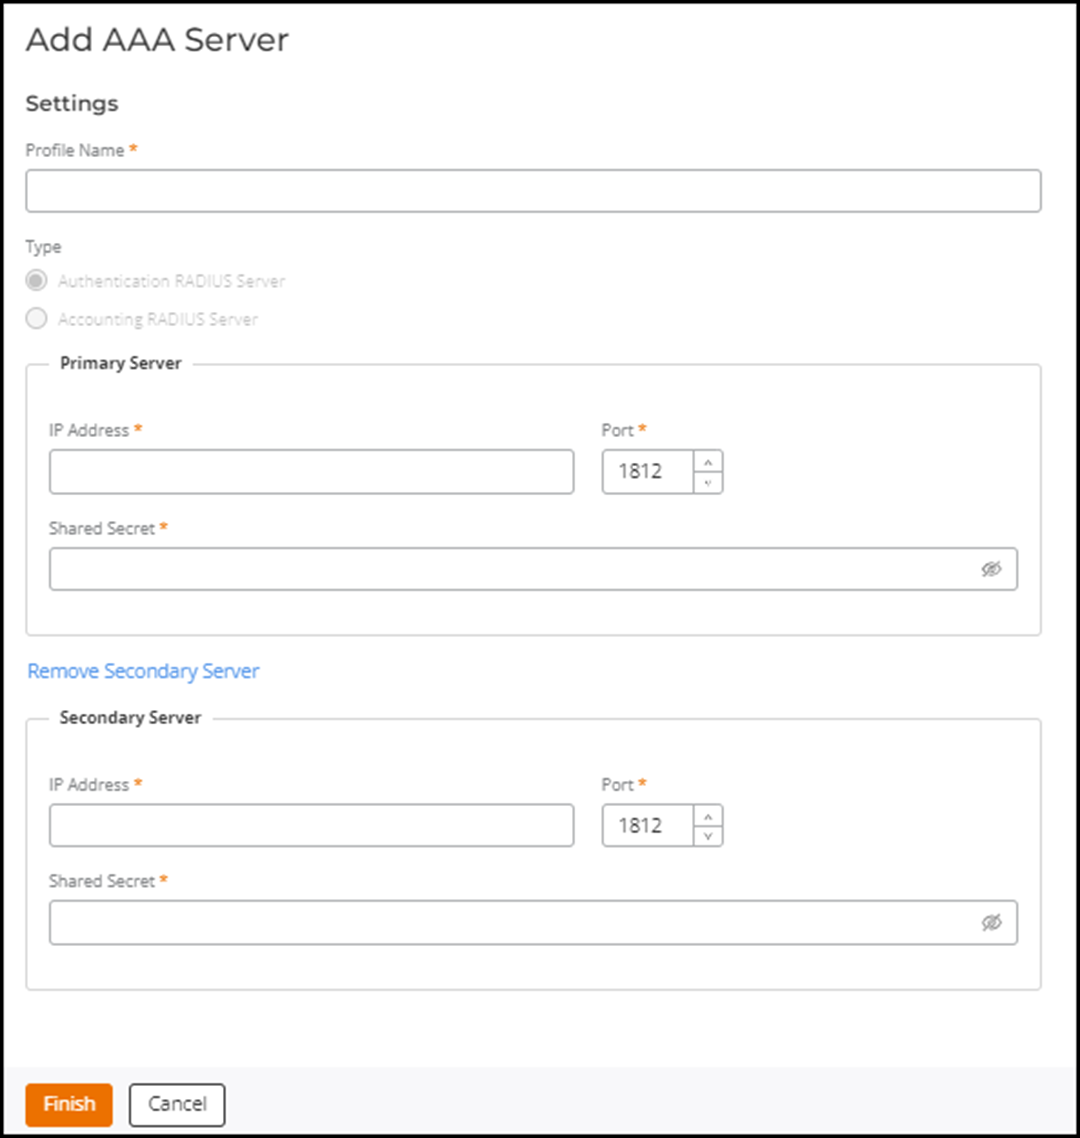
The Add AAA Server window is displayed. Enter the profile name, primary server, and secondary server details and click Finish.
Note: You should add the secondary server only if you have a secondary authentication RADIUS server. The default port is 1812 for the primary and secondory authentication RADIUS servers.
- Under Authentication Service, select
the authentication RADIUS server from the list or click
Add Server.
- Use the DPSK
Service
- Select the Accounting Service toggle and select
the accounting RADIUS server or click Add
Server.
In the Add AAA Server window, enter the profile name, primary server, and secondary server details and click Finish.
Note: You should add the secondary server only if you have a secondary accounting RADIUS server. The default port is 1813 for primary and secondory accounting RADIUS servers. - (Optional) Under VLAN, select the VLAN Pooling toggle.
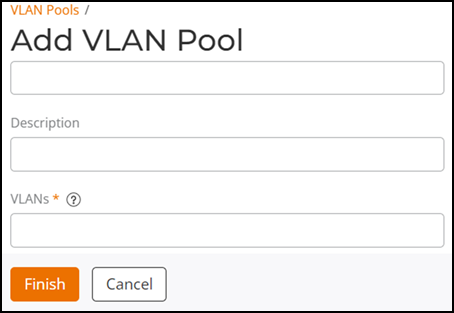
- Select the VLAN pool from the list or click Add Pool to add a VLAN pool.
- In the Add VLAN Pool window, enter a policy name, description (optional), and VLAN value and click Finish to save the settings.
- (Optional) Select the Proxy ARP toggle to use proxy ARP.
- Under Services, complete the following settings as
per your requirements:
- Select DNS Proxy. In the DNS Proxy window, click Add Rule and enter domain name and IP address. Click Add to add another DNS proxy and click Save to save the settings.
- Select Wi-Fi Calling. Click Select Profiles to select the Wi-Fi calling profiles and click Save to save the settings.
- Under Client Isolation, select the appropriate options: Select Isolate Packets, Automatic support for VRRP/HSRP, and Client Isolation Allowlist by Venue as per your requirement.
- Select Anti-spoofing. Select the check boxes next to options ARP request rate limit and DHCP request rate limit. (The ARP and DHCP requrest rate limit are selected by Default with 15 ppm.)
- Select the check boxes next to Force DHCP and Enable logging client data to external syslog.
- Under Radio, complete the following settings as per your requirements:
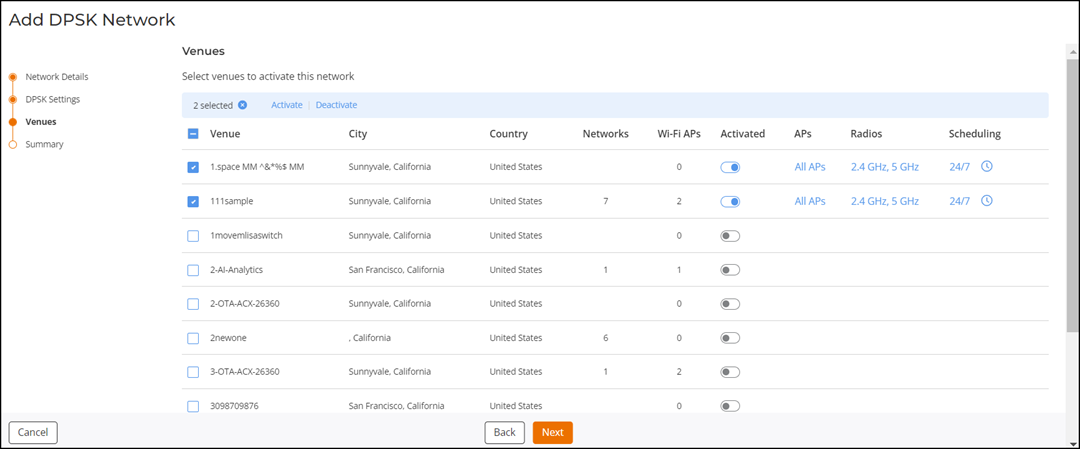
- In the Venues page, select the venues to activate the DPSK network and click Activate.
- Click Next.
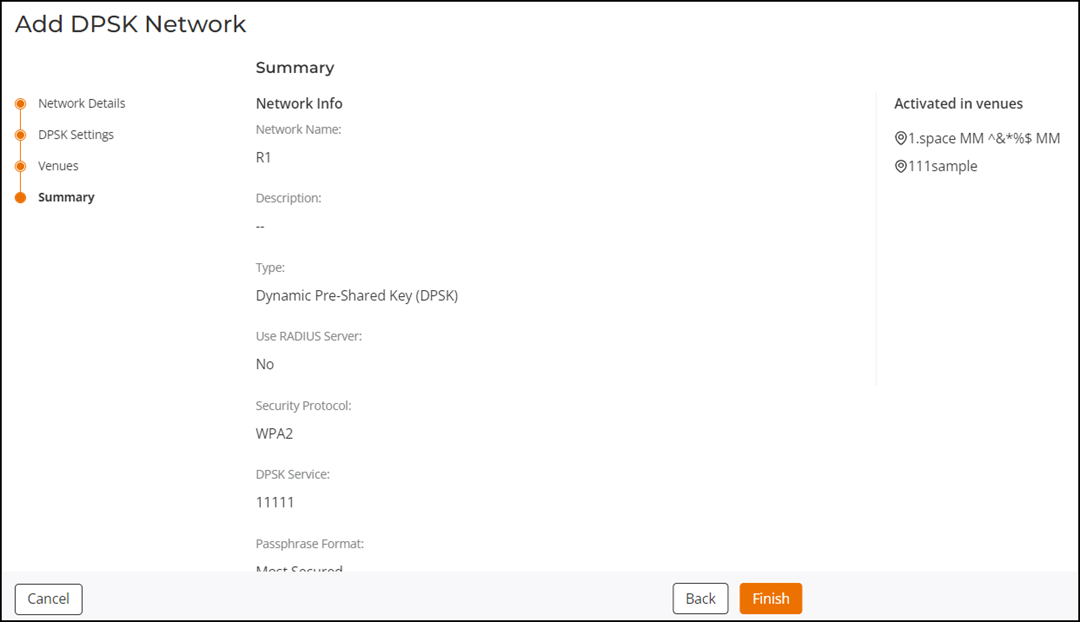
- In the Summary page, check all the settings. If you wish to changes any settings, click Back to return to the previous pages.
- Click Finish to complete the DPSK network setup.