Activating and Editing the Beacon as a Service Plugin (iBeacon, Eddystone and Custom)
The
RUCKUS IoT Controller provides support for the Bluetooth Low Energy (BLE) beaconing service. An AP can
begin transmitting BLE beacons (iBeacons) that can be used by the user for various
cases, such as wayfinding and pushing.
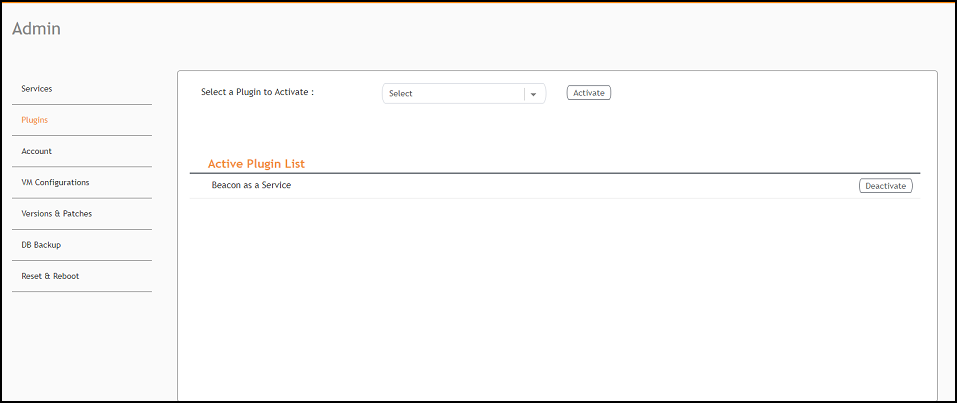
- From the main menu, click Admin.
- In the left navigation pane, click Plugins.
- In the Select a Plugin to Activate list, select the Beacon as a Service plugin and click Activate.
- After the Beacon as Service plugin is activated, enter the following configuration
parameters.
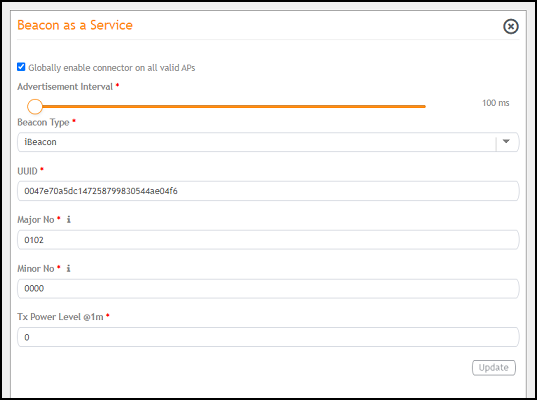
- Select Globally enable connector on all valid APs
to add all respective IoT APs automatically. Connectors are
mapped to IoT AP by adding the connector name tag to the IoT AP. Note: If Globally enable connector on all valid APs is not selected, you can activate the plugin for each AP by adding a tag. Refer to Adding Tags to an AP for more information.
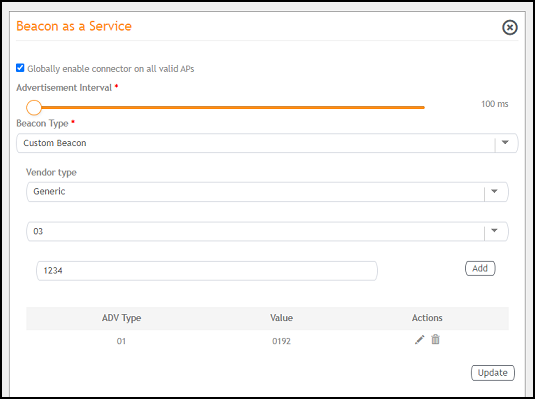
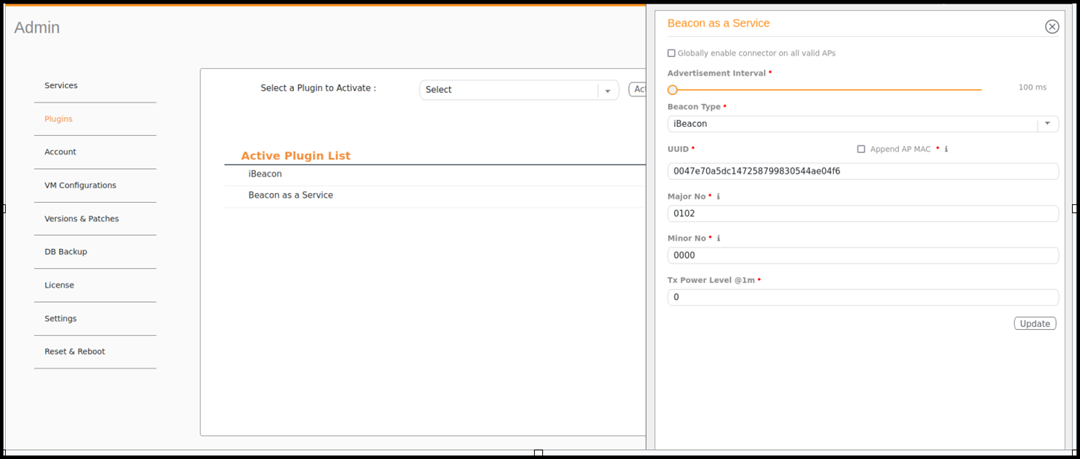
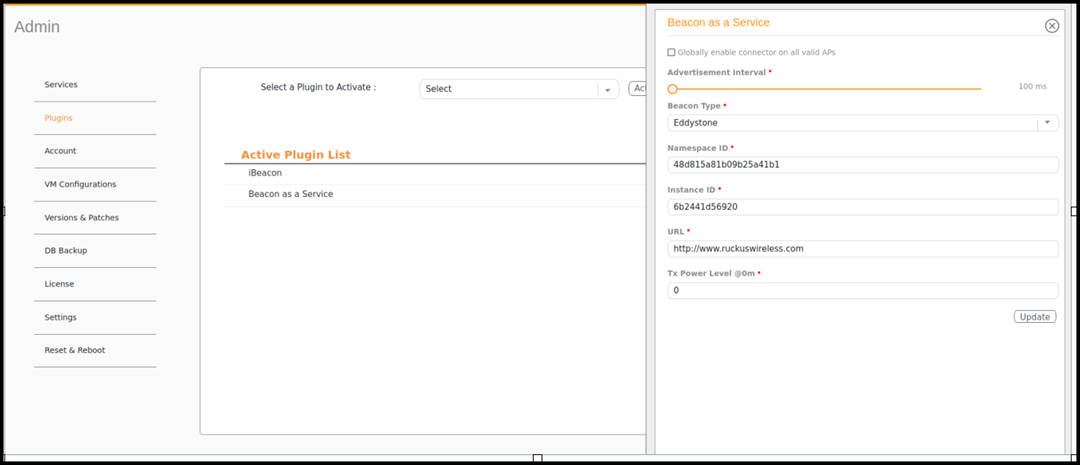
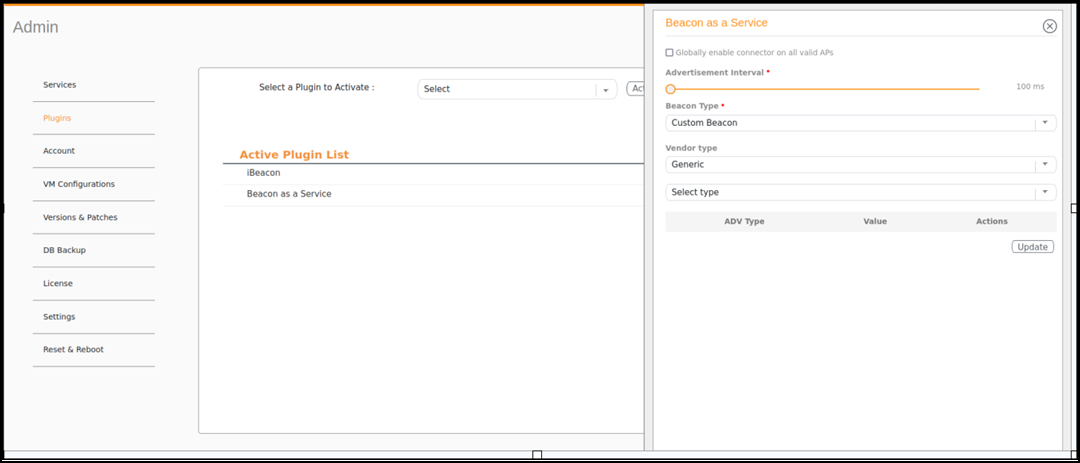
- In the Beacon Type list, select the type of beacon.
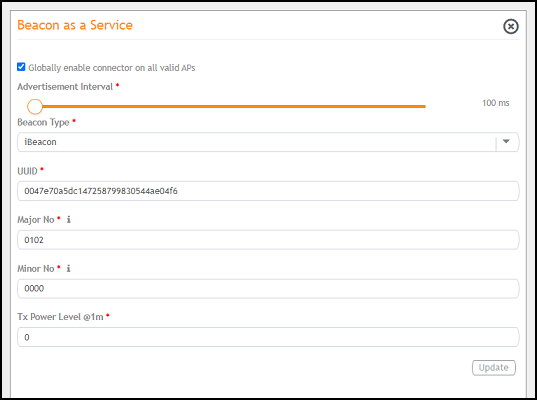
- Provide relevant values for given fields based on Beacon Type. For iBeacon, a common 32 characters UUID can be given which will be applied to all APs. If Append AP MAC is checked, Controller will append 12 characters of AP MAC at the end of 20 characters UUID, so that it will be unique for every AP data.
- For Advertisement Interval, set the time interval to send the advertisement packets. The advertisement interval ranges from 100 through 1000 milliseconds. The default interval is 100 milliseconds.
- Select Globally enable connector on all valid APs
to add all respective IoT APs automatically. Connectors are
mapped to IoT AP by adding the connector name tag to the IoT AP.
- Click Apply.
- To deactivate the Beacon as a Service plugin, select it and click Deactivate.
- To edit the configuration of the Beacon as a Service plugin, select it and click Update.