Activating and Editing the Dormakaba Plugin
Activate this plugin to manage Dormakaba
door locks. The RUCKUS IoT Controller securely routes the data
to the Ambiance Server.
To establish a connection to a partner infrastructure, the administrator must perform the following steps.
- From the main menu, click Admin.
- Click Settings. The Settings page is displayed, defaulting to the General Settings tab.
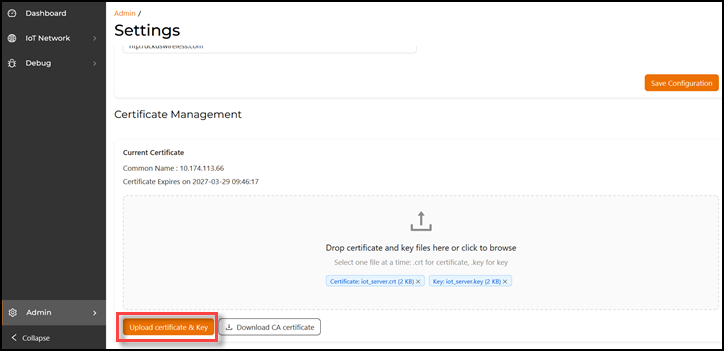
- Select the VM Configuration tab and scroll to the Certificate Management section.
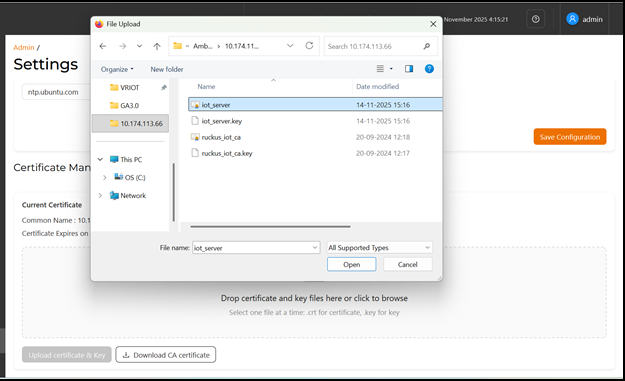
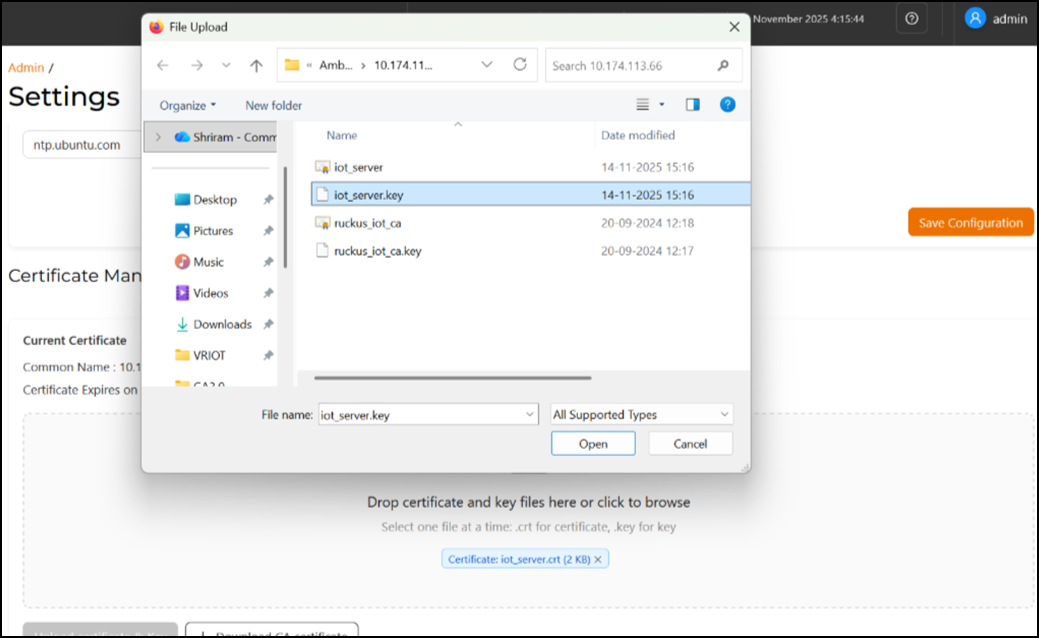
- In the Certificate Management section, under Current Certificate, upload iot_server.crt and iot_server.key one at a time.
- Click Upload Certificate & Key.
- From the main menu, select Admin.
- Click Plugins.
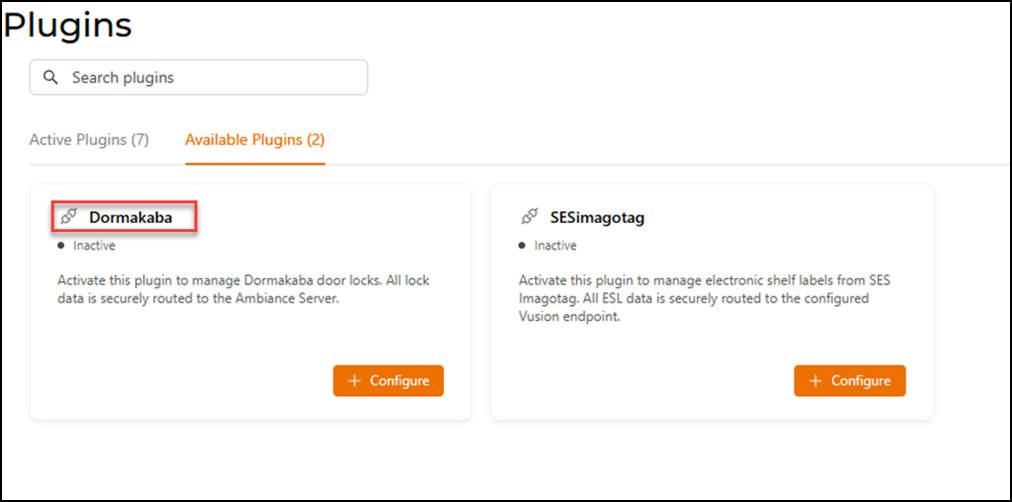
- Click the Available Plugins tab.
- In the Dormakaba tile,
click +
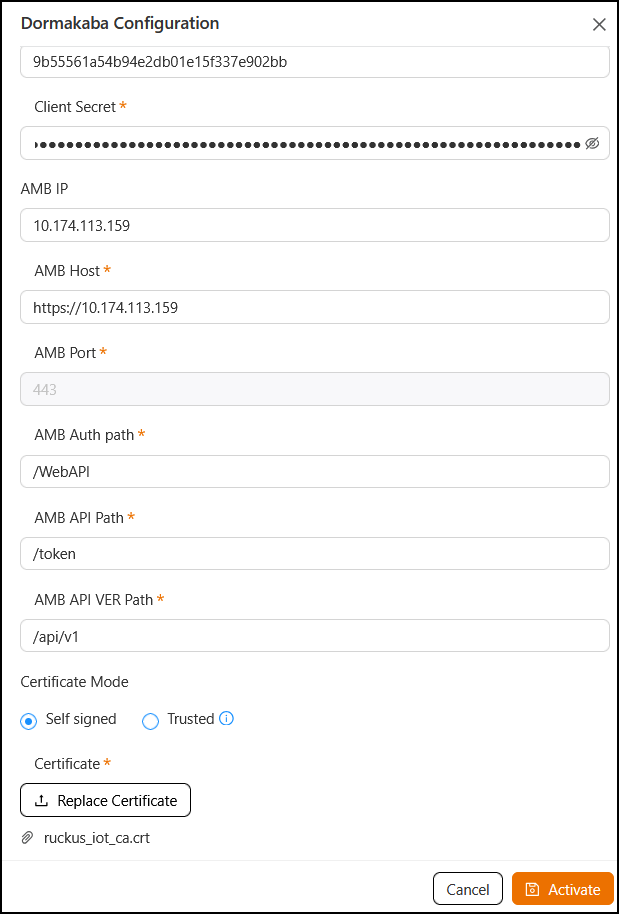
Configure to activate the plugin.The Dormakaba Configuration sidebar is displayed.
- Configure the following parameters.
- Enter the Client Id
used for connecting to Ambiance Server.Note: The Client ID must not be configured as "admin" while activating the Dormakaba plugin.
- Enter the Client Secret used for connecting to Ambiance Server.
- Enter the Ambiance IP Address.
- Enter the Ambiance
Host.Note: The URL for Host is https://example.test.net/.
- Enter the AMB Port that is used to communicate with the AMB server. By default, it is 443.
- Enter the AMB Auth Path to request authorization
from AMB.Example: /WebAPI
- Enter the AMB API VER Path, the base version
path to communicate with AMB.Example: /api/v1
- Choose how the IoT Controller validates the AMB certificate:
- Self-signed: Select this if AMB uses a self-signed certificate.
- Trusted: Select when using a certificate signed by a trusted Certificate Authority (CA).
Certificate: Displays the certificate currently uploaded or used for communication. You can upload or replace the certificate by clicking Replace Certificate.
- Enter the Client Id
used for connecting to Ambiance Server.
- Click Activate to save the changes.
- (Optional) Click Configure to edit the existing configuration.
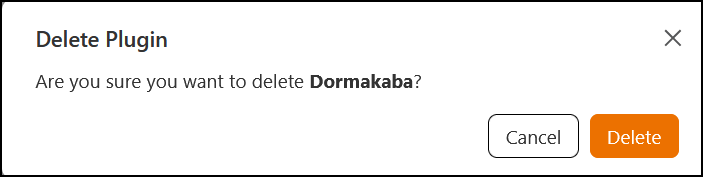
- (Optional) Click Delete to delete the plugin.