Creating a MAC Registration Workflow
Note: Creating a workflow is another method of
adding a MAC registration list. Within a workflow, you have the option of
creating a new MAC registration list or selecting an existing MAC registration
list. If you want to create a registration configuration before creating your
workflow, refer to Configuring MAC Registration Lists in the
Cloudpath UI. During a successful
enrollment process with the workflow, MAC addresses are be added to the
specified MAC registration list. This section uses an example of creating a
workflow split as part of the process.
- Go to and select Add Workflow.
- With the "Create a new Workflow" button selected, click Next.
- On the Create Workflow page, enter the new workflow information and Save.
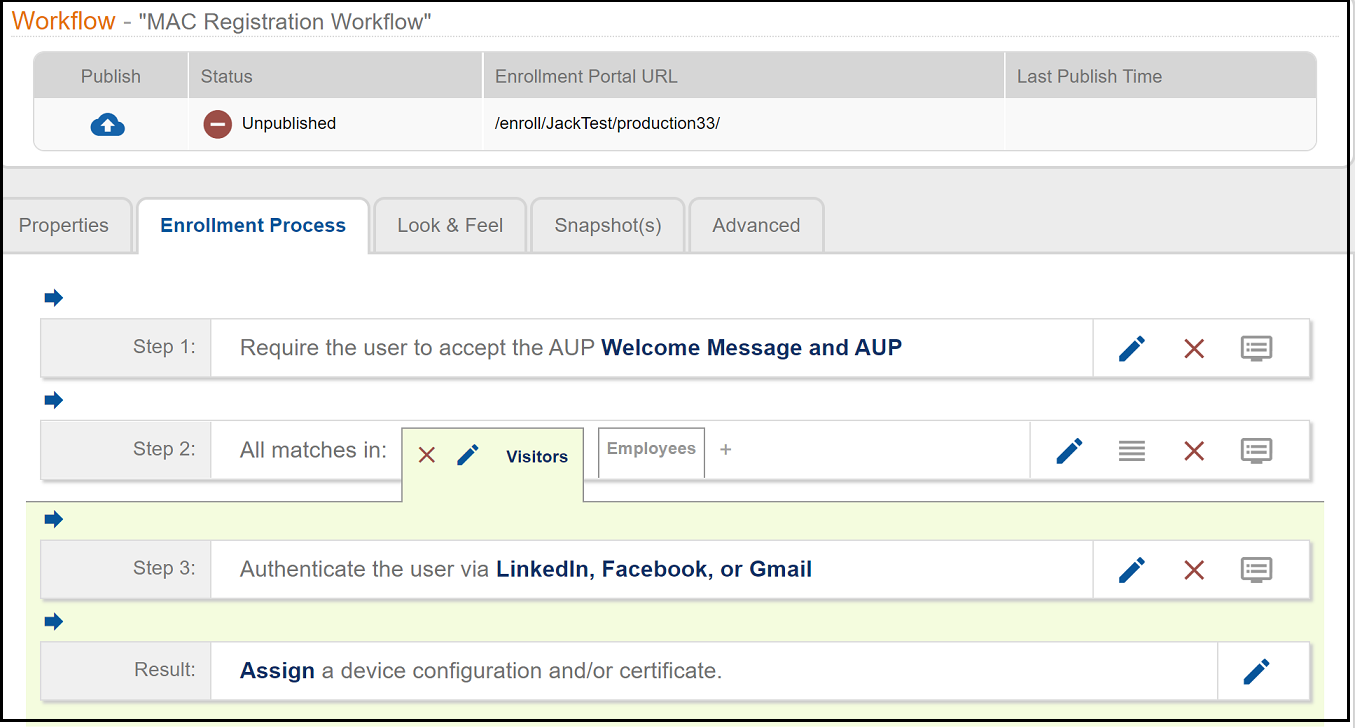
- In the workflow (the illustration above), delete steps 2 and 3.
- Under the accept the AUP workflow step, click the Insert arrow to create a new step.
- On the ensuing screen that has the title of "Which Type Of Step Should Be Added?" click "Split users into different branches."
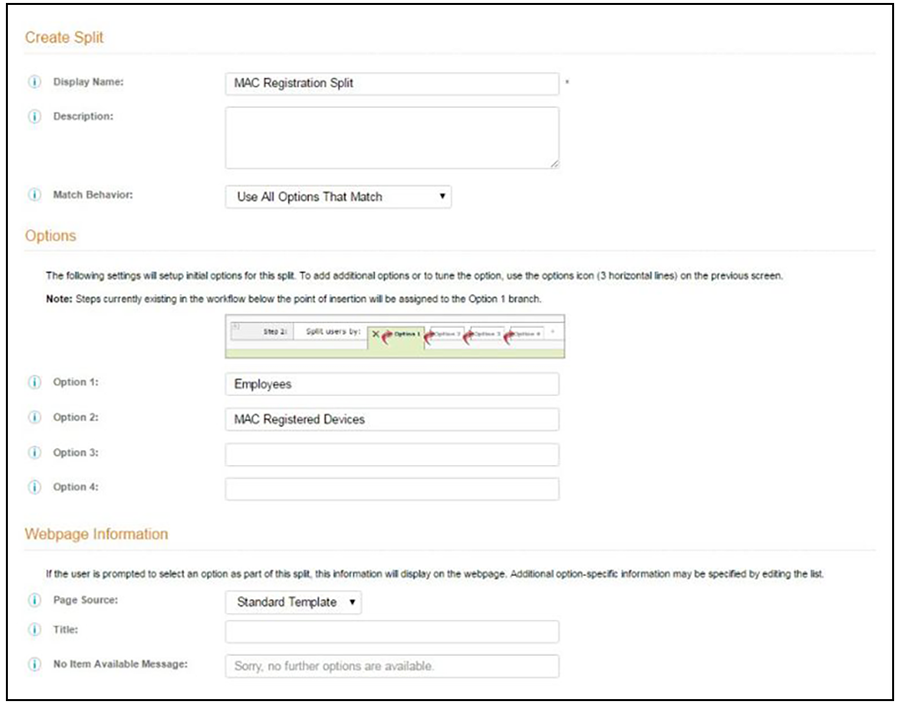
- On the ensuing screen that has the title of "What split do you want to use?", select the desired option and click Next. In the example screen shown below, the assumption is that a "new split" has been selected.
- On the Create Split page, in the Options section, enter the names for the two workflow branches.
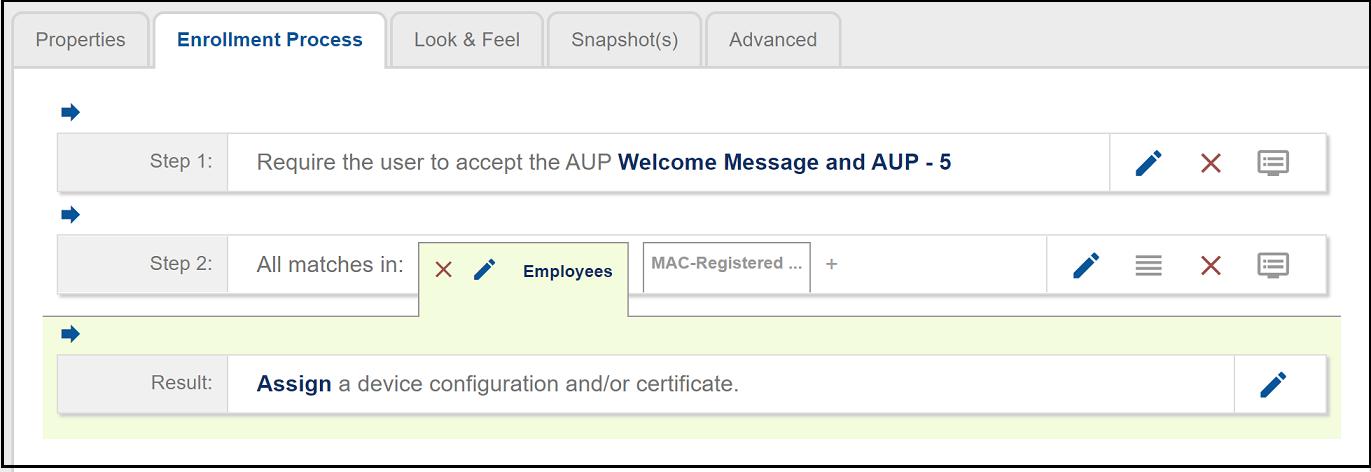
- Leave the defaults for the other fields and Save. The named branches appear as tabs in the split workflow step.
- Highlight the MAC-Registered Devices branch, then click the Insert arrow to below that step to invoke the plugin page titled "Which Type Of Step Should Be Added?"
- Click Register device for MAC-based authentication.
- You are presented with the option of creating a new MAC registration configuration or selecting an existing MAC registration list. Make your selection, then click Next.
- If you choose to configure a new MAC registration, you are presented with the configuration screen. Follow the guidance in Configuring MAC Registration Lists in the Cloudpath UI. After configuring a new MAC registration list, or if you choose an existing MAC registration list, you are returned to the workflow.
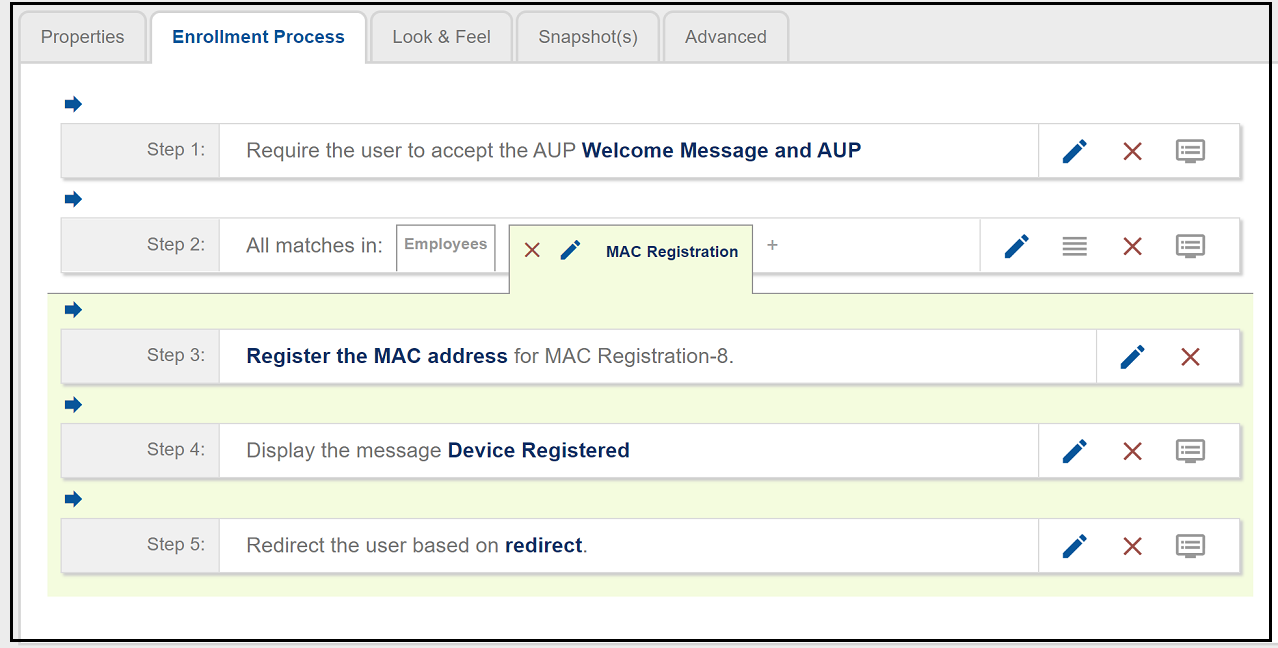
- Complete your workflow as desired. The following illustration shows a message to the enrolling user, followed by a redirect step.