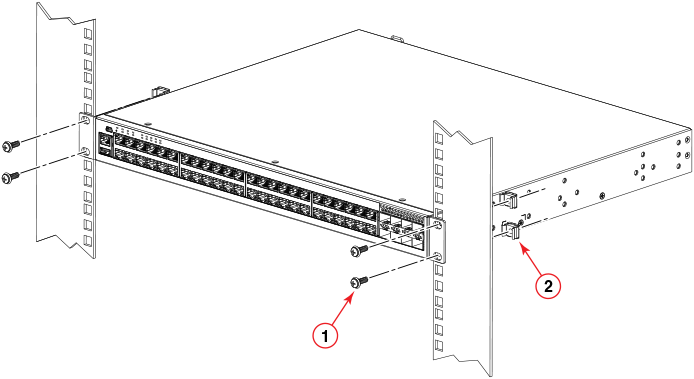
Installing the device using the included two-post rack mount kit
Use this procedure to install the device to a 2-post rack using the rack-mount ears that are included with the device.
Danger: Make sure the rack housing the device is adequately secured to prevent it from becoming
unstable or falling over.
Note: You need a #2 Phillips screwdriver for rack mount installation.
Complete the following steps to mount devices in a rack. The example shows a front-mounting.
- Remove the rack mounting kit from the shipping carton. The kit contains two L-shaped mounting brackets and two sets of eight sink-head screws.
- Using a Phillips screwdriver, attach the mounting brackets to the sides of the device
using eight #6-32 sink-head screws, four screws on each side.
Note: The #6-32 sink-head screws are for front-mounting. Use the #8-32 screws for rear-mounting.
- Remove the two-post rack kit from the shipping carton. The kit contains four rack-mounting screws and four cage nuts.
- Insert the cage nuts in the two-post rack where you want to mount the device.
- Using a Phillips screwdriver, mount the device in a two-post rack using four rack-mounting screws.
- If installing a single device only, proceed to Powering on the system. If installing multiple devices, mount them in the rack, one above the other.