Conifguring a PEAP WLAN on a Ruckus SmartZone Controller
You can configure a PEAP WLAN on a Ruckus Wireless SmartZone controller so that you
can then use PEAP as one method of authenticating users to Cloudpath.
Note: The procedure shown in this section is based on the user interface of a SmartZone
controller version 3.5.1. Different versions of SmartZone may have minor differences
in terms of which configuration options appear in what sections of a screen.
- Log in to your Ruckus SmartZone controller.
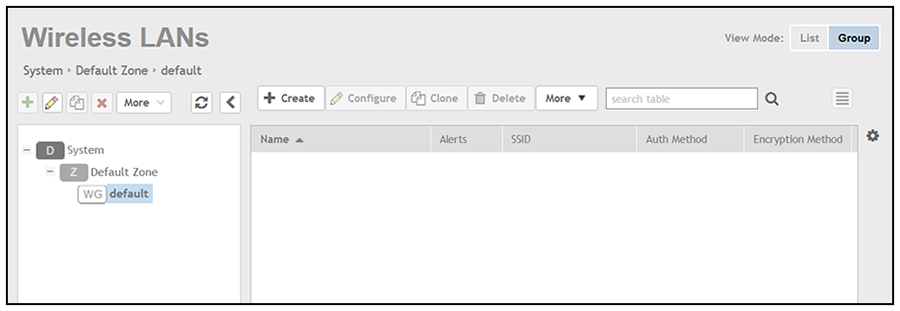
- Click the Wireless LANS tab.
- On the Wireless LANs screen, click the
+ Create button.
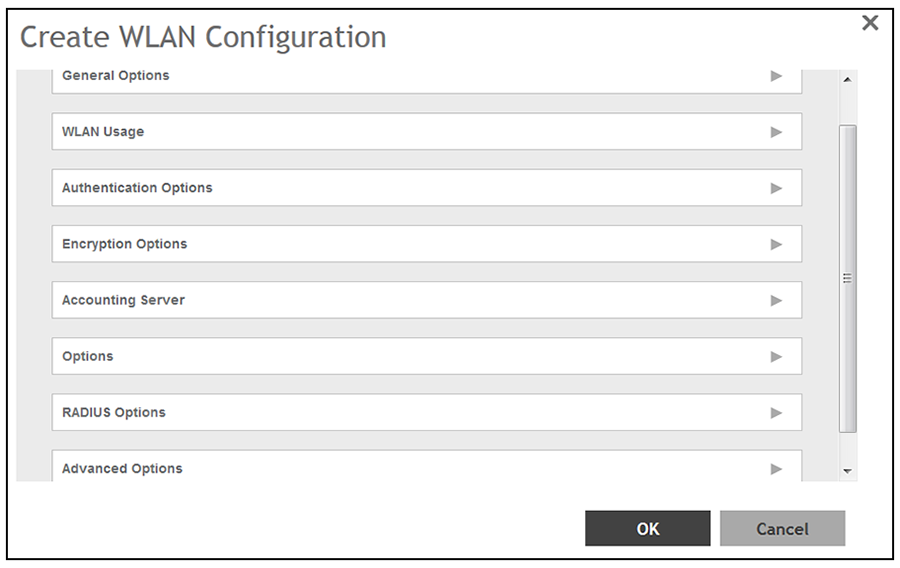
The Create WLAN Configuration appears. This screen is shown below (with each area of the screen in a collapsed view):Note: Unless otherwise specified in the remaining steps, you do not have to change default values. The procedure described here is specific to Cloudpath; for information about any fields that are not described here, refer to your controller documentation.
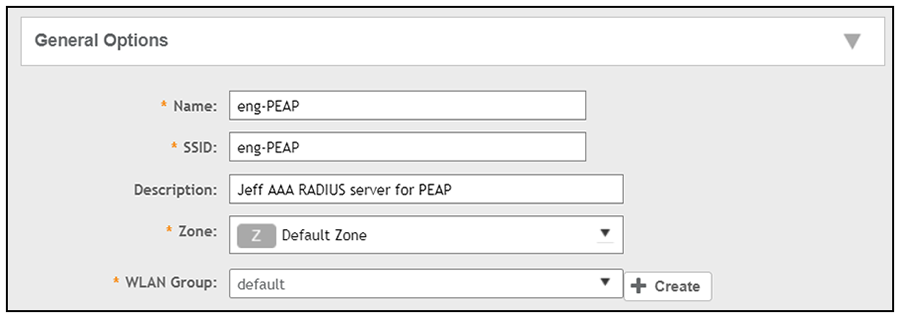
- Complete the General Options section of the screen:
- Name: Enter a meaningful name for the PEAP WLAN you are creating.
- SSID: When you click in this field, the name you entered above also appears in this field.
- Description: You can enter a brief description to indicate that you are creating a RADIUS WLAN for PEAP.
- Zone: From the drop-down list, select the zone in which the PEAP WLAN will reside. This can be the default zone.
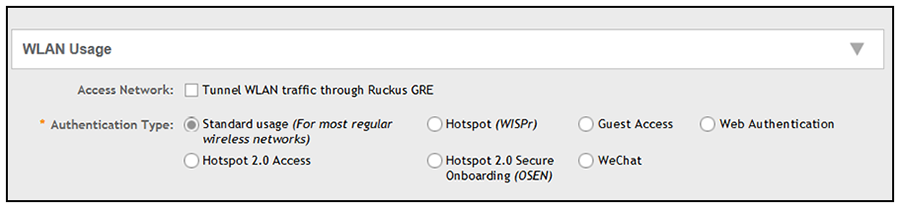
- In the WLAN Usage section of the screen, use the default selection of Standard usage.
- In the Authentication Options section of the screen, select 802.1x EAP.
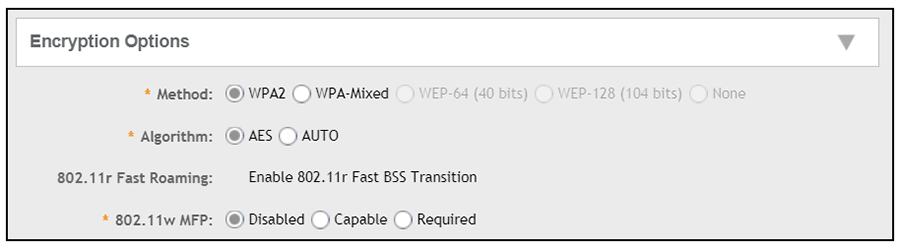
- In the Encryptions Options section of the screen, you must select "WPA2," which displays the section as follows:
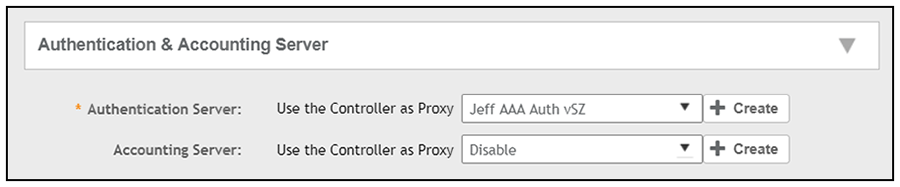
- In the Authentication & Accounting Server section, select the authentication server that you configured in Set up the AAA Authentication Server on the Ruckus SmartZone Controller from the drop-down list.
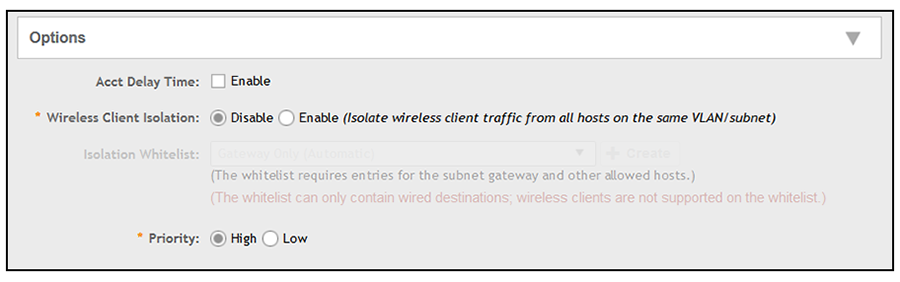
- In the Options section, you can use the default values, shown below:
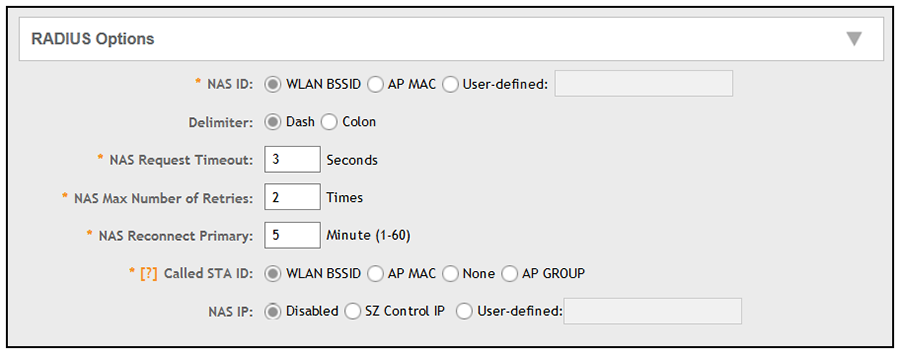
- In the RADIUS Options section, you can use the default values, shown below:
- In the Advanced Options section, there are many fields (not shown here), but you can also use all the default values.
- Click OK to complete the PEAP Wireless LAN configuration.

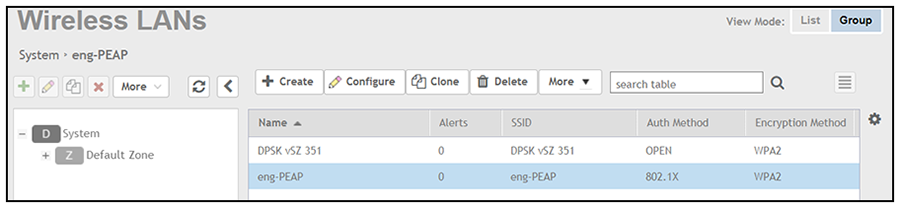
Proceed to Configuring PEAP on Cloudpath to Integrate with the Ruckus Controller.