Activating and Editing the Beacon as a Service Plugin (iBeacon, Eddystone, and Custom)

Activate the plugin to manage iBeacons. The RUCKUS IoT Controller securely routes to the configured endpoints.
To establish a connection to a partner infrastructure, the administrator must perform the following steps.
  1. From the main menu, click Admin.
  2. Click Plugins.
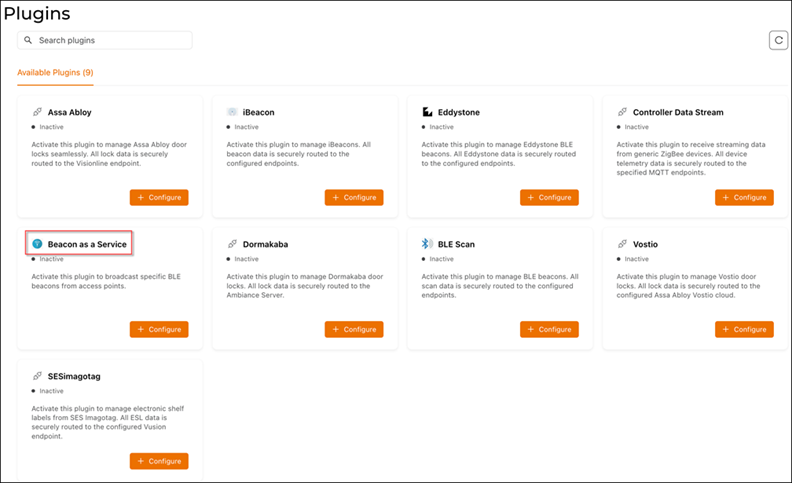
    The Plugins page is displayed. You can search for a plugin by its name in the Search plugins field to locate it.
  3. Click the Available Plugins tab.
    You will see tiles with plugin names on them. Locate the Beacon as a Service tile.

    Selecting the Beacon as a Service Plugin

  4. In the Beacon as a Service tile, click + Configure to activate the plugin.
  5. Configure the following configuration parameters.
    1. For Advertisement Interval, set the time interval to send the advertisement packets. The advertisement interval ranges from 100 through 1000 milliseconds. The default interval is 100 milliseconds.
    2. In the Beacon Type list, select the type of beacon.
    3. Provide relevant values for given fields based on Beacon Type.

      For iBeacon, a common 32 characters UUID can be given which will be applied to all APs. If Append AP MAC is checked, Controller will append 12 characters of AP MAC at the end of 20 characters UUID, so that it will be unique for every AP data.

  6. Click Activate to save the changes.
    After saving the changes, the Beacon as a Service is added to the Active Plugins tab and is removed from the Available Plugins tab. Under the Active Plugins tab, locate the Beacon as a Service tile. To modify the configurations, click Configure. To delete the plugin, click Delete.
  7. (Optional) Click Configure to edit the existing configuration. You can view the connection status of the plugin in the Status field.
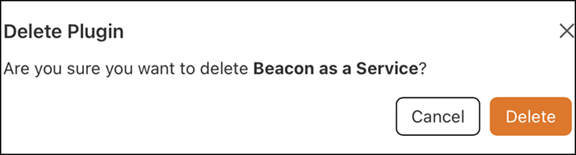
  8. (Optional) Click Delete to delete the plugin.
    Deleting the Beacon as a Service Plugin