Option 1 - User Interface
To enable SNMP options for Zone APs throught controller interface, perform the following steps:
- Click Network tab, under wireless select Access Points .
- Click +. This displays Create Domain page.
- In the Create Domain, select Type as Zone. This displays Create Zone page.
- Scroll down to AP SNMP Options menu. By default, the Enable AP SNMP radio button is disabled.
- Click Enable AP SNMP radio button to enable AP SNMP Options. This displays Config Type options CustomAP SNMP Agent Profile.

Config Type - Custom
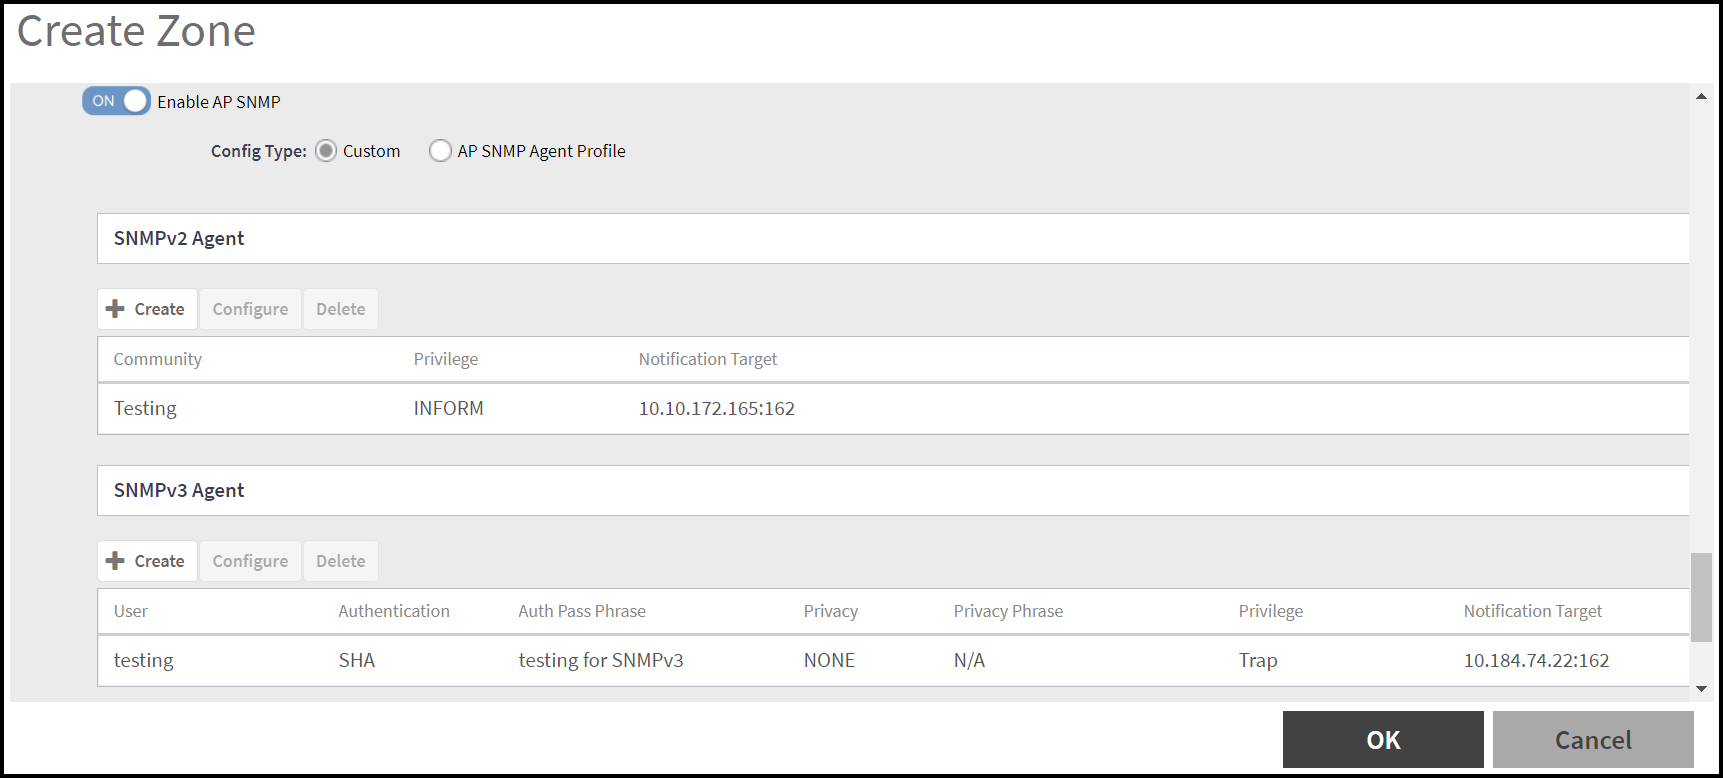
After enabling the AP SNMP radio button, Config Type option is highlighted and by default Custom type is selected. In the Custom config type, user can create/configure/delete SNMPv2 Agent and SNMPv3 Agent.
- In the SNMPv2 Agent
section, click Create.
This displays Create SNMPv2 Agent page.
-
In the create SNMPv2 Agent page, enter the following details:
- Click OK. The new SNMPv2 agent details is displayed in the SNMPv2 Agent section.
- In the SNMPv3 Agent section,
click Create
This displays Create SNMPv3 Agent page.
-
In the Create SNMPv3 Agent page, enter the following details -
- User - Enter a valid user name to identify the SNMPv3 agent.
- Authentication - Select the appropriate
authentication type for the SNMPv3 agent. The options are -
Note: If the AP firmware version is earlier than 7.1.2, SHA256 and other authentication types are not supported. The system automatically assigns the SHA1 authentication type.
- Auth Phrase - Enter a auth phrase. The length is between 8-15 characters.
- Privacy - Selec the appropriate privacy type
for the SNMPv3 agent. The options are -
Note: If the AP firmware version is earlier than 7.1.2, AES192 and other privacy types are not supported. The system automatically assigns the AES128 privacy type.
- Privilege - Select the checkbox for the privilege to assign to the client. The options are -
- Click OK. The new SNMPv3 agent details is displayed in the SNMPv3 Agent section.
Config Type - AP SNMP Agent Profile
After enabling the AP SNMP radio button, select Config Type option as AP SNMP Agent Profile.
This displays AP SNMP Agent Profile field. Click on the drop-down list to select an AP SNMP Agent Profile from the list or click Add (+) to create a new AP SNMP Agent Profile.
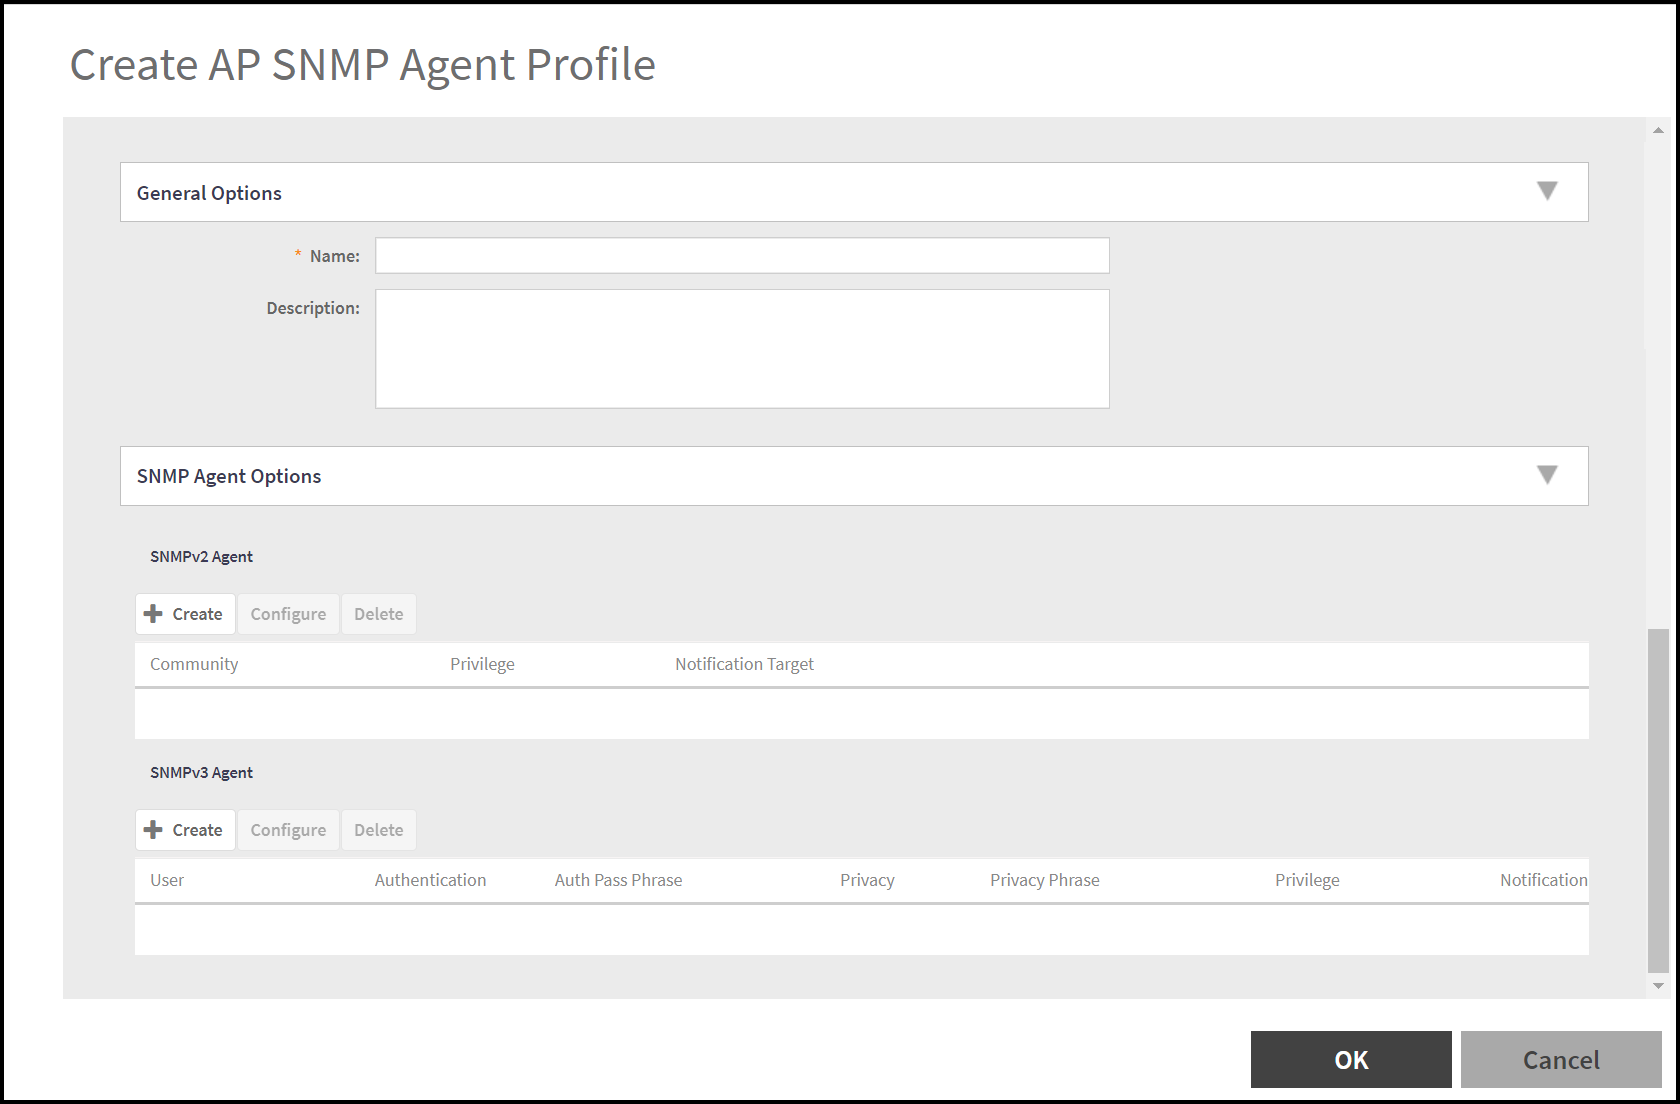
In the Create AP SNMP Agent Profile window, enter the following details -
- General Options - Enter the Name and Description for AP SNMP Agent Profile.
- SNMP Agent Options - User can create/configure/delete SNMPv2 Agent and SNMPv3 Agent as described in the Config Type - Customsection.