Installing a KVM Guest Using Virtual Machine Manager
- Download the RUCKUS IoT Controller distribution package in the .tar file format from the RUCKUS Support website at https://support.ruckuswireless.com.
- Use the
tar -xvf filename.tarcommand to obtain the qcow2 image file and template file. - Open the Virtual Machine Manager.
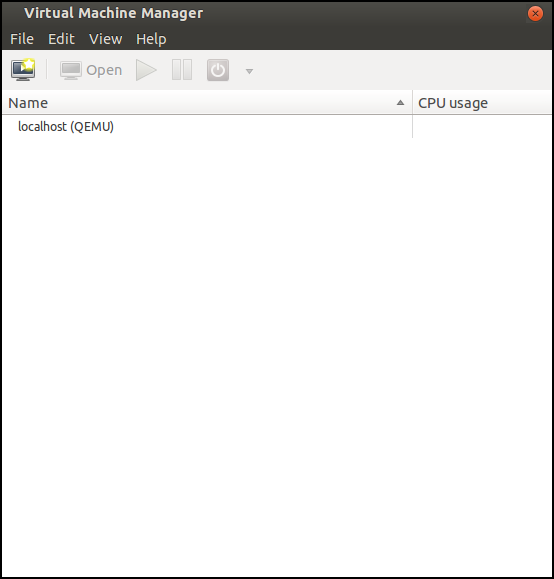
- From the Virtual Machine Manager menu, select .
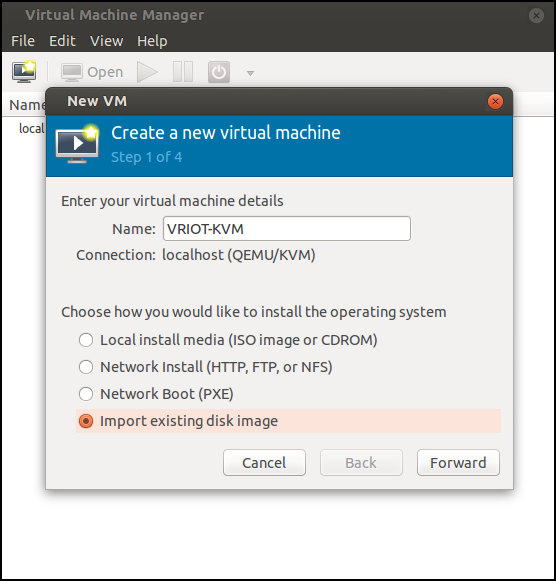
- Enter the name of the virtual machine, select Import existing disk image, and click Forward.
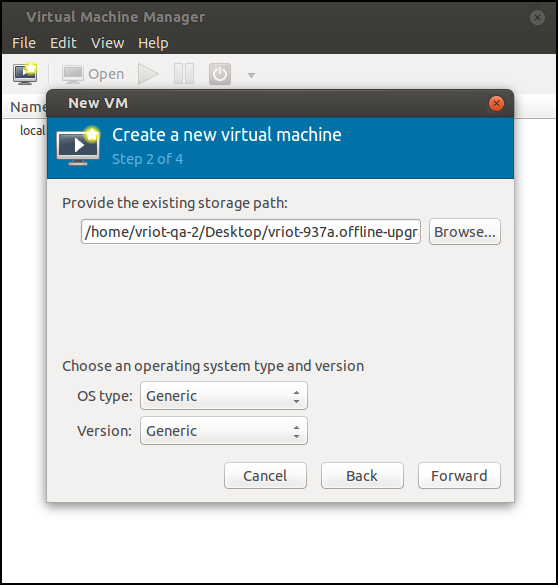
- Enter the path of the .qcow image, the operating system type, and the version number, and click Forward.
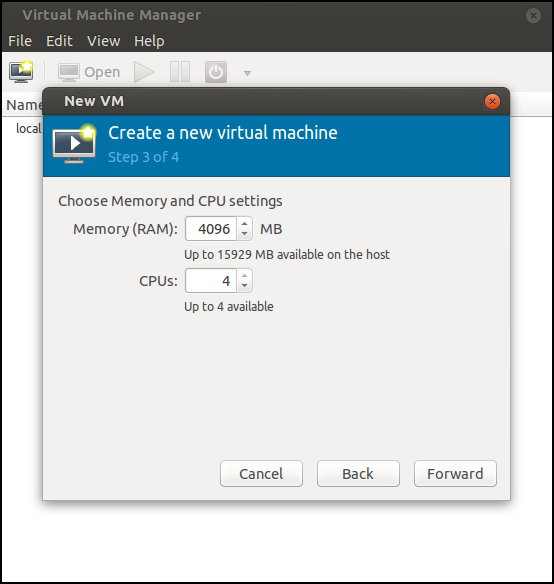
- Select the memory size of RAM (in MB) and the number of central processing units (CPUs) for the virtual machine, and click Forward.
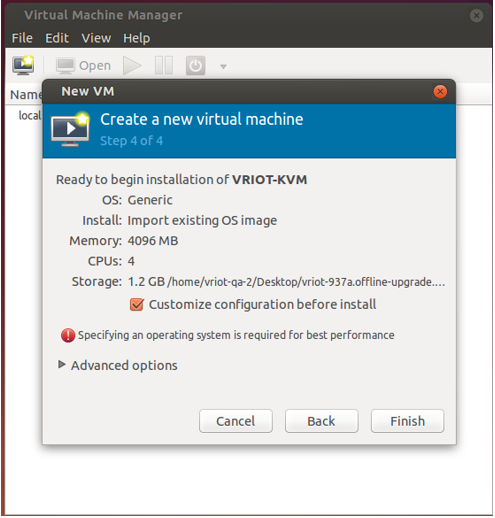
- Select Customize configuration before install, and click Finish.
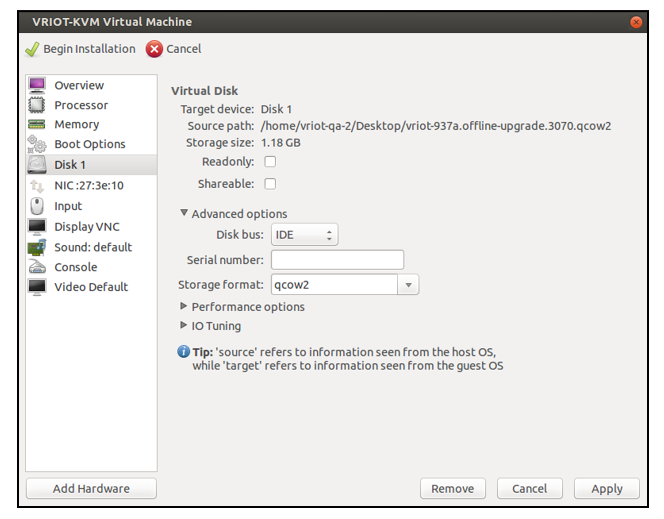
- After the installation has completed, open the Virtual Machine Manager. Select Disk in the left pane and information about the disk is displayed. Expand Advanced options and ensure that the disk bus is IDE and the storage format is qcow2.
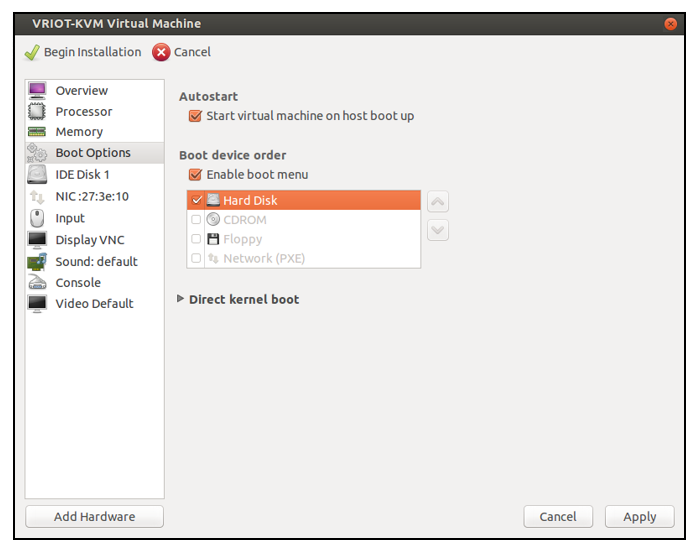
- Select Boot Options in the left pane. Ensure that Start virtual machine on host boot up and Enable boot menu are selected. Select Hard Disk and click Apply.
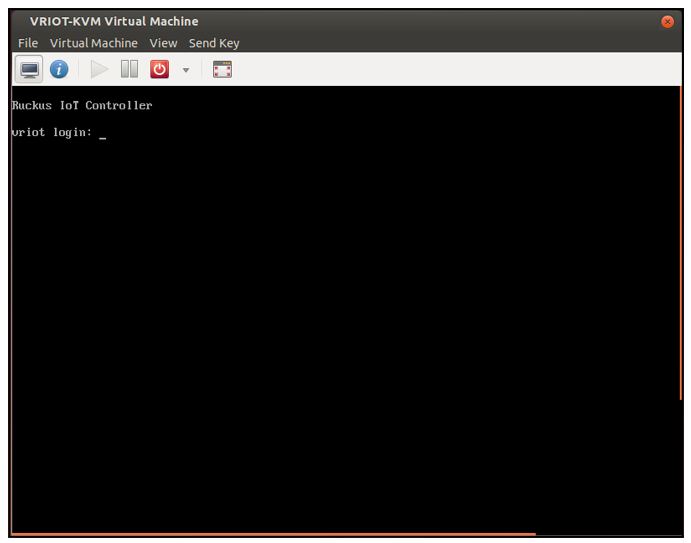
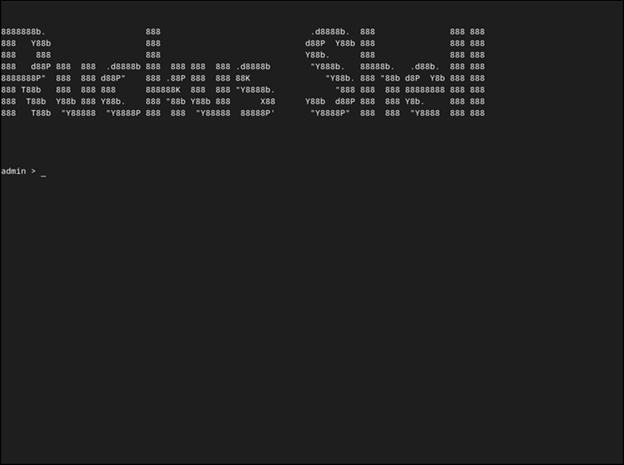
- Log in to the RUCKUS IoT Controller using the username and password.
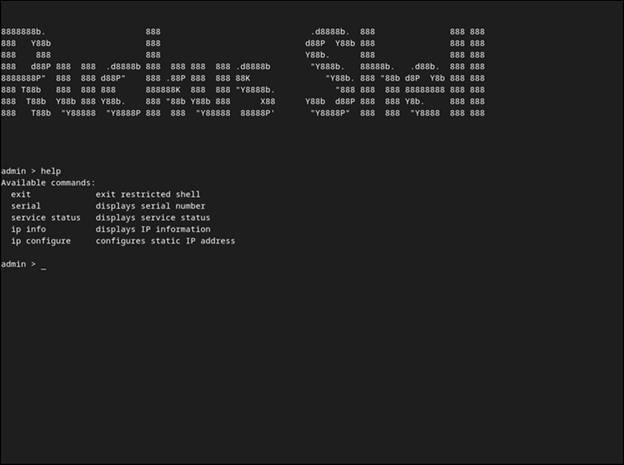
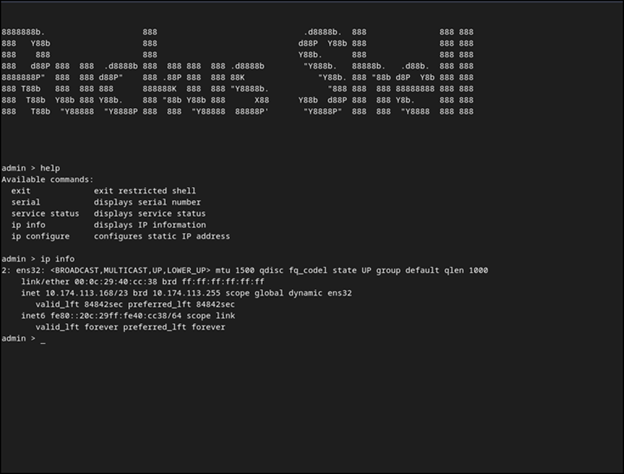
- Enter help at the admin prompt to view the list of available commands.
- Enter ip info at the admin prompt to get the IP address of the virtual machine.
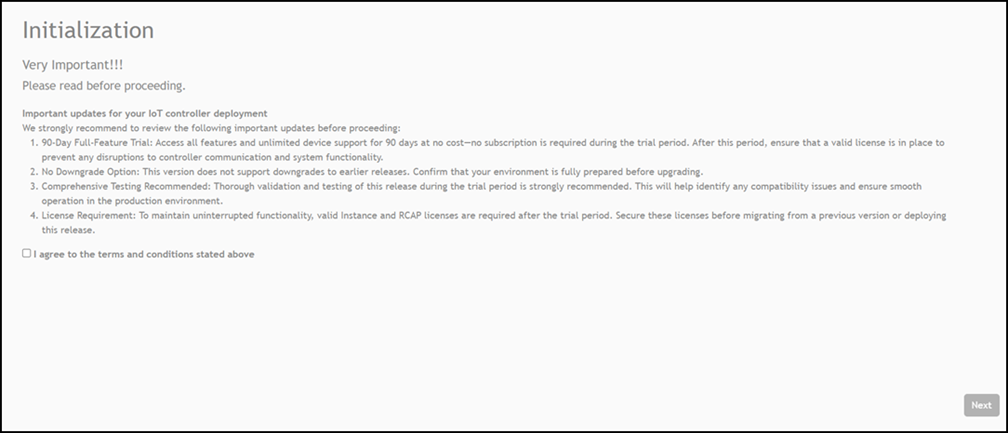
- Open a web browser on your host machine and enter the IP address of the VM in the address bar.
- Select I agree to the terms and conditions stated above and click Next.
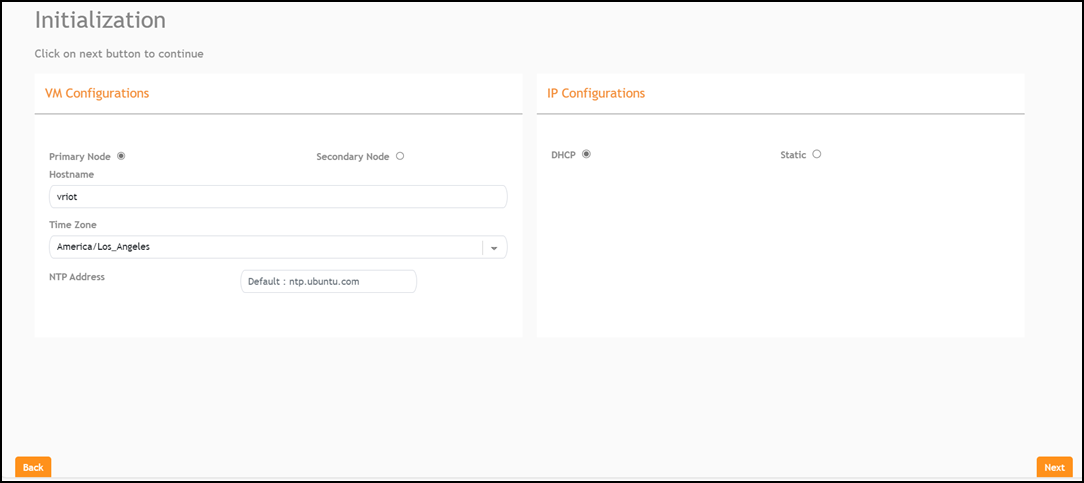
- Select Primary Node to configure the controller as standalone or select Secondary Node to add the controller to the HA cluster. Enter the Hostname, Time Zone, and select the IP Configuration (DHCP or Static), and click Next.
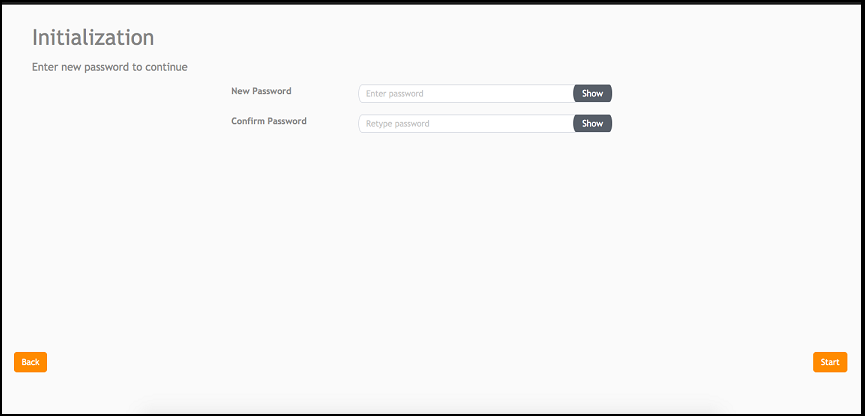
- Enter a new password and re-enter the new password in the Confirm Password field. Click Start.
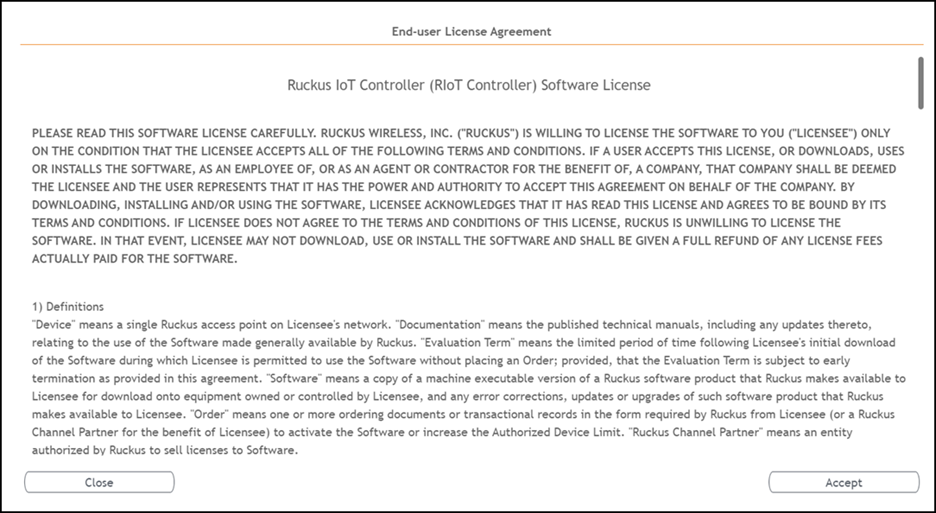
- The End-user License Agreement page is displayed. Click Accept to accept the RUCKUS IoT Controller license.
=GUID-54BF4085-78C3-44BA-B69C-915CF7489C3A=1=en-US=Low.png "Displaying the CLI Window")
=GUID-EBEE54DF-1389-4EF5-9BE9-C1D338C08632=1=en-US=Low.png)
=GUID-66BADA96-0EAA-4CB6-9DBD-31E4B8F45F81=1=en-US=Low.png)