Activating and Editing the Kontakt.io Beacons Plugin
- From the main menu, click Admin.
- In the left navigation pane, click Plugins.
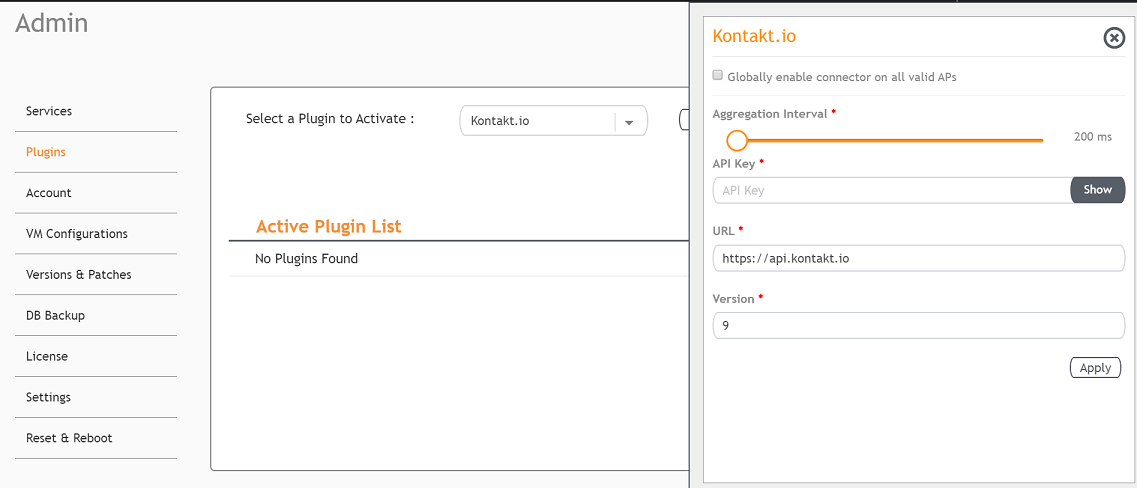
- In the Select a Plugin to Activate list, select the Kontakt.io plugin and click Activate.
- After the Kontakt.io plugin is activated, enter the following configuration parameters.
- Select
Globally enable connector on all valid APs to add all respective IoT APs automatically. Connectors are mapped to IoT AP by adding
the connector name tag to the IoT AP.
Note: If Globally enable connector on all valid APs is not selected, you can activate the plugin for each AP by adding a tag. Refer to Adding Tags to an AP for more information.
- For Aggregation Interval, set the time interval between the two packets.
- Enter the API Key.
- Enter the API URL.
- Enter the Version number.
- Select
Globally enable connector on all valid APs to add all respective IoT APs automatically. Connectors are mapped to IoT AP by adding
the connector name tag to the IoT AP.
- Click Apply.
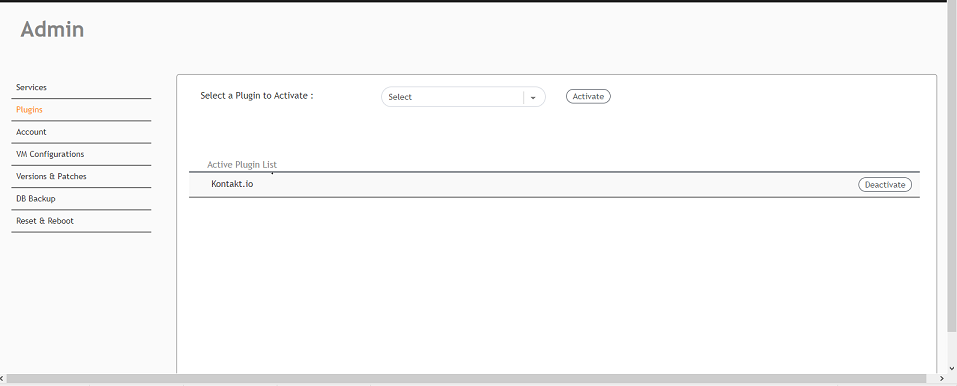
- To deactivate the Kontakt.io plugin, select it and click Deactivate.
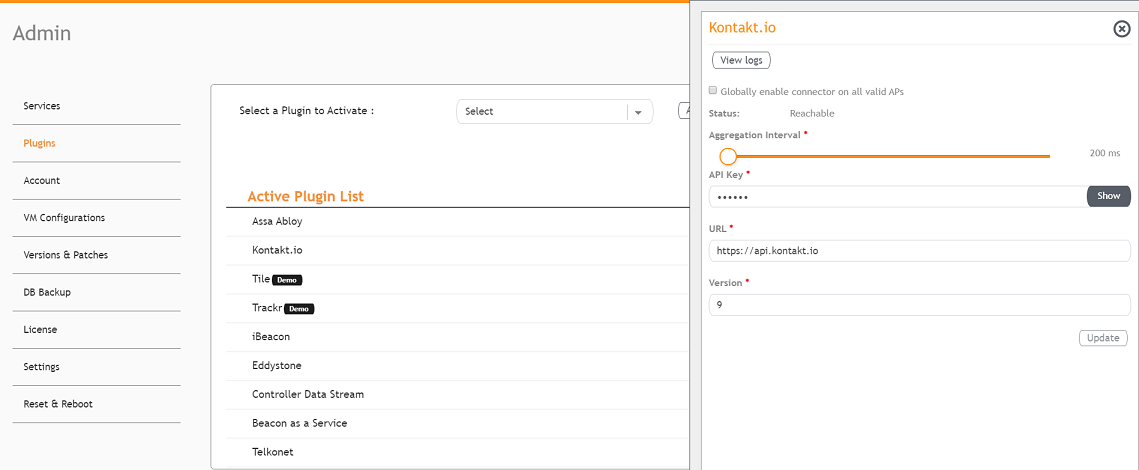
- To edit the configuration of the Kontakt.io plugin, select it and click Update.