Onboarding a Cluster for Active-Active High-Availability Deployment
An active-active high-availability
cluster must have a minimum of two nodes and a maximum of four nodes.
- Log in to the RUCKUS One web user interface with your credentials.
- Create the Venue for adding the device. Refer to Adding a Venue for more information.
- Create the tunnel profile. Refer to Creating a Tunnel Profile for more information.
- On the RUCKUS One navigation
bar, click RUCKUS
Edge.This displays the RUCKUS Edge page.
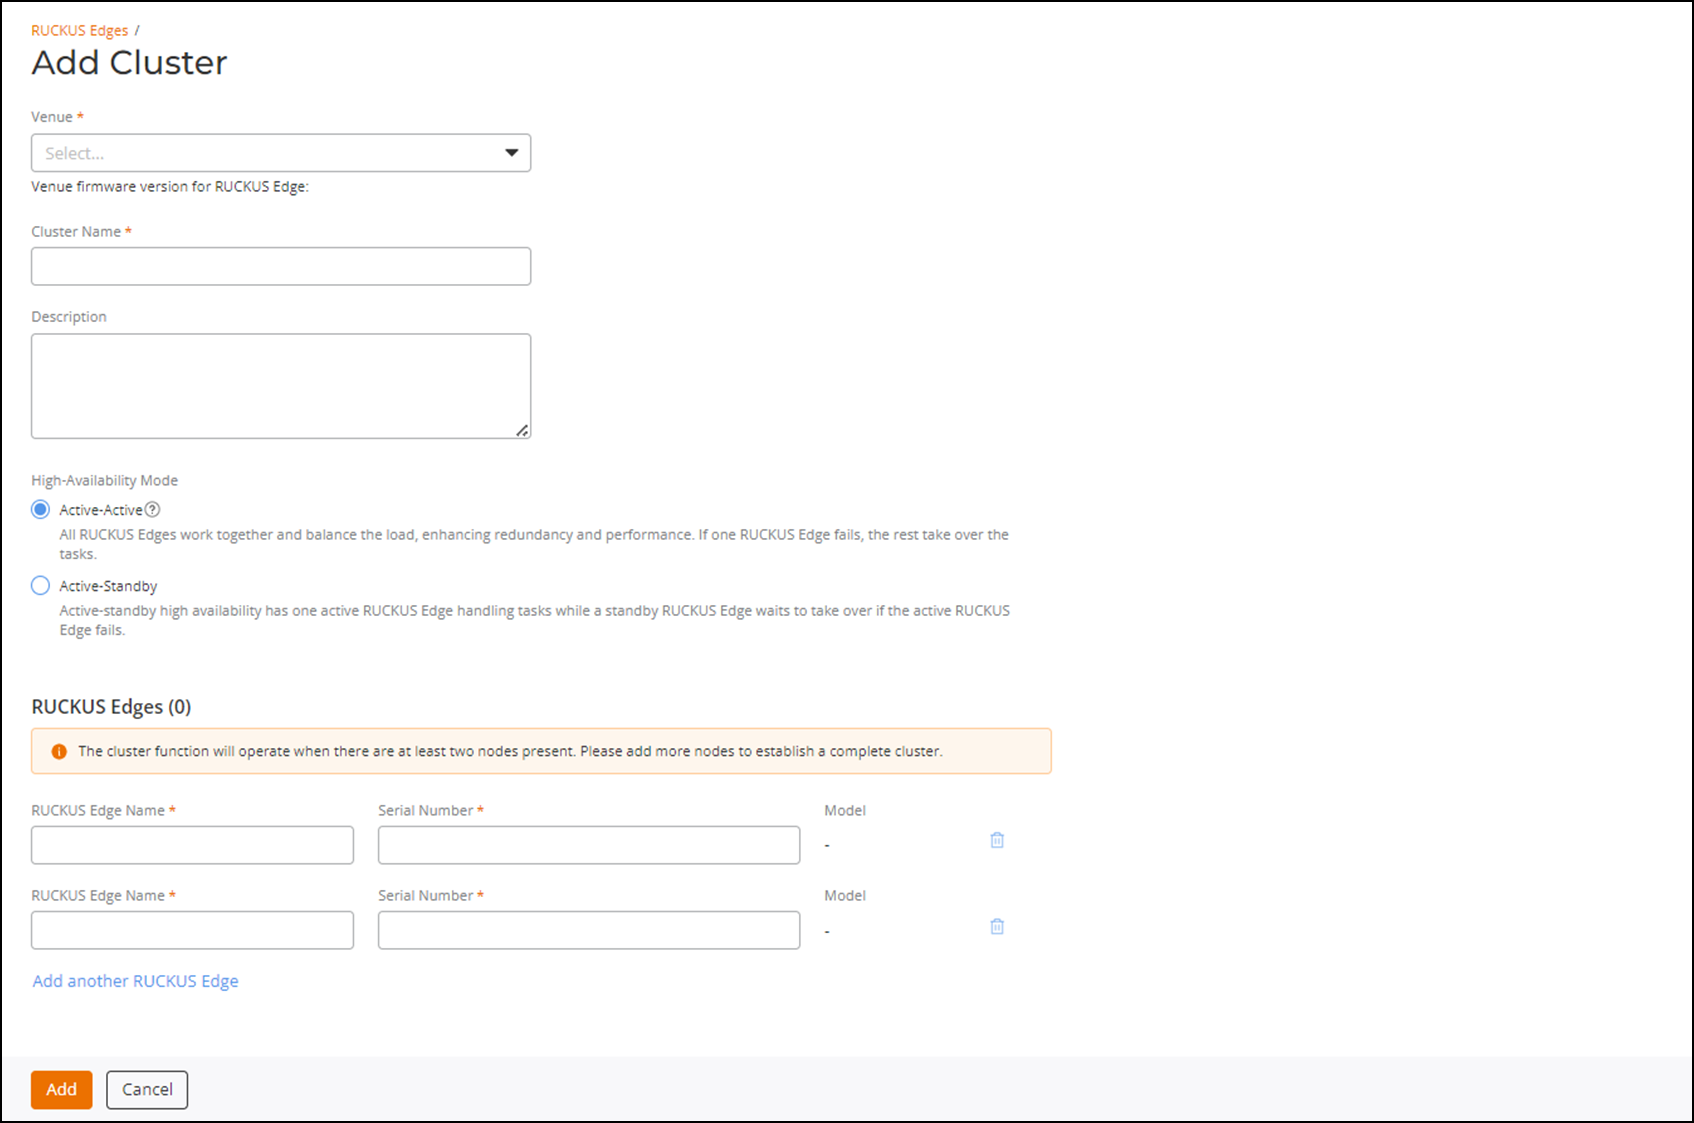
- In the RUCKUS Edge page, click Add and select Cluster. This displays the Add Cluster page.
- In the Add
Cluster page, enter the following details:
- Venue: Click the drop-down arrow to select a site for the new cluster.
- Cluster Name: Enter a meaningful name for the cluster profile.
- Description: Enter a purposeful statement for the device.
- High-Availability Mode: Select the
Active-Active option.
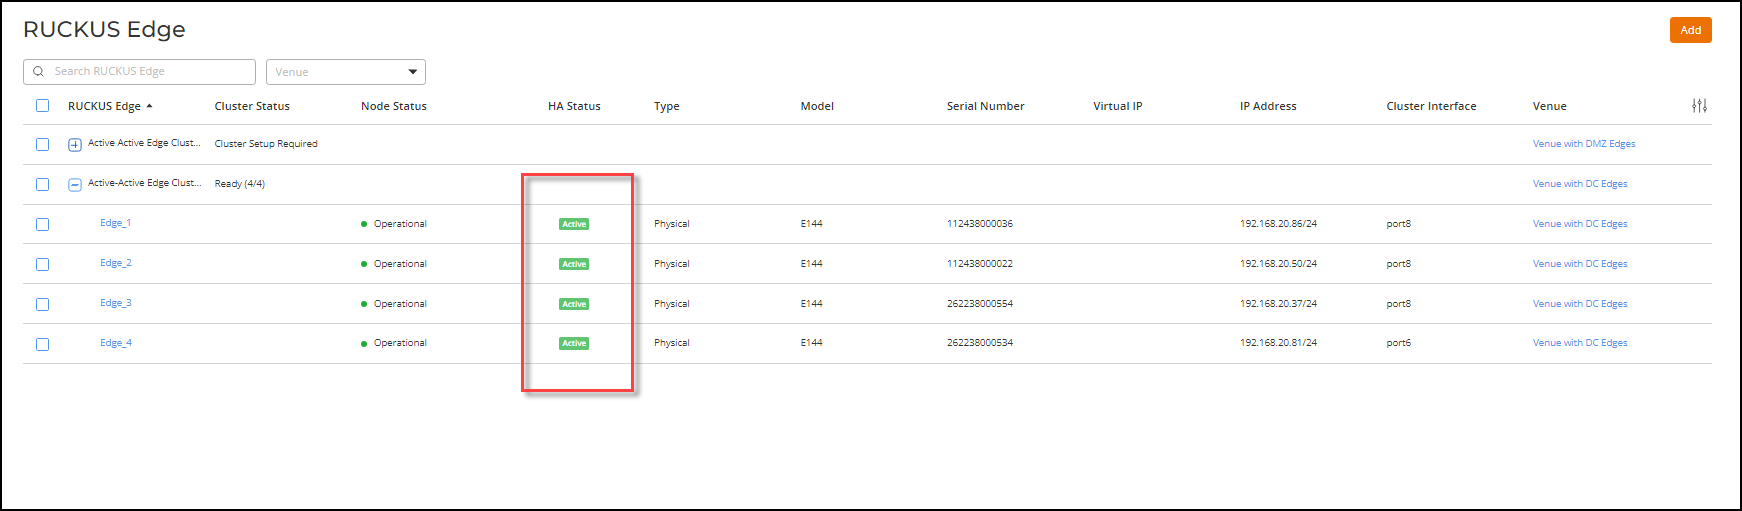
All RUCKUS Edges collaborate to balance the load, boosting both redundancy and performance. If one RUCKUS Edge fails, the others seamlessly take over its tasks.
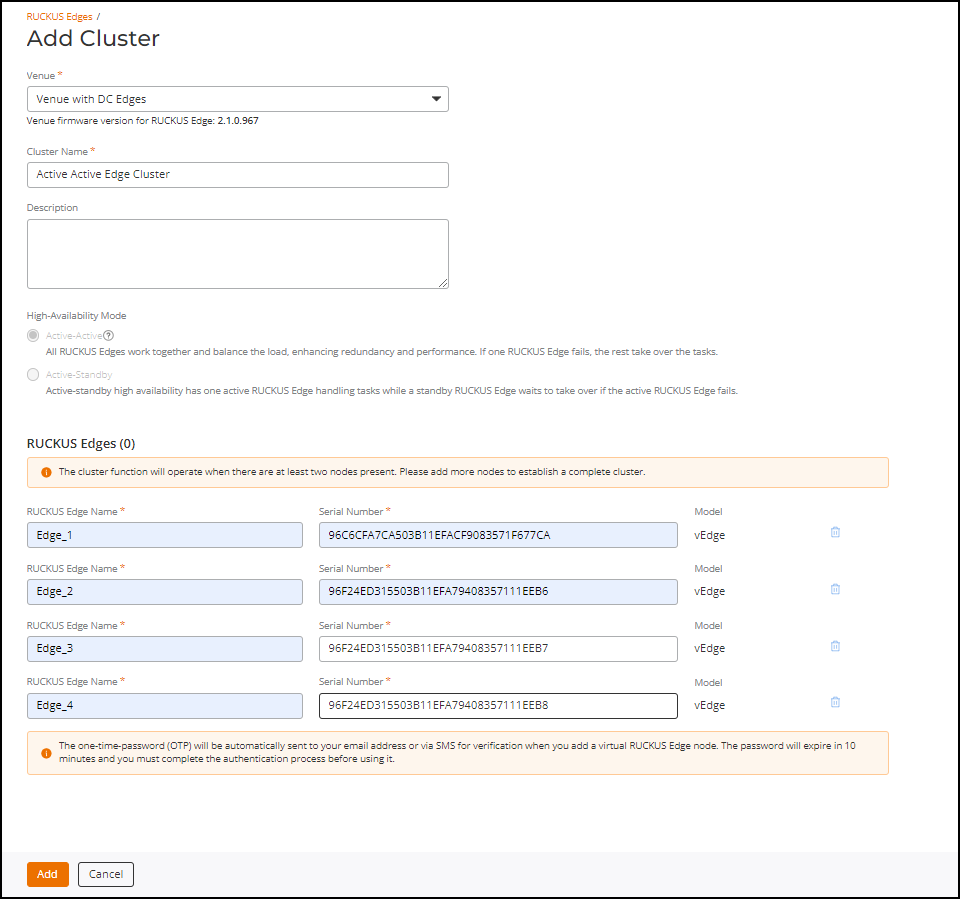
- In the RUCKUS Edges
section, define a minimum of two Edge devices as two nodes are required to
establish a complete cluster. You can add a maximum of four nodes per cluster.
Enter the RUCKUS Edge
Name and Serial Number of
the first Edge device in the available fields. To add more Edges to the cluster,
click the Add another
SmartEdge option and enter the RUCKUS Edge Name
and Serial
Number.
- RUCKUS Edge Name: Enter a meaningful name for the nodes.
- Serial Number: Enter the serial number of the Edge device. You can obtain the serial number by logging in to the Edge CLI or by looking at the label on the physical Edge device.
- Model: After the serial number is entered, the model's name is displayed automatically.
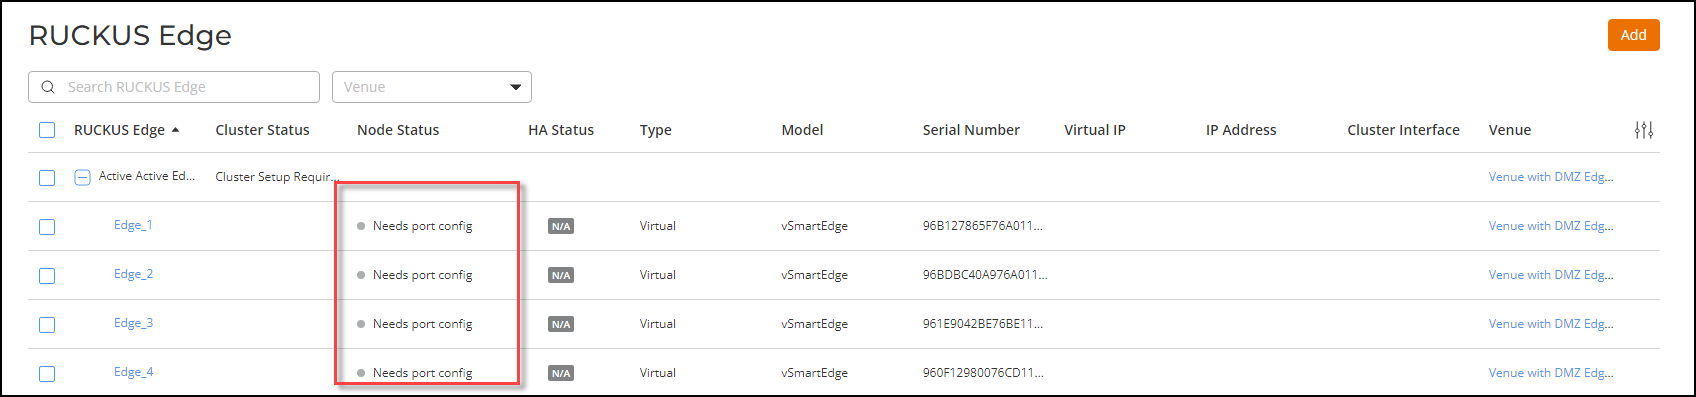
Note: The one-time-password (OTP) is automatically sent to your email address or through the SMS for verification when you add a virtual Edge node (each Edge added as part of the Add Cluster receives an OTP for verification). The password expires in 10 minutes, and you must complete the authentication process before the OTP expires; otherwise, you have to request a new OTP. - Click Add.
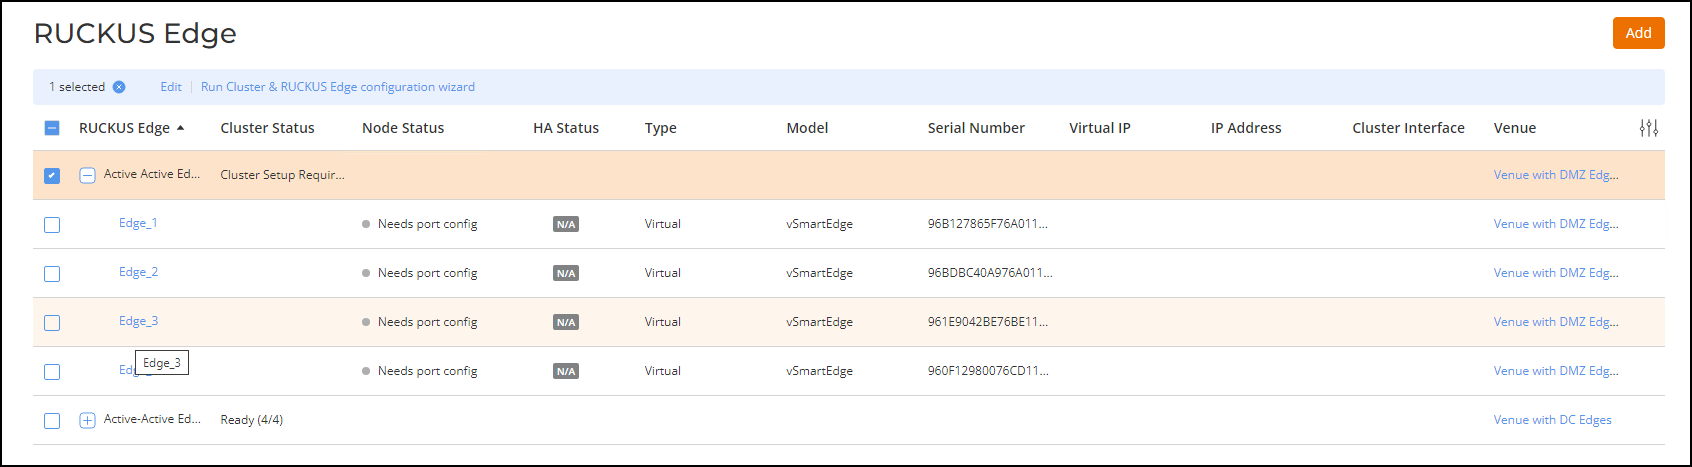
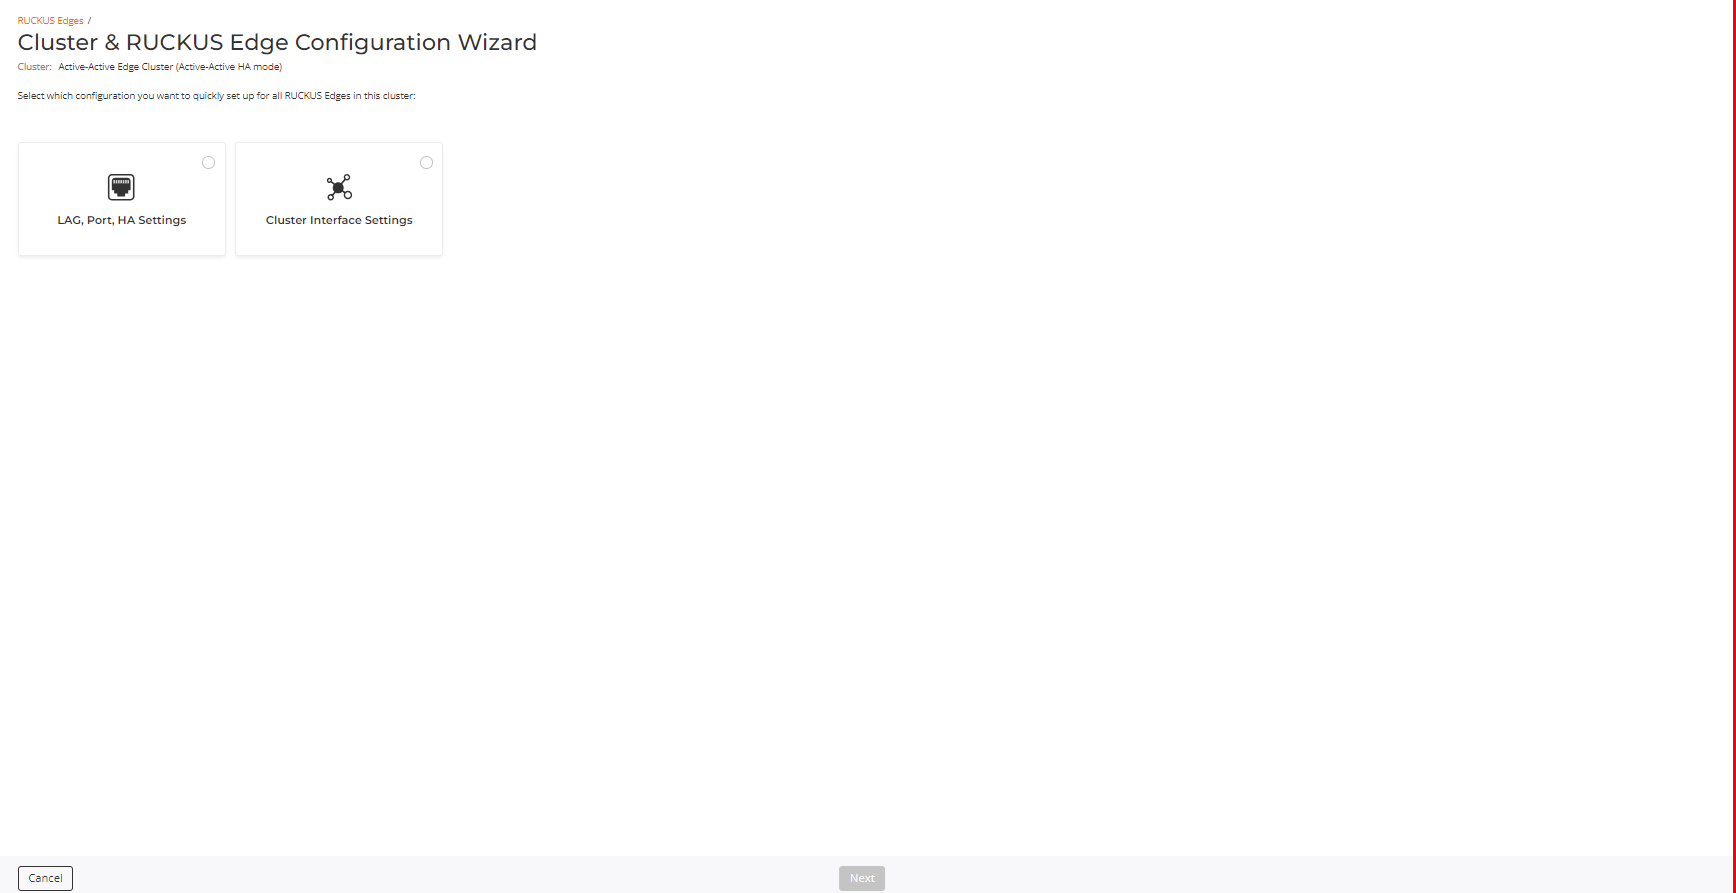
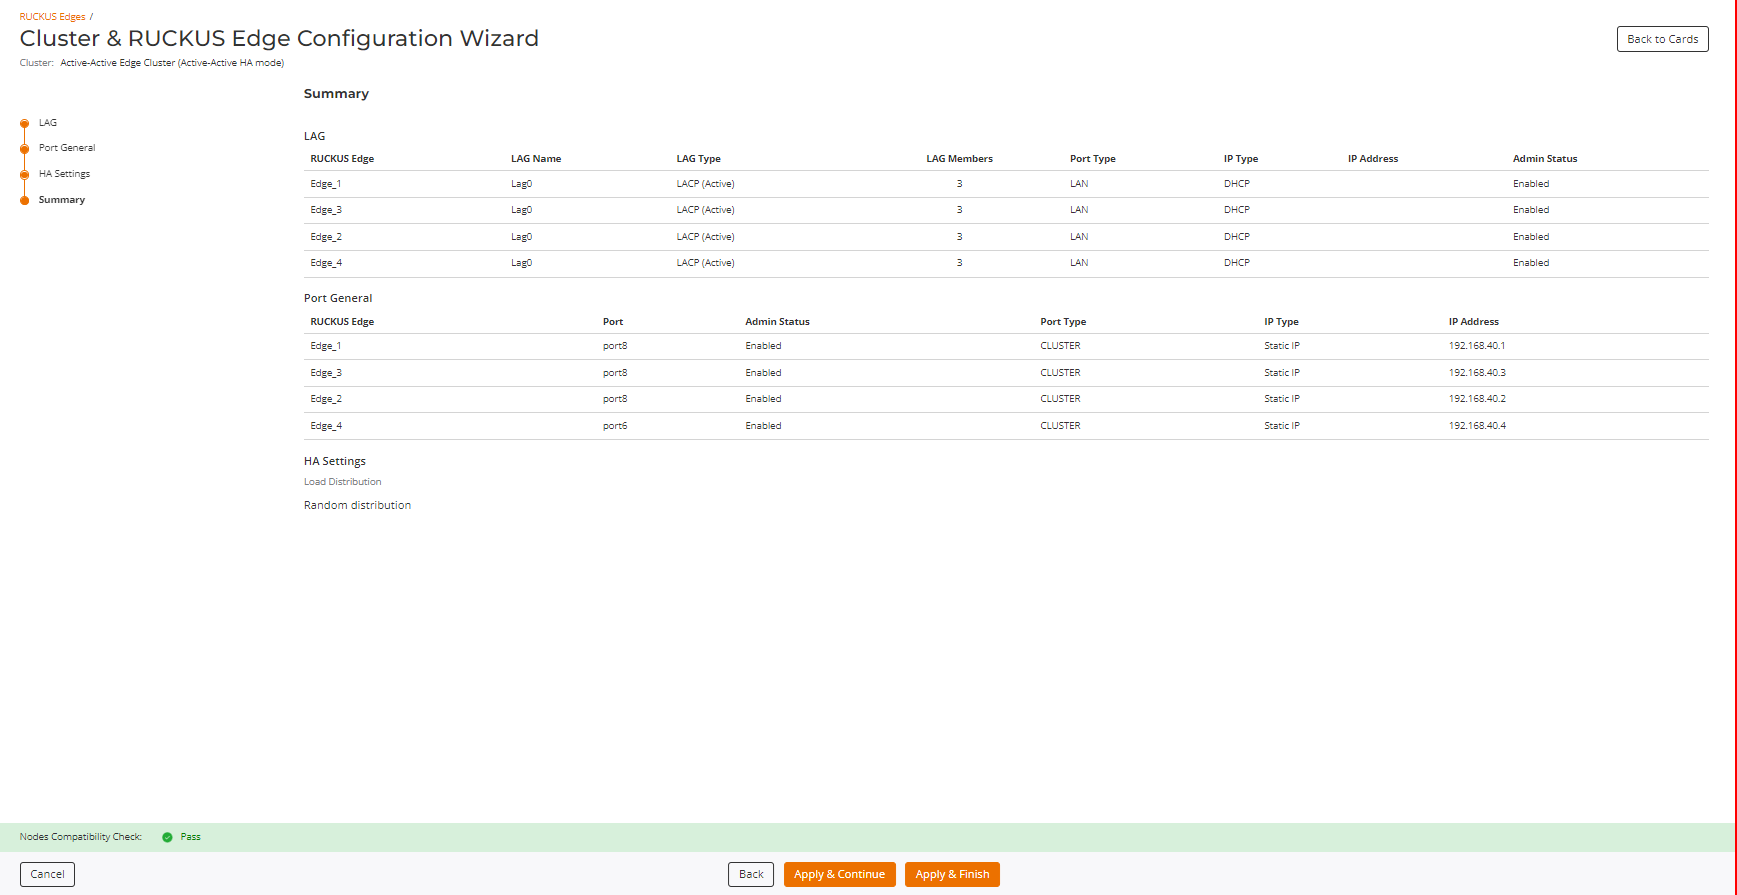
- Select the cluster and Run Cluster & SmartEdge configuration wizard.
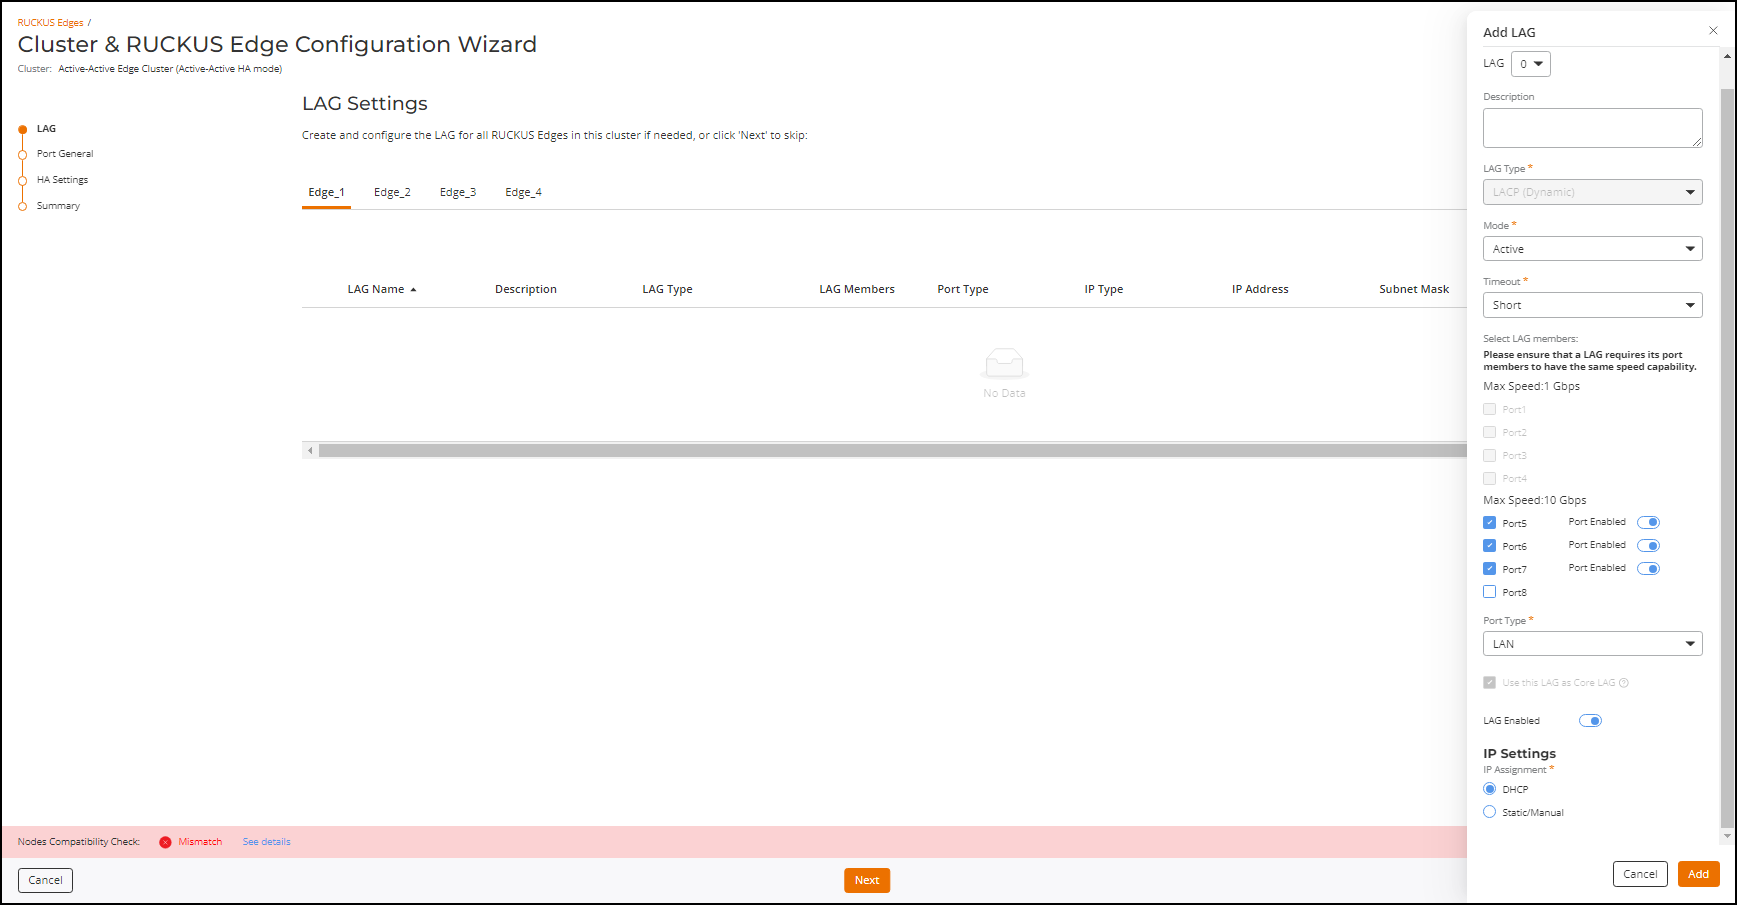
- Select LAG, Port, HA Settings and click Next.
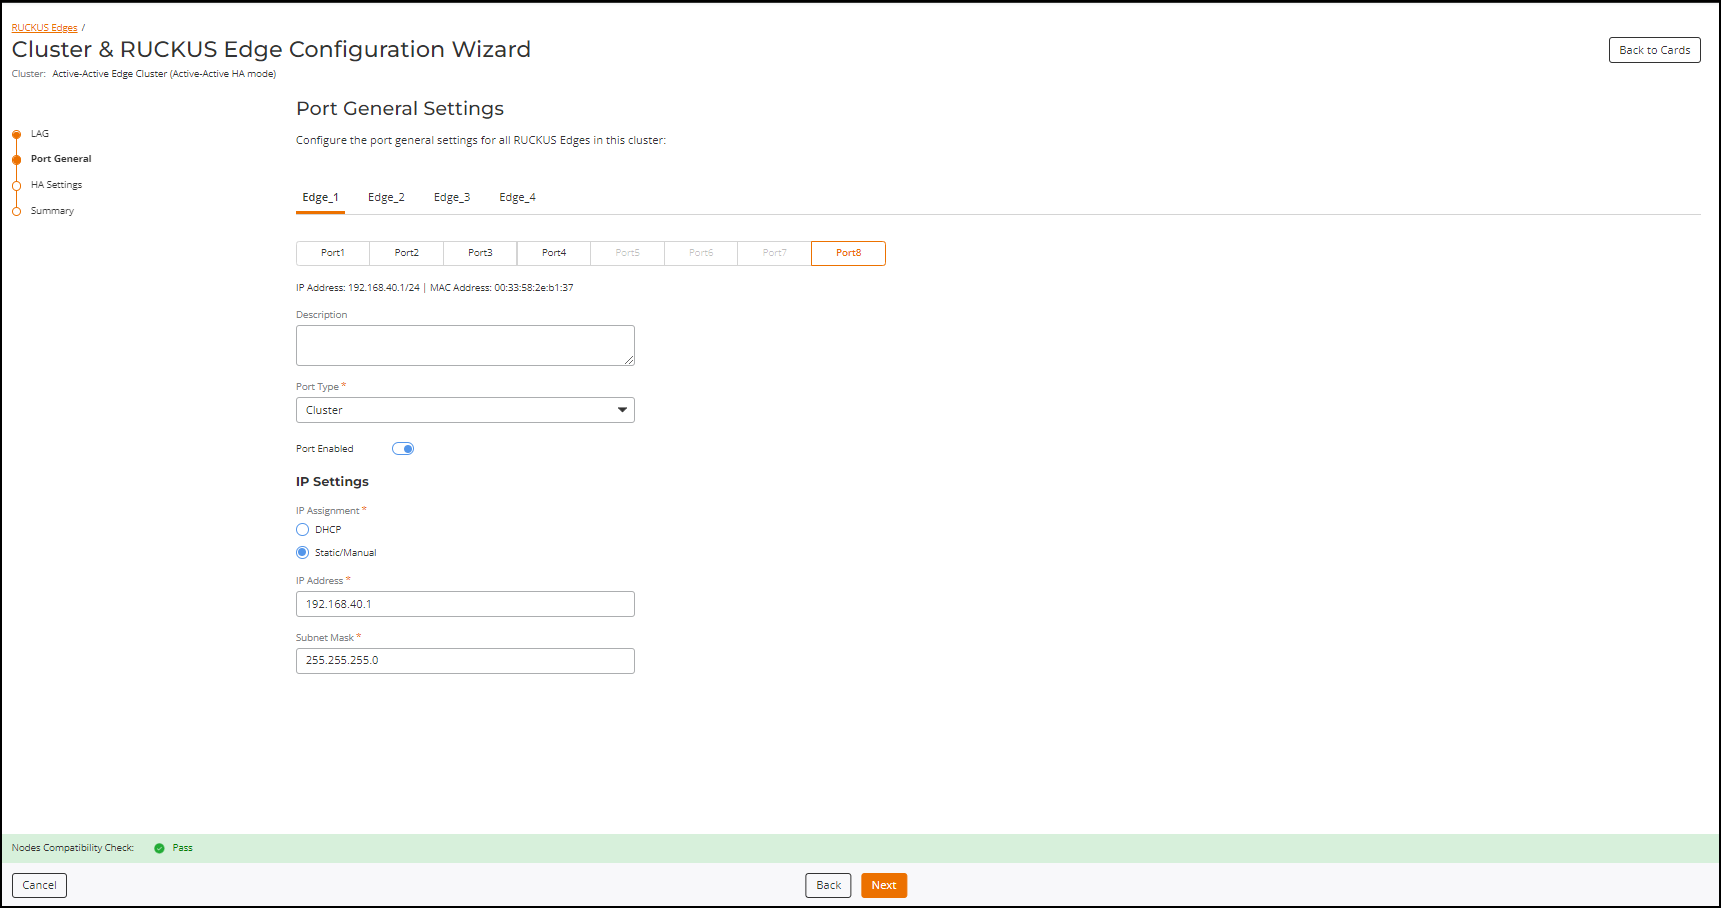
- Select every node in the cluster and configure.
- Click Next and configure Port Settings.
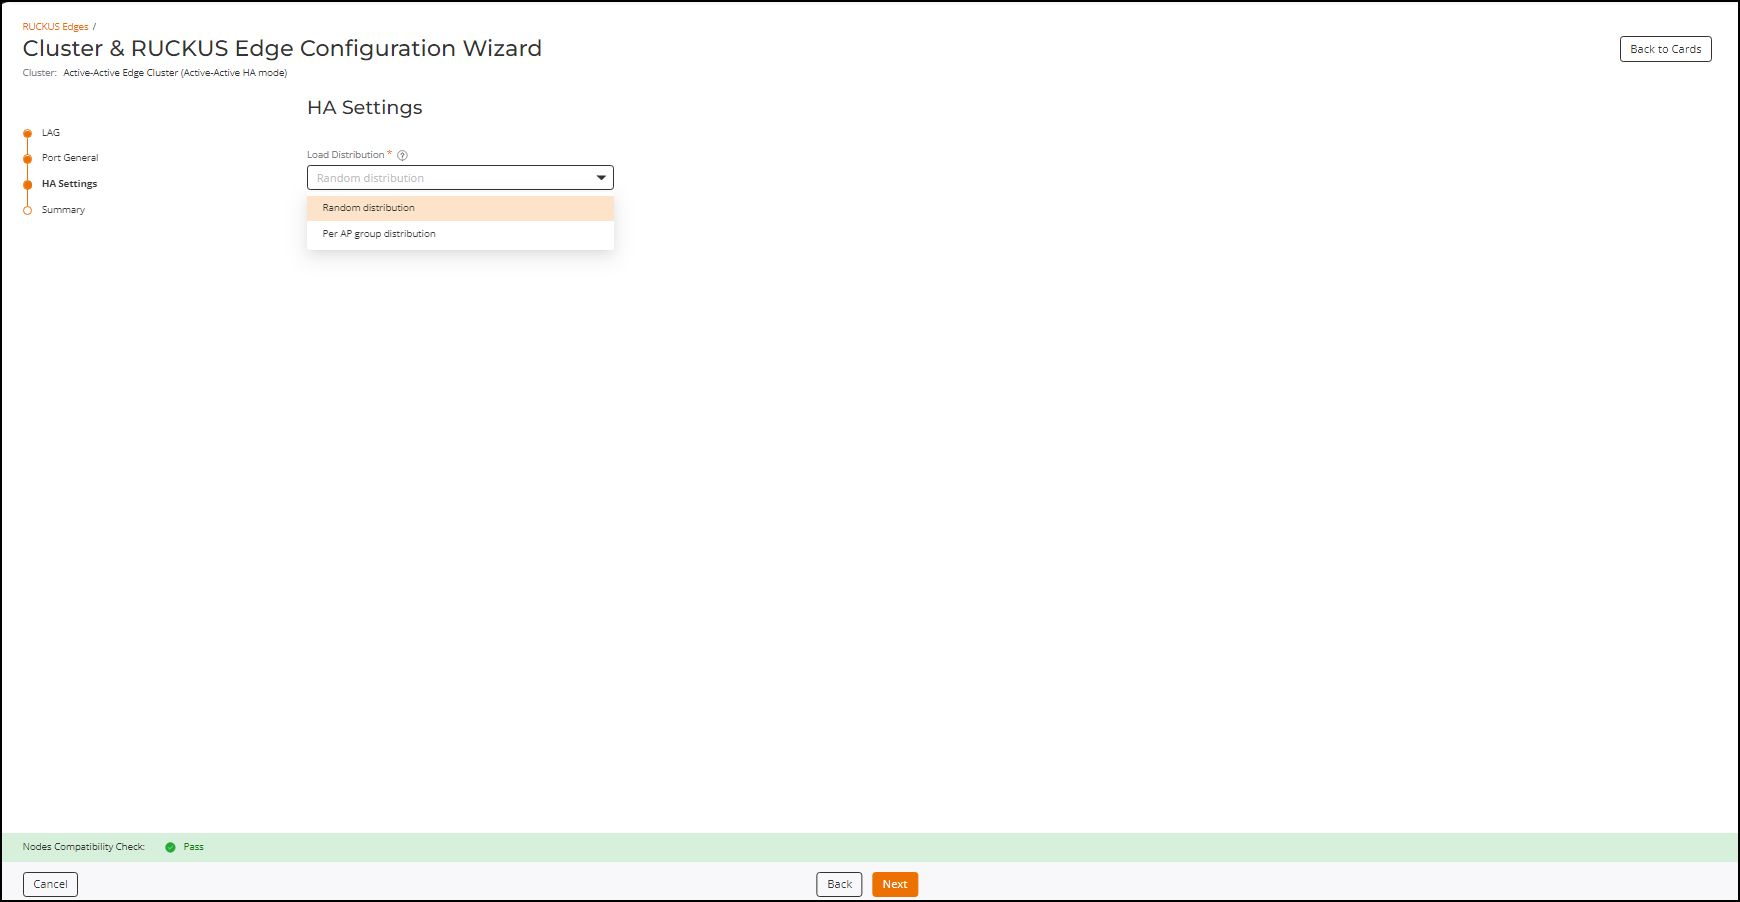
- Click HA Settings, the HA Settings page is displayed.
- Select the Load Distribution required from the following drop-down options:
- Click Next.
- Click Apply & Finish.