Troubleshooting
DNS
Verify that the Microsoft CA can resolve DNS.
CA Name
Verify that CA name is correct. The CA name is case-sensitive.
ASP.NET Installed on the IIS Server
If the Application Settings icon does not appear on the IIS server, verify that ASP.NET is installed on the IIS server. The entire ASP.NET icon set, which includes Application Settings, will not display if ASP.NET is not installed.
ASP Hosting Permissions
If you receive the following
Security Exception error when trying to access
http://site/?action=INFO, this typically indicates that the web server cannot use the files.
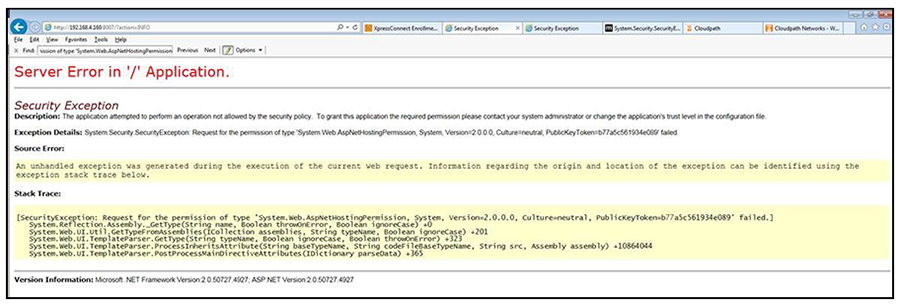
The key piece of information in this error message is System.Web.AspNetHostingPermission. When Internet Explorer encounters the files in the Integration Module zip files, it flags them as originating from the Internet, and blocks them.
To verify this, right-click one of the Integration Module files and view the
Properties. With the
General tab selected, in the
Security section, you see a message:
This file came from another computer and might be blocked to help protect this computer.
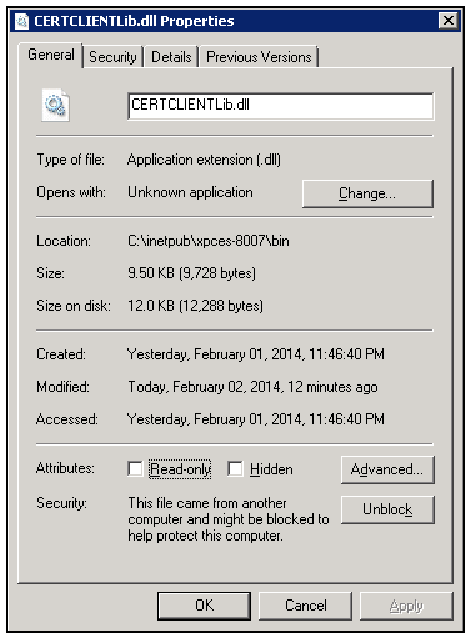
To correct this issue, check each file in the directory and Unblock any files that are listed as Blocked.
Restart the IIS Server
To apply these changes, the IIS Server must be restarted from the root node.
Failing Microsoft CA Test
Testing the Integration Module from the Certificate Templates page could result in failure and display a number a error messages as shown.
To resolve the issues, perform the following steps: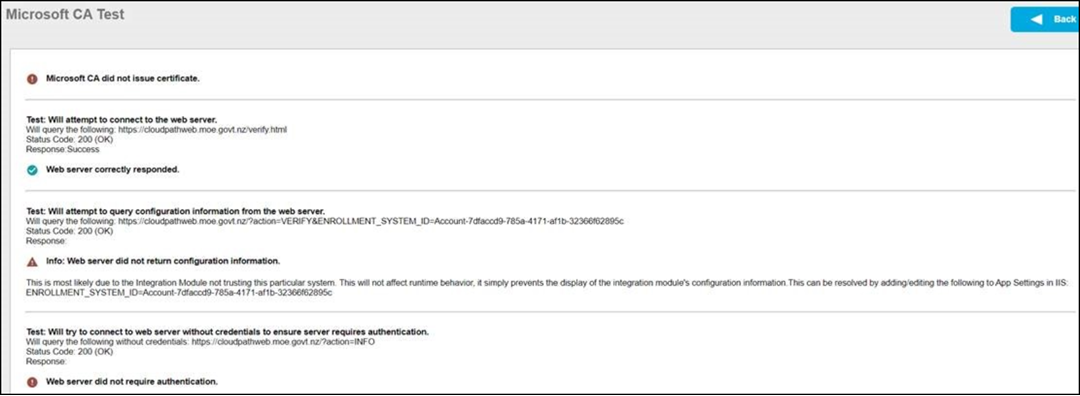
- Download the zip files as mentioned in the Downloading the Integration Module.
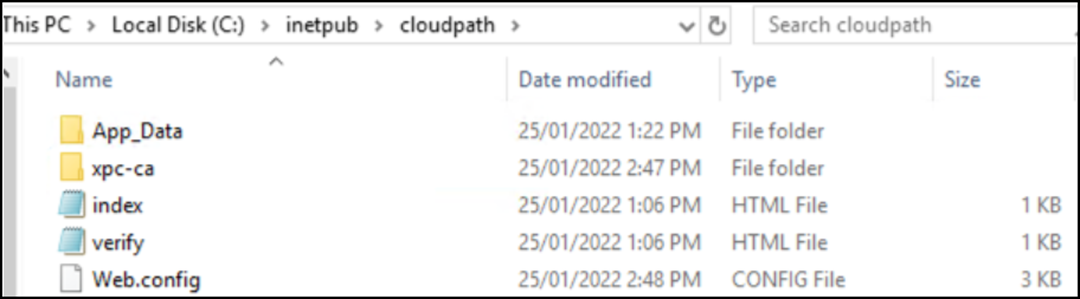
- Extract the contents of the zip file into the IIS server and added the application in the IIS Manager.
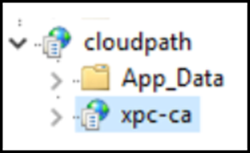
- Add the xpc-ca directory as an application in IIS Manager.
- Copy files index.html and verify.html into the xpc-ca directory.
- Configure the URL required for Cloudpath to
communicate with the Integration Module to
/cloudpath/xpc-ca. See Configuring the Certificate Template for the Microsoft CA for more information.