System Setup Wizard
Select Server Type
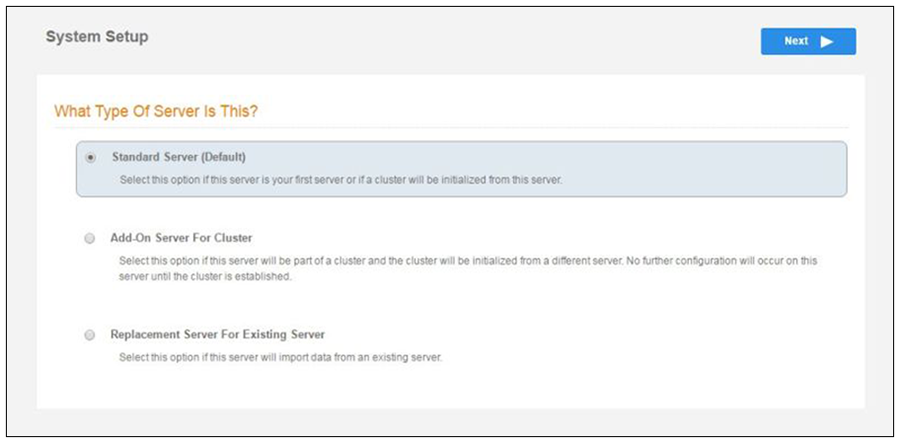
In most cases, select Standard Server, the default. This selection takes you through a setup wizard, which prompts you for the basic information required for a Cloudpath server.
If you are setting up this server for replication, you can choose to set the server as an Add-On or Replacement server. These selections provide an alternate set up process, requiring less information for the initial setup. Add-On and Replacement servers receive most of their configuration from the primary server in the cluster.
If you are setting up this server to replace an existing server, and you are importing the database from the existing server, select Replacement Server for Existing Server
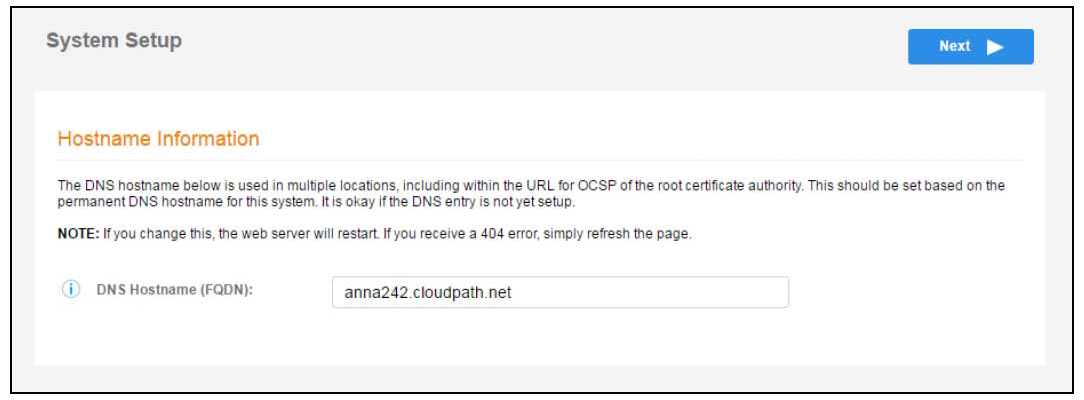
Select System Hostname
Configure the System WWW Certificate
The system is configured to use HTTPS, but does not currently have a valid WWW server certificate. An invalid WWW server certificate can impact the ability of end-user enrollments, causing 404 errors due to a lack of trust.
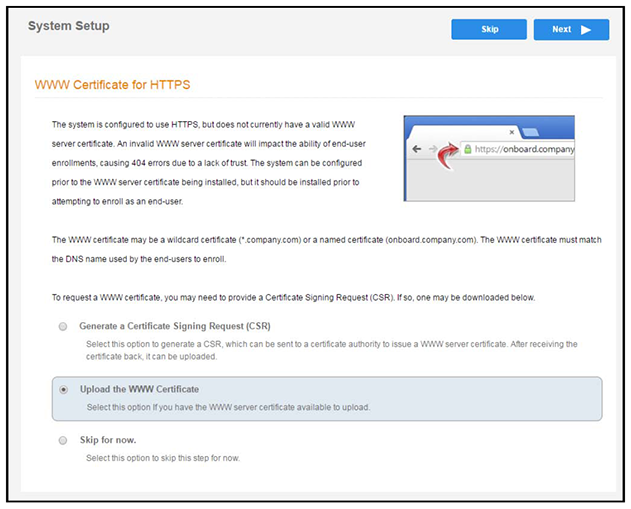
You can skip this step for the initial configuration. However, it should be installed before adding tenant accounts, or enrolling end-users. You can configure the WWW server certificate from service.
Cloudpath supports web server certificates in P12 format, password protected P12, or you can upload the individual certificate components; the public key, chain, and private key or password protected private key.
Upload the WWW Certificate
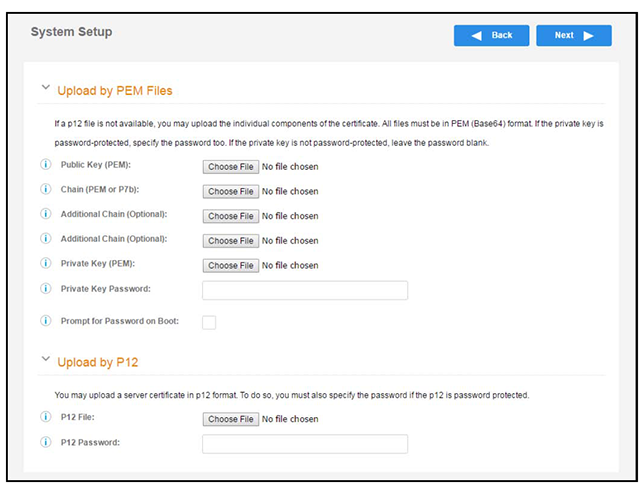
Browse to locate and upload the web server certificate and click Next to continue with the system setup.
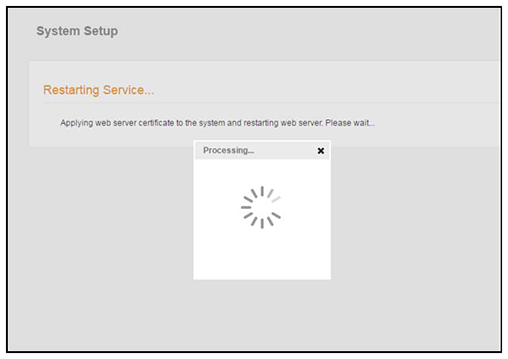
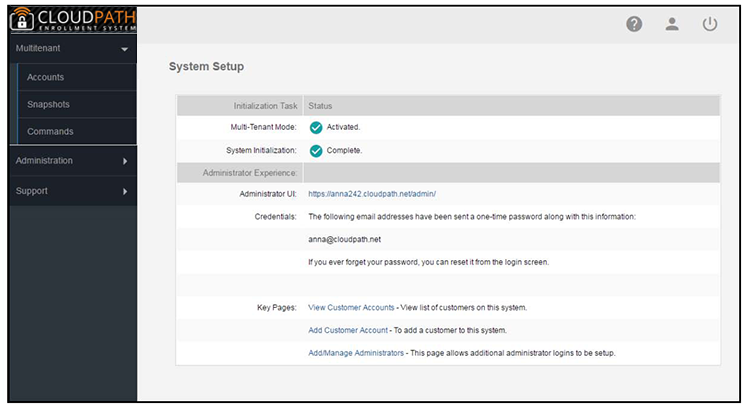
After restarting the web service, the system setup is complete.
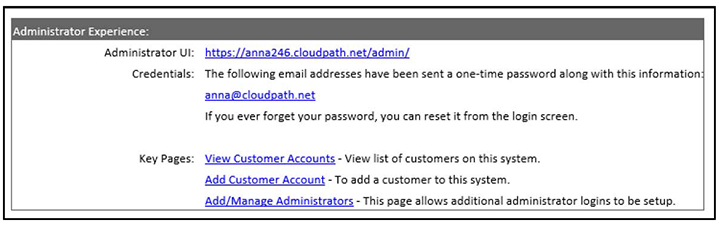
The server displays a setup complete page, and a confirmation email is sent to the administrator.