Copying Zone Settings from the Inventory Window
The Copy Zone functionality allows you to
replicate the configuration of an existing zone to a new zone, either within the
same
cluster or across a different cluster in the network. This feature streamlines zone
deployment by duplicating essential settings, such as WLANs, AP configurations,
Dynamic PSKs
(DPSKs), and scheduling policies, from the source zone to the new zone created in
the
destination cluster.
Note: The Copy Zone functionality is supported in SmartZone 3.6.2 and later versions.
Note: The Copy Zone functionality supports
copying zone settings only between SmartZone controllers running the same
version and target zones that are on the same firmware version.
When copying a zone to a different cluster, a new zone is created using the target cluster's default AP firmware version. When copying a zone within the same cluster, the original zone’s AP firmware version is preserved in the newly created zone.
Note: The Copy Zone functionality is supported only with a valid active license. If the
license has expired or is not activated, the Copy Zone functionality will be
disabled and cannot be used.
Complete the following steps to copy existing zone settings and create a new zone.
- On the menu, click Inventory.
- In the APs tab, select a
zone from which you want to copy the zone settings.
- Click the
 icon to copy selected zone settings and create a new zone.The Copy Zone dialog box is displayed.Note: The Copy Zone dialog box displays the current configuration details of the zone.
 - Complete the following fields to
copy zone settings.
- Cluster: Select the required cluster to which you want to add the zone from the list.
- Domain: Select the required domain to which you want to add the zone from the list.
- New Zone Name: Enter the new zone name.
- Logon ID: Enter the username of the new zone.
- Logon
Password: Enter the password of the new zone.
Note: After successfully onboarding APs to the target AP Zone, the original AP login settings (logon id and password) will be updated to the newly created AP Zone's logon id and password.
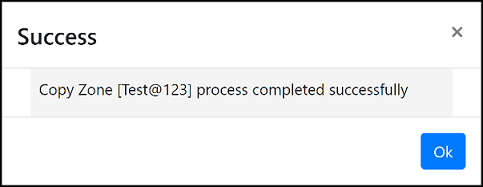
- Click Copy.
- Click Ok.