Importing RND 3.0 Configuration Data to the RND 3.5 Database
Complete the following steps to import data from RND 3.0 MongoDB to the RND 3.5 database.
- Log in to the RND admin portal.
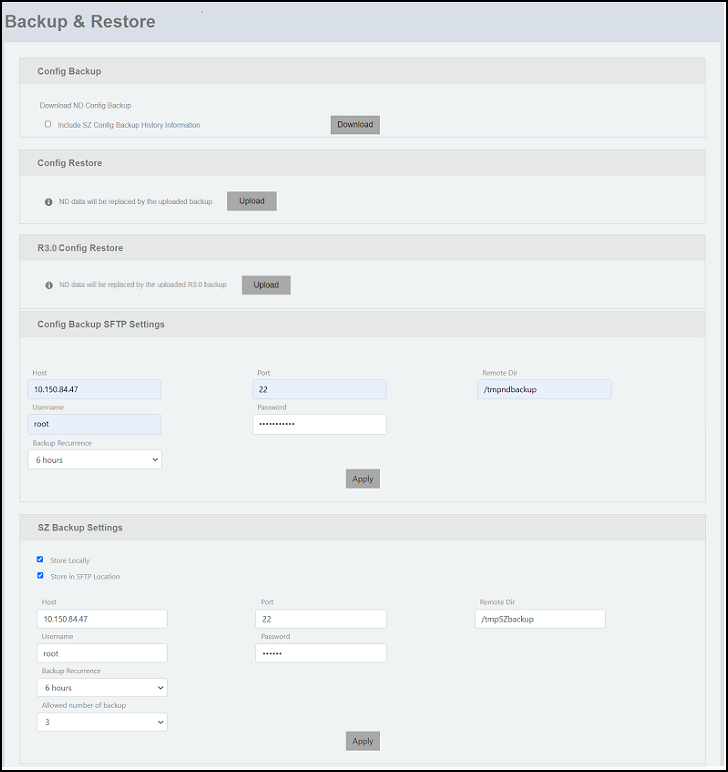
- Go to Admin > Backup & Restore.
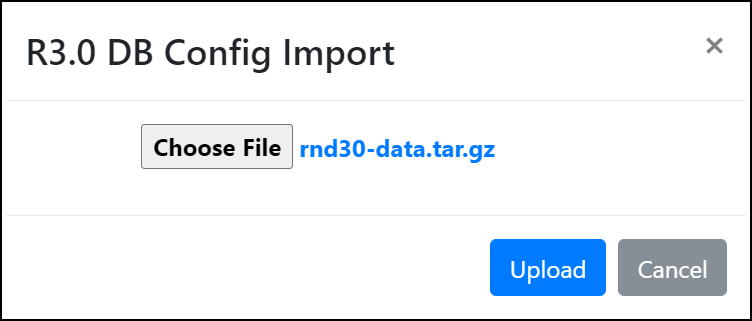
- In the R3.0 Config Restore panel, click Upload to navigate and choose the rnd30-data.tar.gz file.
- Click Upload. A message is displayed to confirm whether you want to override the database configuration.
- Click OK to confirm. A
confirmation message is displayed indicating that the RND 3.0 database
configuration is successfully imported to the PostgreSQL database.
If the backup configuration contains a large amount of data, data migration will be slow because it involves validation of each record before importing the data. In such a scenario, it is recommended to set low network latency between the nodes. For example, in a two-node cluster environment, if the RND 3.0 backup configuration contains more than 24,000 records and the registration rules count is above 2,000, it is recommended to set low network latency between the nodes. That is, when the two-node RND cluster is set with a network latency of 3 ms, it takes 39 minutes to import RND 3.0 backup configuration data to RND 3.5, whereas it takes only 8 minutes to import the same amount of configuration data to RND 3.5. without any latency time (0 ms) set between the nodes.