Configuring Hotspot 2.0 Release 1 Identity Provider
An identity provider is required for Hotspot 2.0 Release 1.
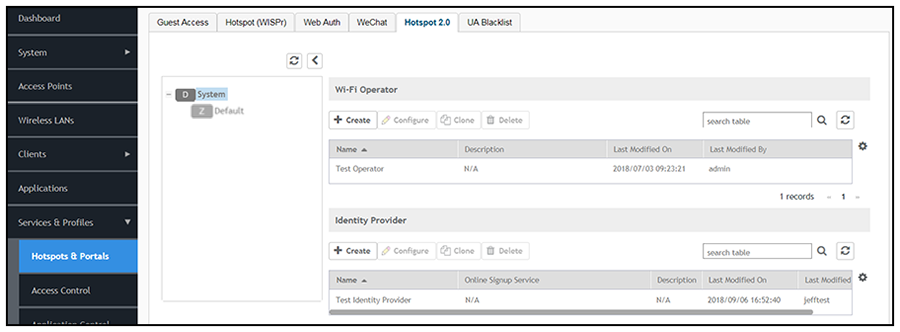
- Navigate to Configuration > Services & Profiles > Hotspots & Portals , then click the Hotspot 2.0 tab.
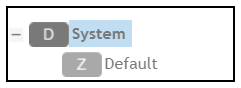
- Be sure that "System" is highlighted:
- Under the "Identity Provider" section of the screen, click
Create.
The Create Hotspot 2.0 Identity Provider screen appears. The Hotspot Identity Provider screen consists of the following tabs, as shown in Creating the Identity Provider - Network Identifier Tab:
Network Identifier Tab
The Network Identifier tab of the Identity Provider screen is shown below, with an example configuration.
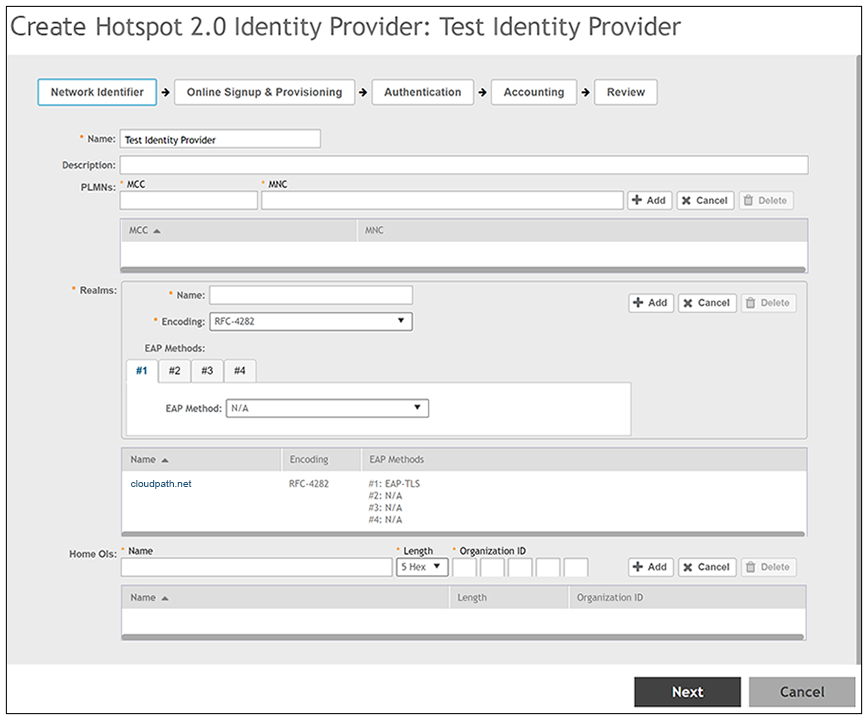
- In the Name field, enter a descriptive name for the identity provider.
- The MCC and MNC fields can be left blank.
- In the Realms section, do the following to create a Network Access Identifier (NAI)
realm :
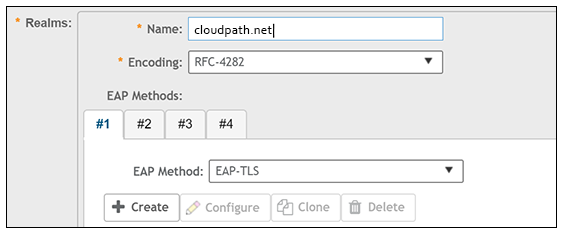
- Enter the name of the realm for the Cloudpath system.
- From the Encoding drop-down list, select RFC-4282.
- From the EAP Method drop-down list, select EAP-TLS for the identity provider. You can enter multiple EAP methods for the same realm.
- Click Create (see the following figure):
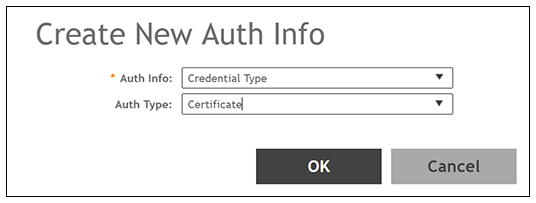
- In the ensuing Create New Auth Info screen, select "Credential Type" from the Auth Info drop-down list, and select "Certificate" from the Auth Type drop-down list:
- Click OK.
- Click Add to add the realm to the list of configured realms.
You can repeat this step to add additional realms. As many as 16 NAI realm entries can be created. Each NAI realm entry can contain up to four EAP methods. - Home OIs can be left blank.
- Click Next to apply the configuration and continue to Online Signup & Provisioning.
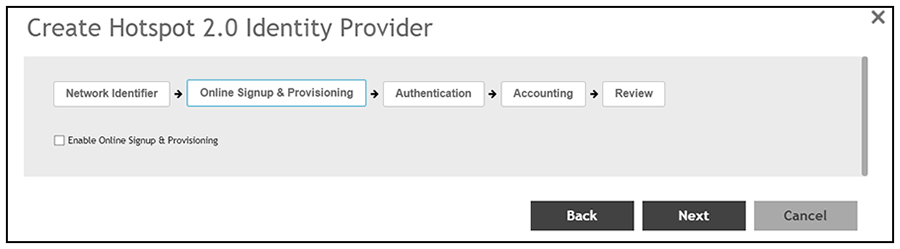
- Do not check the Enable Online Signup & Provisioning box; click Next and continue to the Authentication tab.
Creating the Identity Provider - Authentication Tab
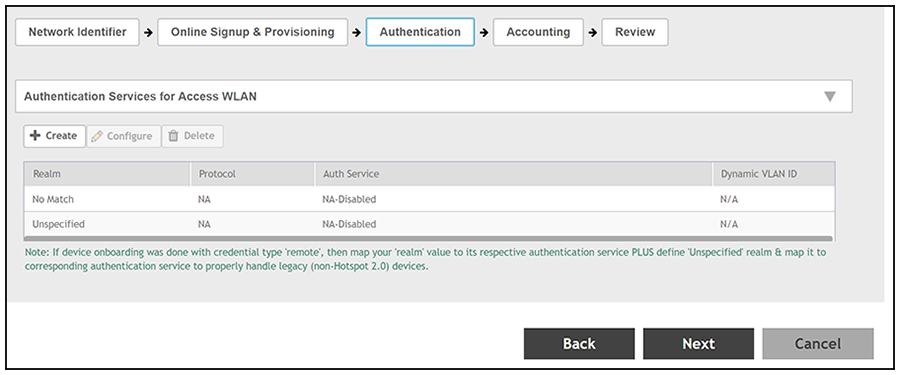
Add an authentication server during the Identity Provider configuration process by following these steps:
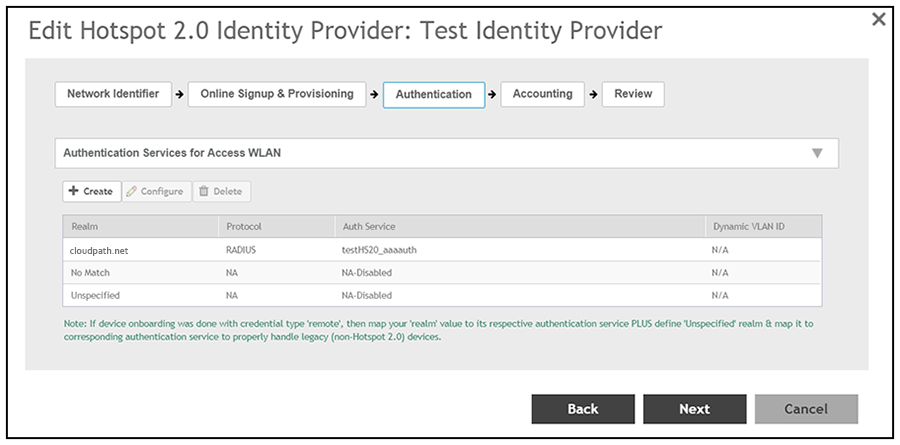
- From the Authentication tab (see screen below), click Create.
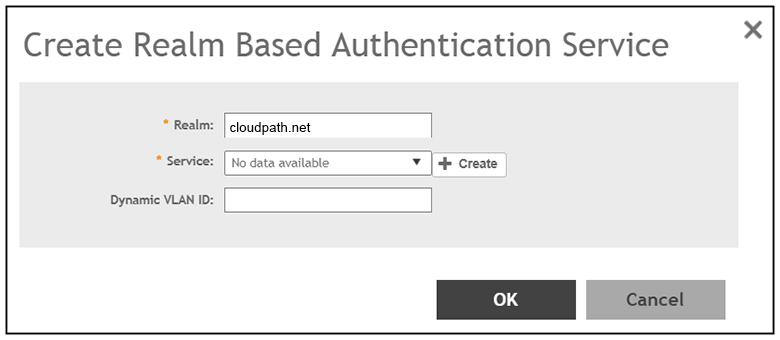
- In the Create Realm Based Authentication Service screen, enter the name of the Realm, then click Create.
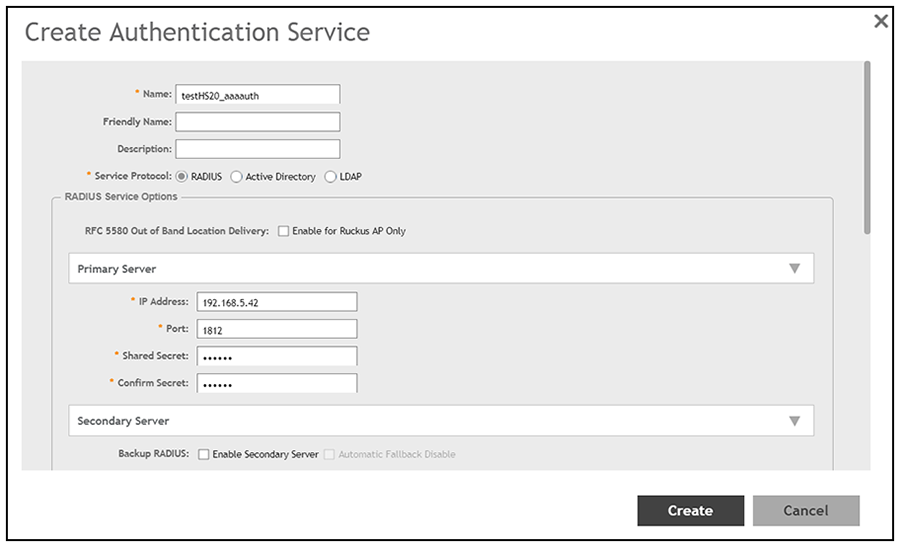
- Configure the Create Authentication Service screen, as shown in the following example:
- In the Name field, enter a descriptive name of your choice.
- For Service Protocol, the radio button selected must be RADIUS.
- In the IP Address field, enter the IP address of the Cloudpath system.
- In the Port field, enter 1812.
- The Shared Secret and Confirm Secret fields must match the shared secret for the Cloudpath onboard RADIUS server (the navigation path on your Cloudpath system is Configuration > RADIUS Server).
- You can use the default values for remaining fields, then click Create.
- When you are returned to the Create Realm Based Authentication Service screen, click OK.
- The new authentication server should now appear in the "Authentication Services for Access WLAN" list.
- Click Next to proceed to the Accounting tab.
Creating the Identity Provider - Accounting Tab
Optionally, you can add an Accounting server during the Identity Provider configuration process by following these steps:
- From the Accounting tab, check the Enable Accounting box.
- Click Create.
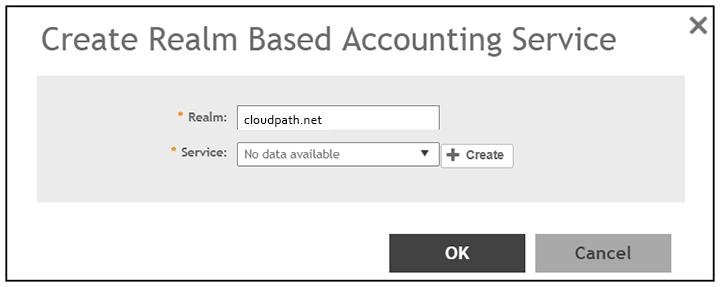
- In the Create Realm Based Accounting Service screen, enter the name of the Realm, then click Create.
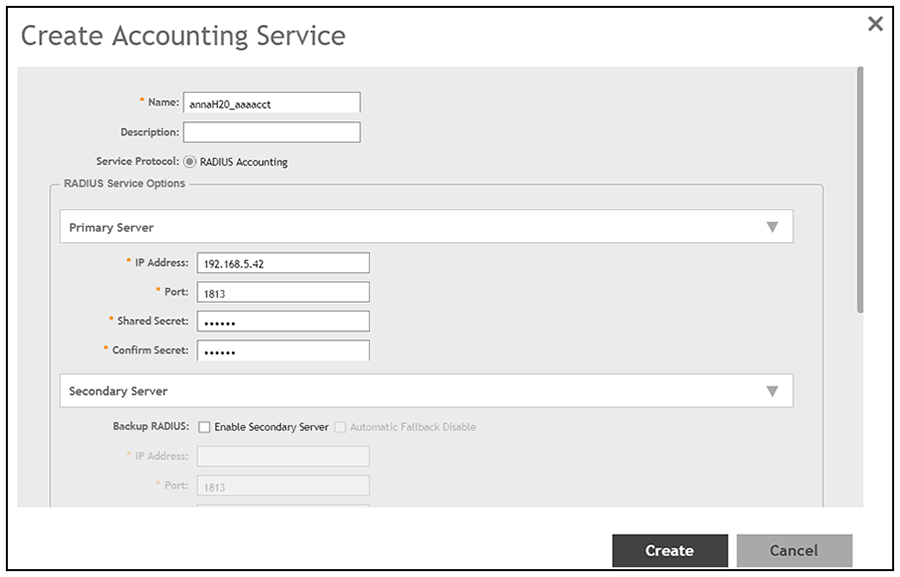
- Configure the Create Accounting Service screen, as shown in the following example:
- In the Name field, enter a descriptive name of your choice.
- For Service Protocol, the radio button selected must be RADIUS Accounting.
- In the IP Address field, enter the IP address of the Cloudpath system.
- In the Port field, enter 1813.
- The Shared Secret and Confirm Secret fields must match the shared secret for the Cloudpath onboard RADIUS server (the navigation path on your Cloudpath system is Configuration > RADIUS Server).
- You can use the default values for remaining fields, then click Create.
- When you are returned to the Create Realm Based Authentication Service screen, click OK.
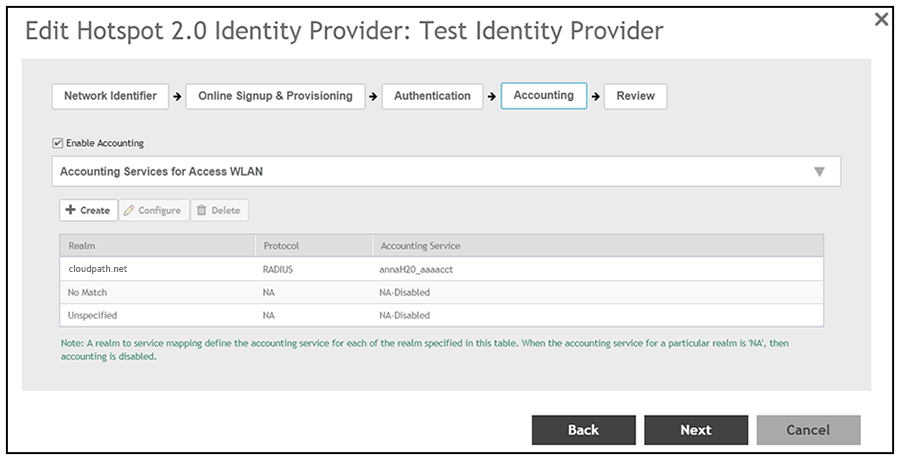
- The new Accounting server should now appear in the "Accounting Services for Access WLAN" list:
- Click Next to proceed to the Review tab.