Creating a Hotspot 2.0 WLAN Profile
A WLAN Profile is required for Hotspot 2.0 Release 1.
- In the Controller UI, be sure to navigate to Configuration > Services & Profiles > Hotspots & Portals, then click the Hotspot 2.0 tab.
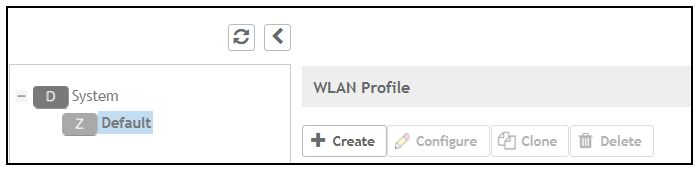
- Be sure to highlight the zone where you want this profile to reside. (You cannot create the WLAN profile with "System" highlighted.) The example below uses the Default zone.
- In the WLAN Profile section of the screen (shown above), click Create.
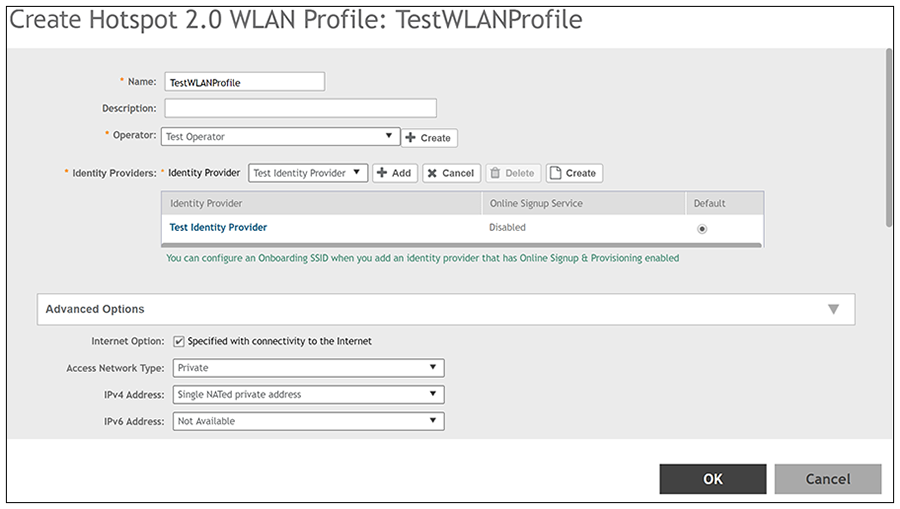
- In the Name field, enter a descriptive name for the profile.
- In the Operator field, use the drop-down list to select the previously configured Wi-Fi Operator.
- In the Identity Providers field, use the drop-down list to select the previously configured Identity Provider, then click Add.
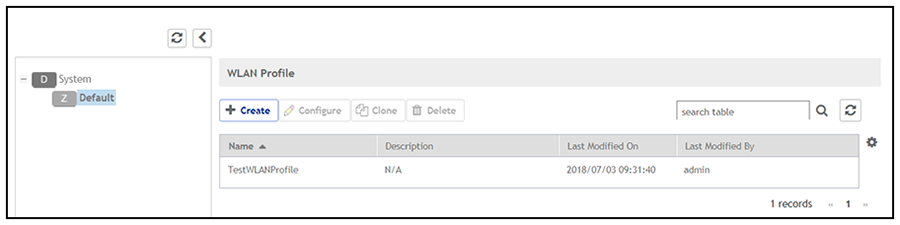
- Use the default values for the remaining fields, then click OK.