Installing RUCKUS IoT Controller on a VMware ESXi
- Download the RUCKUS IoT Controller distribution package in the .OVA file format from the RUCKUS Support website at https://support.ruckuswireless.com.
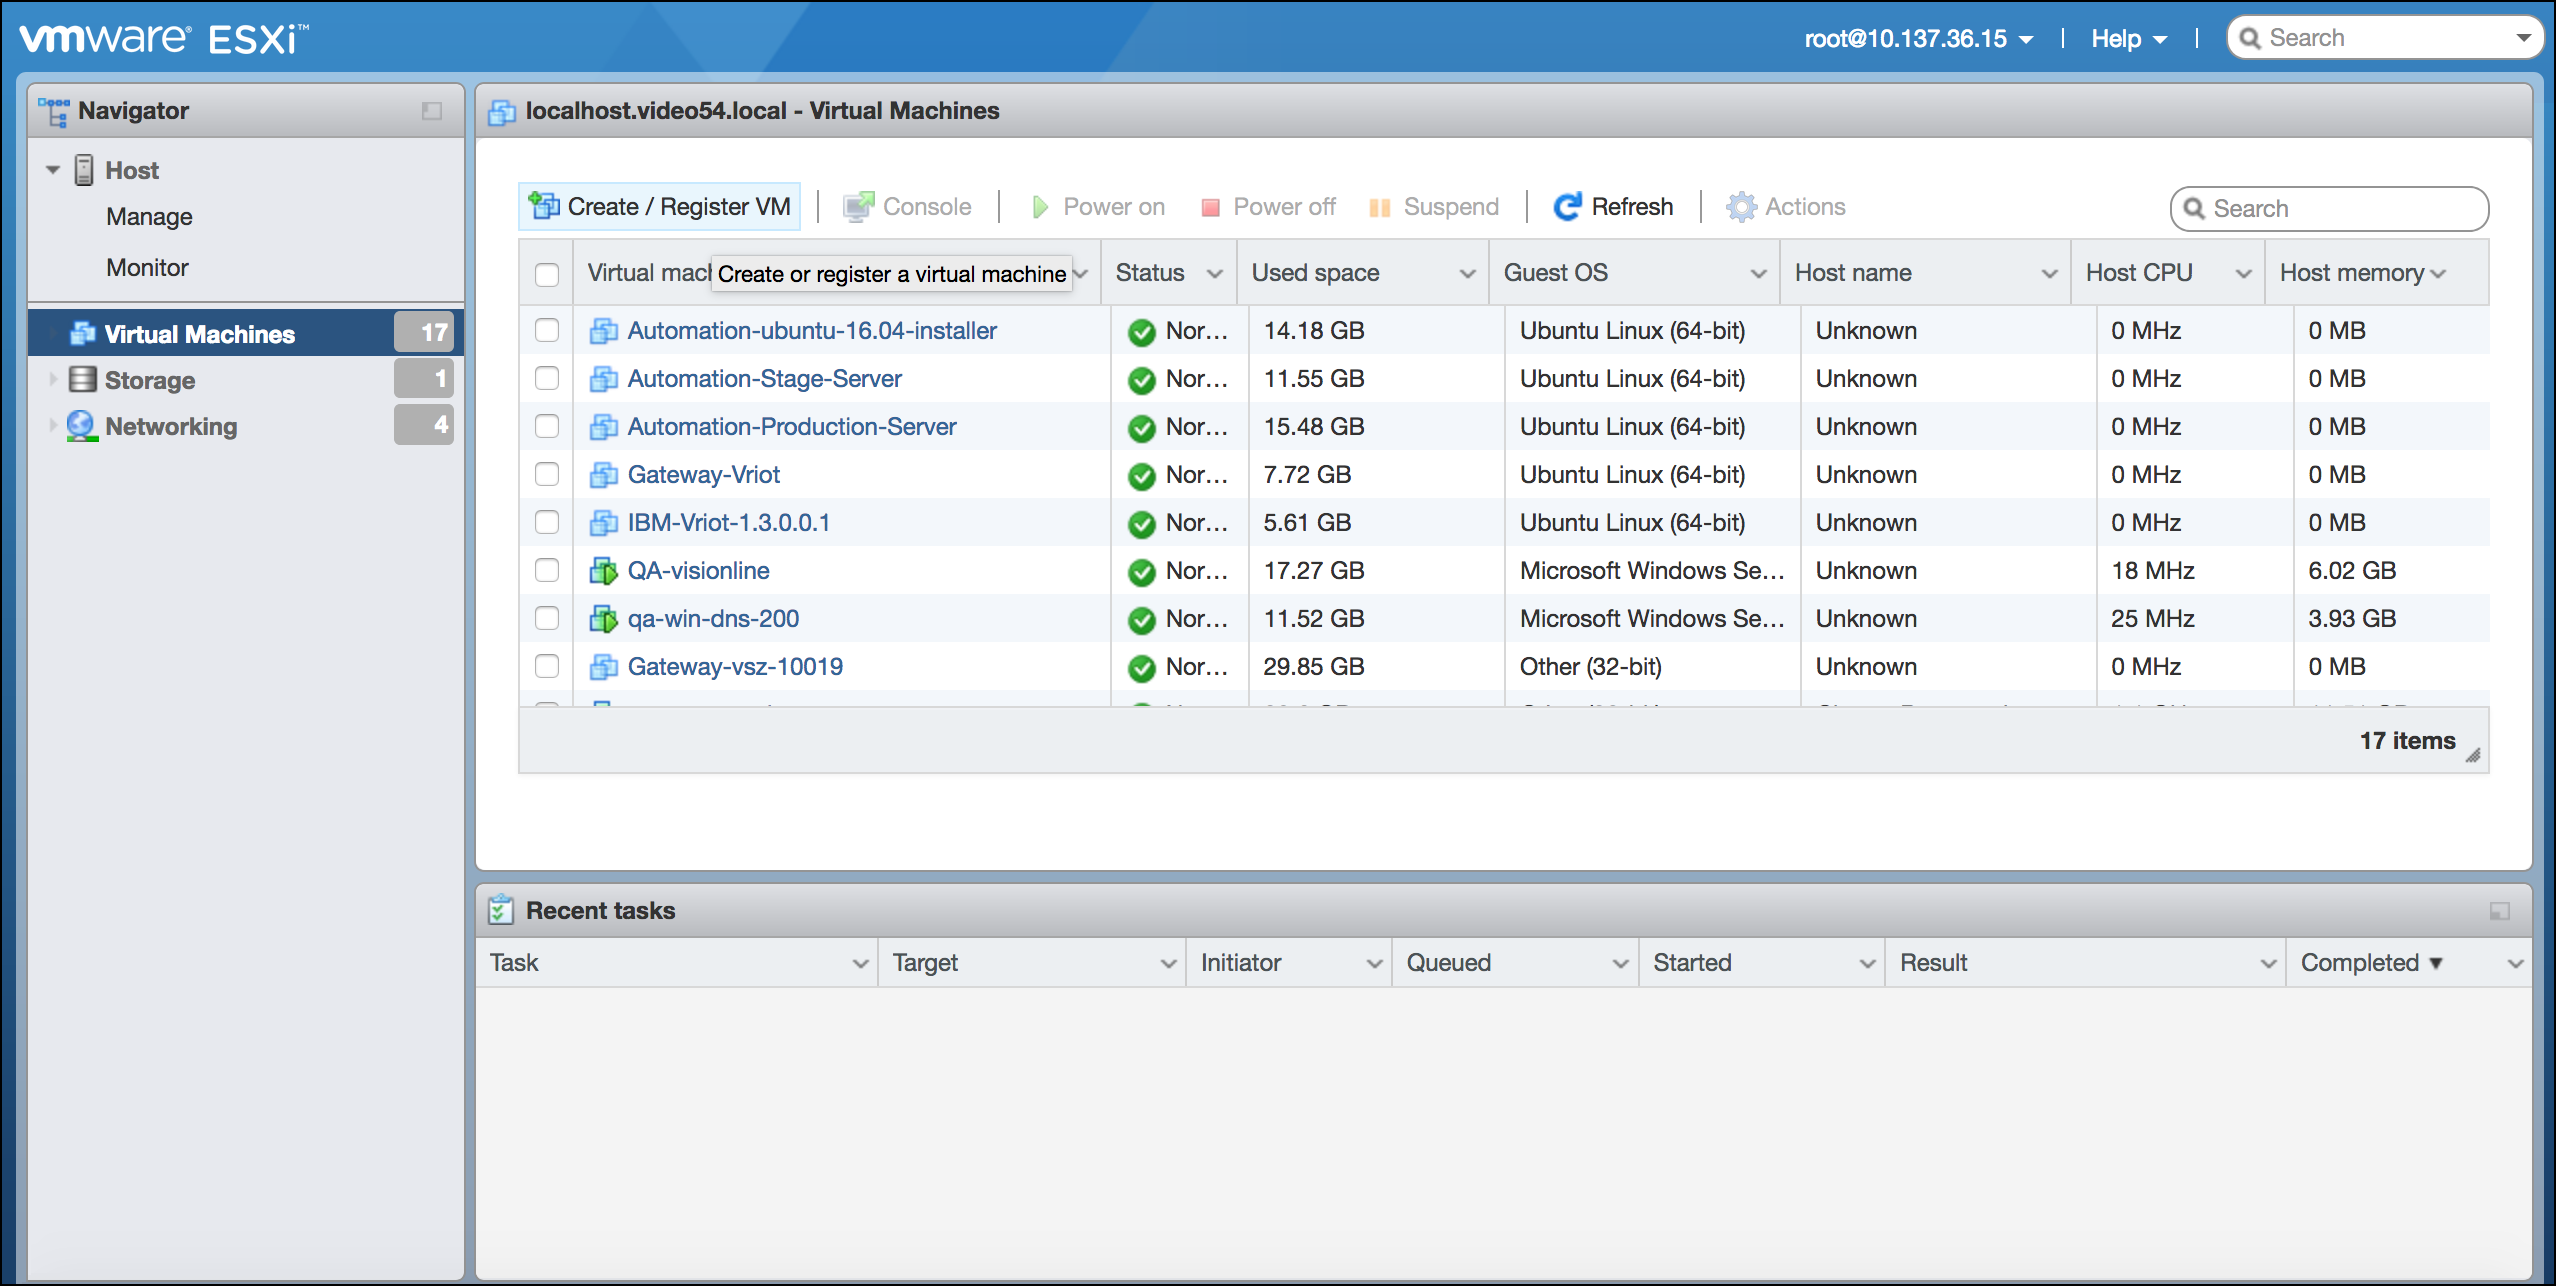
- Open VMware ESXi and select Virtual Machines from the Navigator pane.
- Click Create/Register VM.
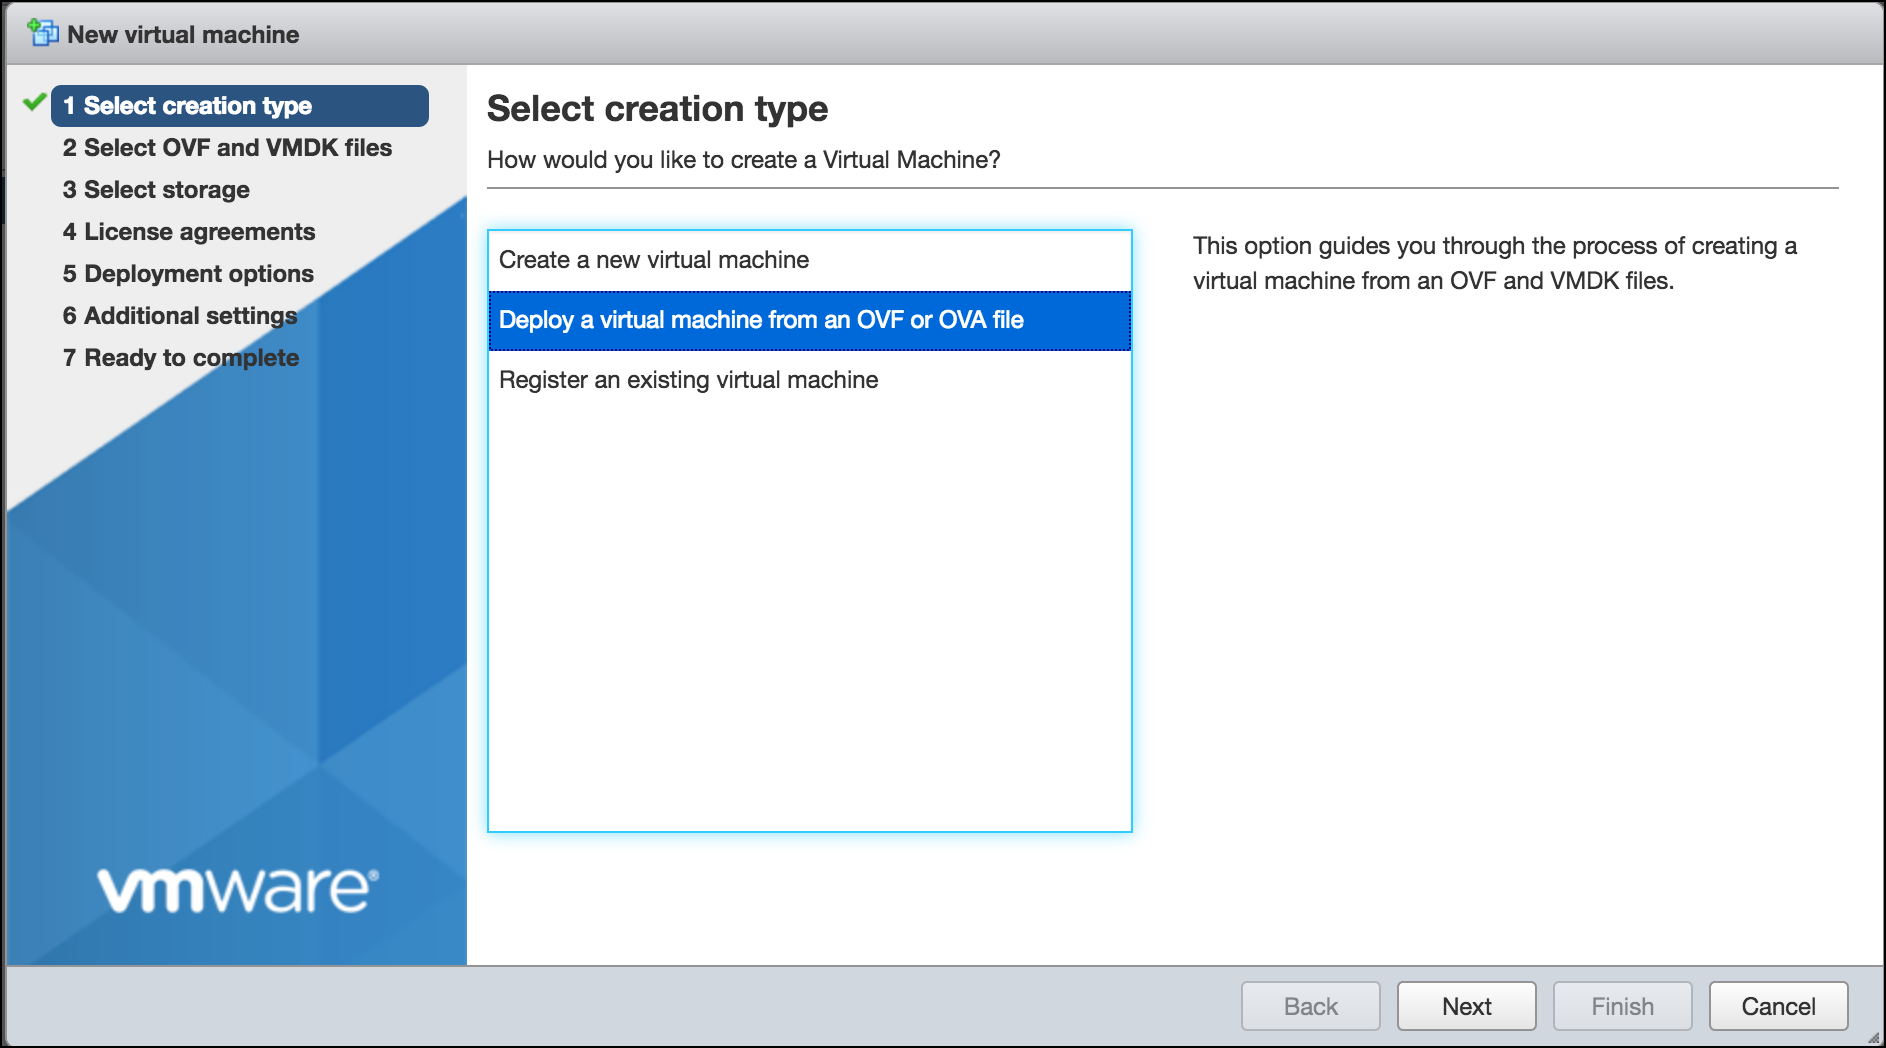
- On the New virtual machine page, click Select creation type, and select Deploy a virtual machine from an OVF or OVA file. Click Next.
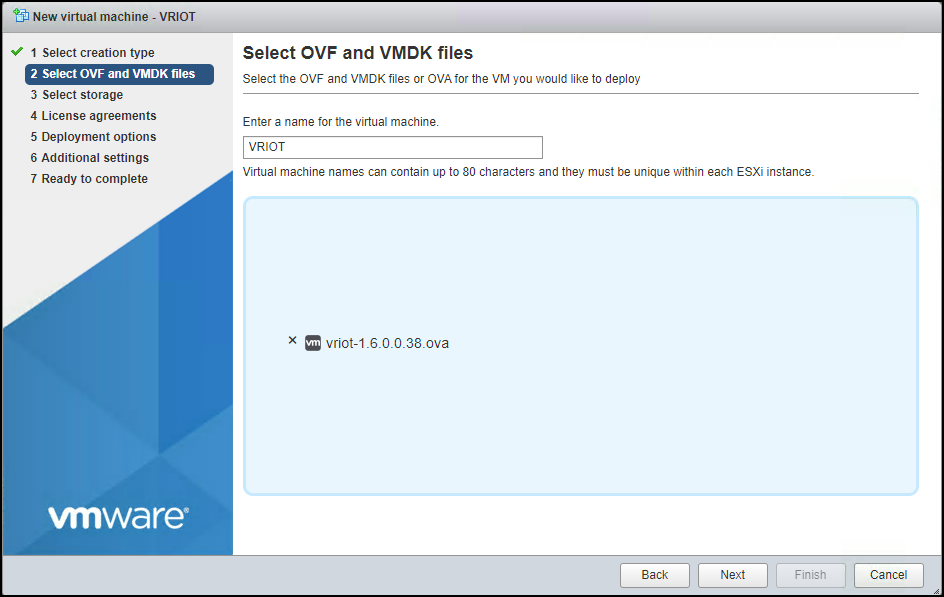
- Click Select OVF and VMDK files, enter a name for the virtual machine, and select the OVF file. Click Next.
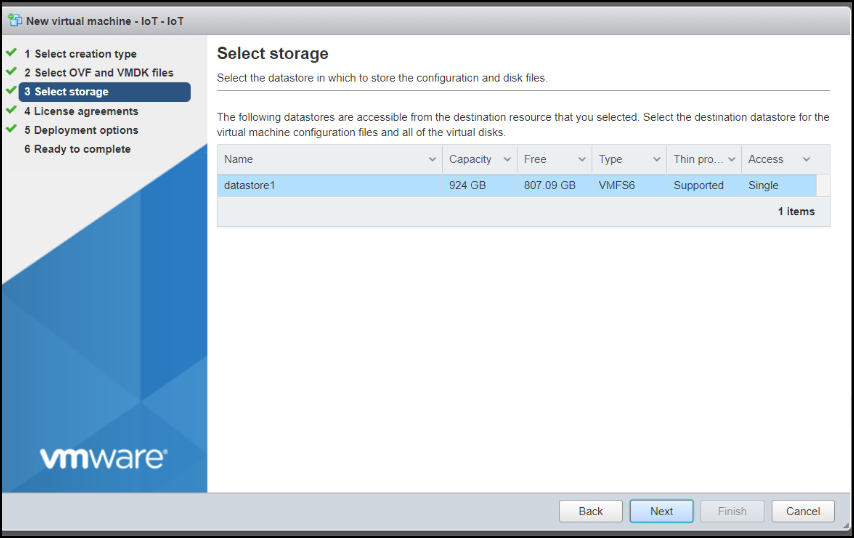
- Click Select storage, and select the datastore in which you want to save the configuration and disk files. Click Next.
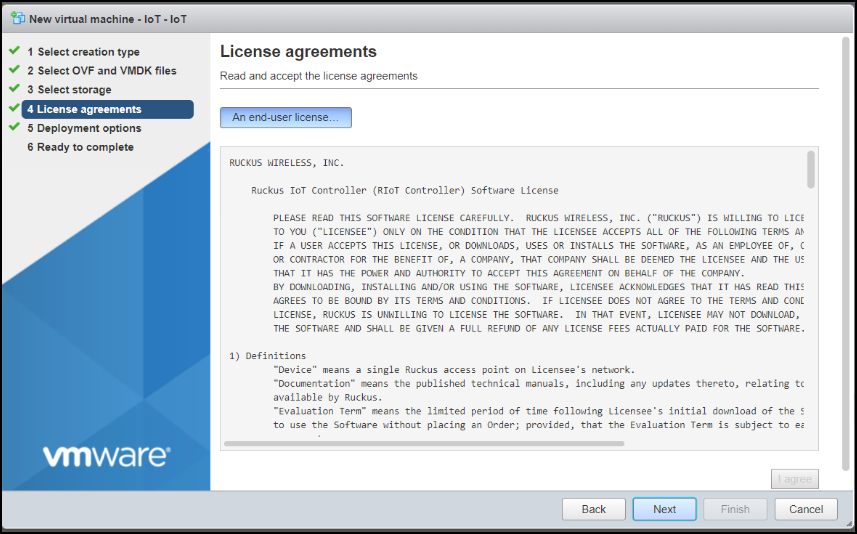
- Click License agreements to accept the terms and conditions of the software license and click Agree.
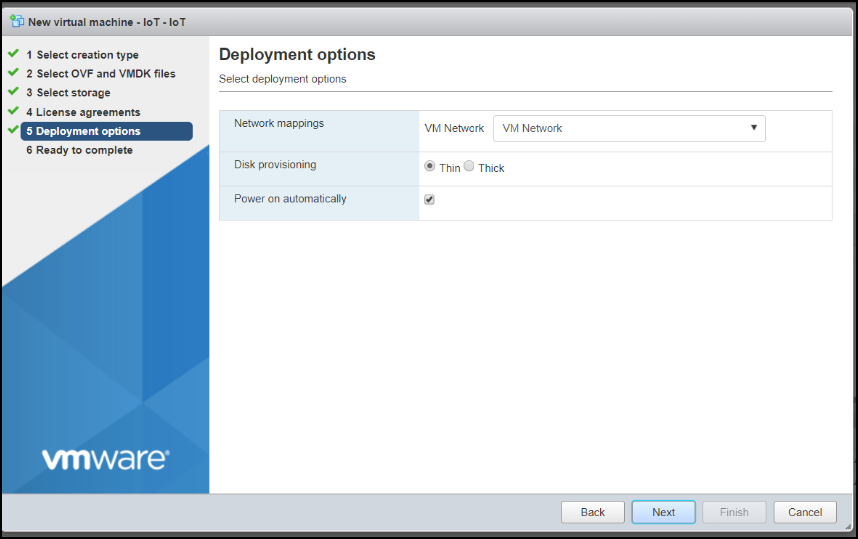
- Click Deployment options, and select the Network mappings and Disk provisioning. Click Next.
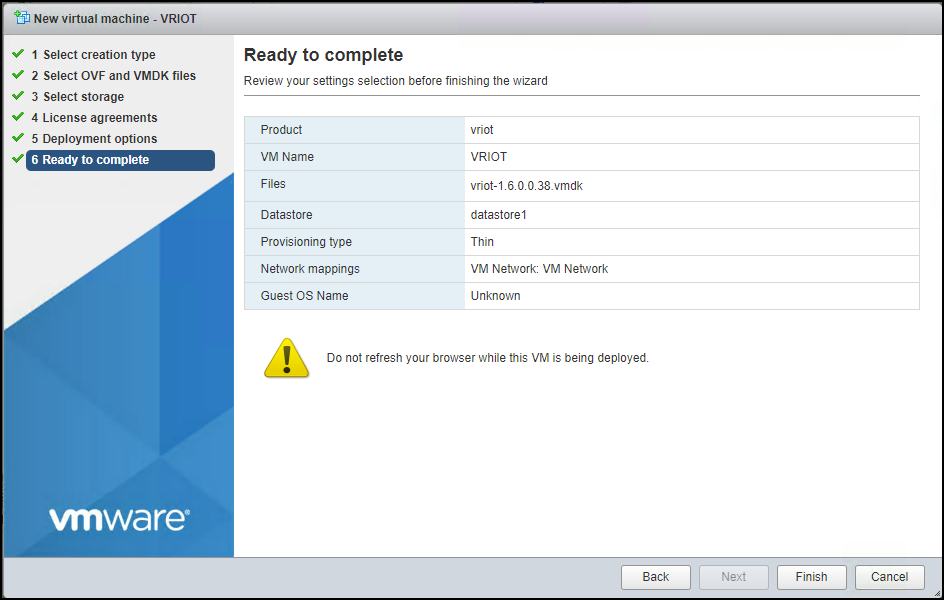
- Click Ready to complete and review the settings. Click Finish.
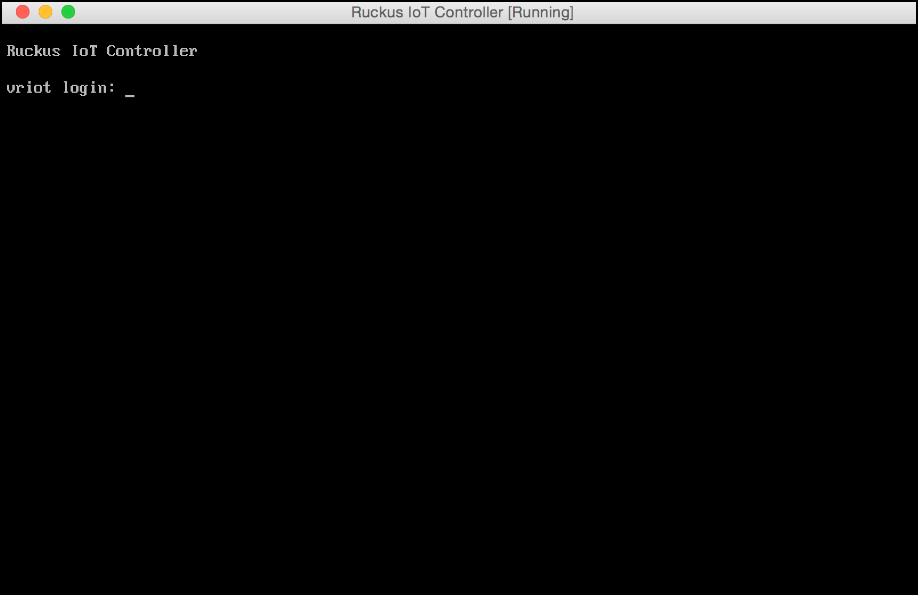
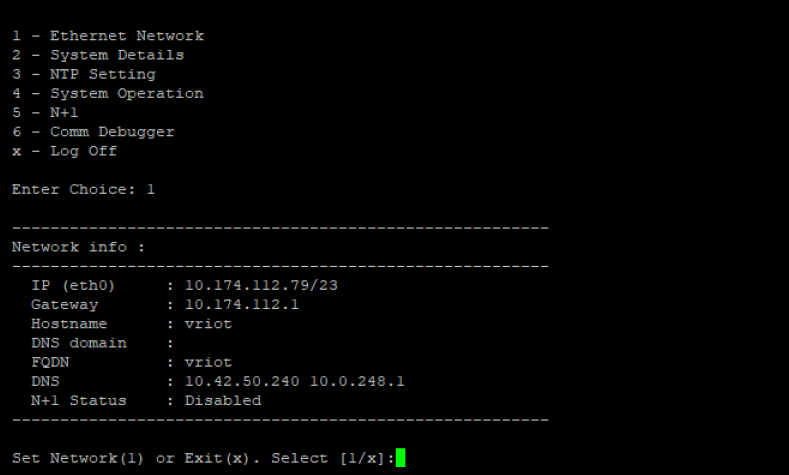
- Log in to the virtual machine using the username and password.
- Enter 1 in the Enter Choice field to get the IP address of the virtual machine.
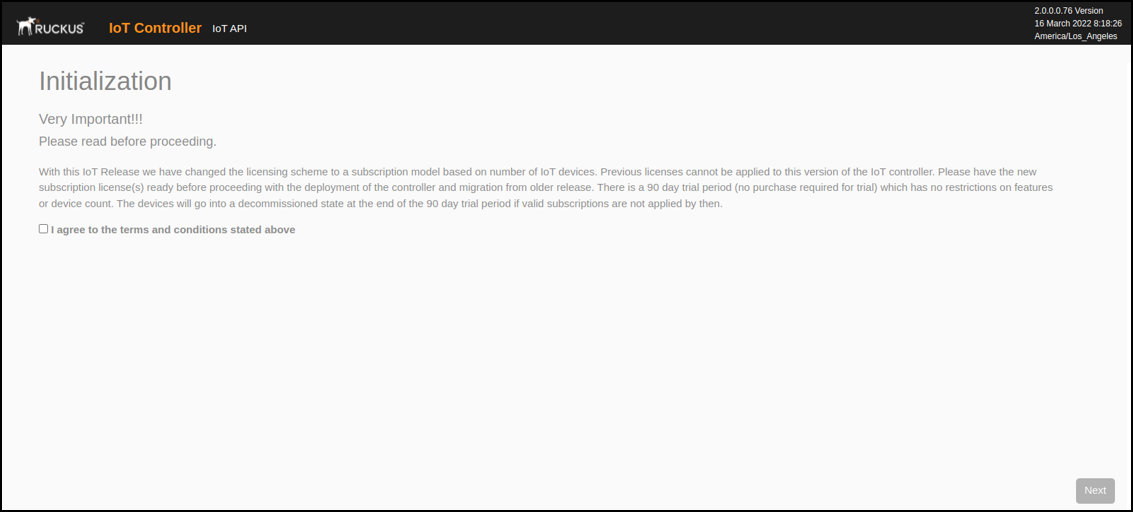
- Open a web browser on your host machine and enter the IP address of the VM in the address bar.
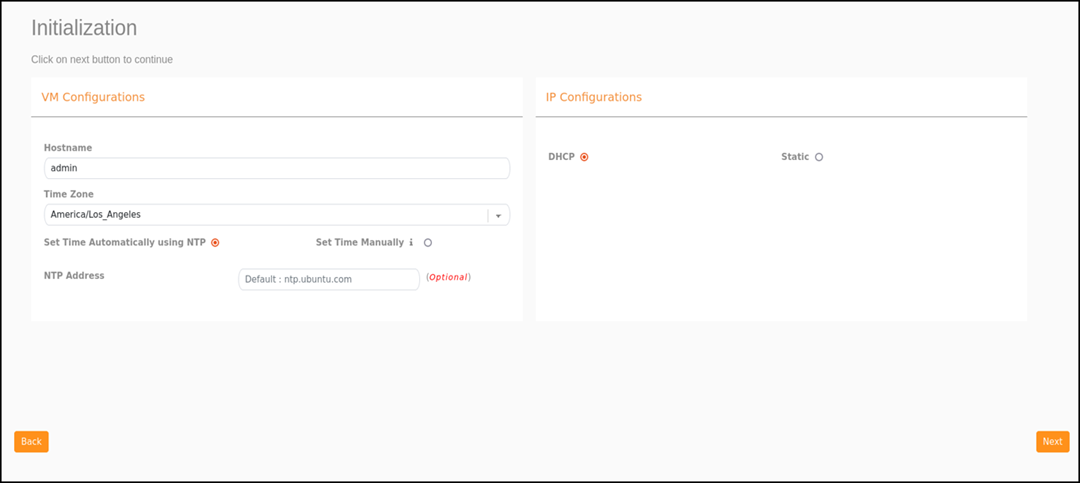
- Select the required services and click Next.
- Confirm the configuration information and click Next.
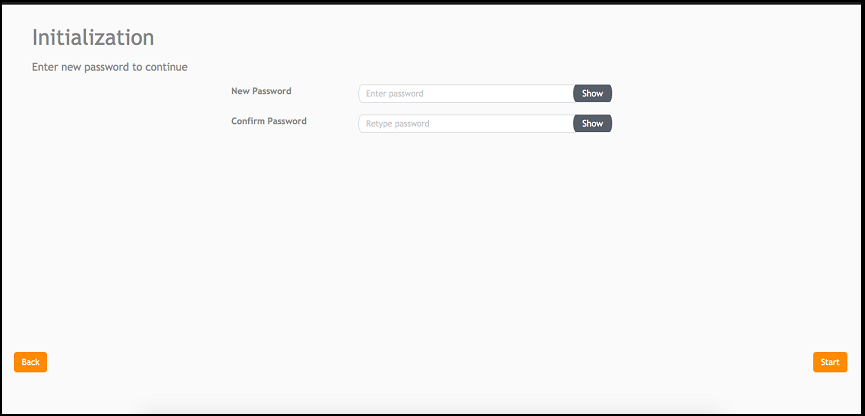
- Enter a new password and re-enter the new password in the Confirm Password field. Click Start.
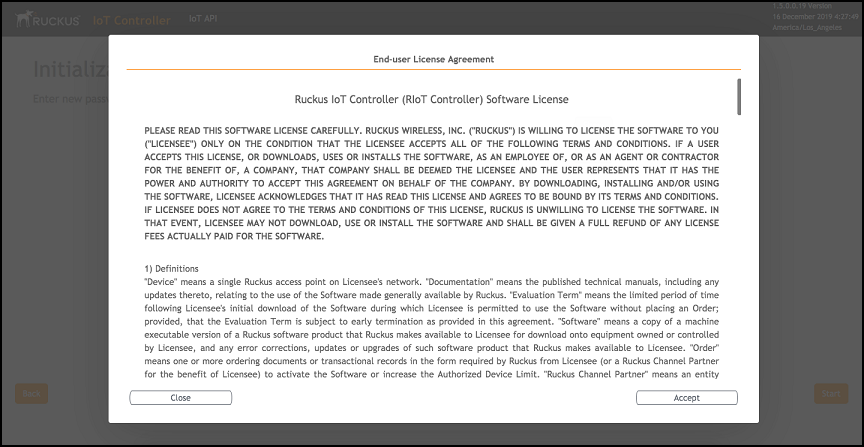
- The End-user License Agreement page is displayed. Click Accept to accept the RUCKUS IoT Controller license.