Onboarding SmartZone Controller to RUCKUS AI
- Sync SmartZone controller to a valid NTP server.
- Make sure that the SmartZone controller has access to outbound port 443 and keep the ports opened in the network firewall settings, refer to RUCKUS AI User Guide for Firewall Ports to Open for RUCKUS AI information.
- Make sure that the SmartZone has fully paid RTU license and AP license.
- Note:
- SmartZone controllers and APs serve as the data source for RUCKUS AI. After allocating licenses to the APs, you must wait up to one hour for the data to be populated across all dashboards and reports.
- Each SmartZone controller is licensed to a specific organization; you can check the license affiliation on the RUCKUS Support website. During onboarding, the SmartZone controller is automatically linked to the specific organization in RUCKUS AI.
- If you are a partner onboarding your customer's SmartZone controller by using your own RUCKUS Support credentials, then the SmartZone controller will be onboarded to your customer's organization, and you are automatically added as an administrator in your customer's RUCKUS AI account.
- Activate the RUCKUS AI licenses in License Manager (LiMAN), from https://support.ruckuswireless.com. For more information, refer to the RUCKUS AI Software Licensing Guide.
- Log in to the SmartZone controller user interface that runs SmartZone 5.1.2 or later.
- Enable SmartZone cloud software
services and then connect SmartZone to your RUCKUS AI
account by performing the following steps. The menu navigation has changed in SmartZone 6.0 and later releases.
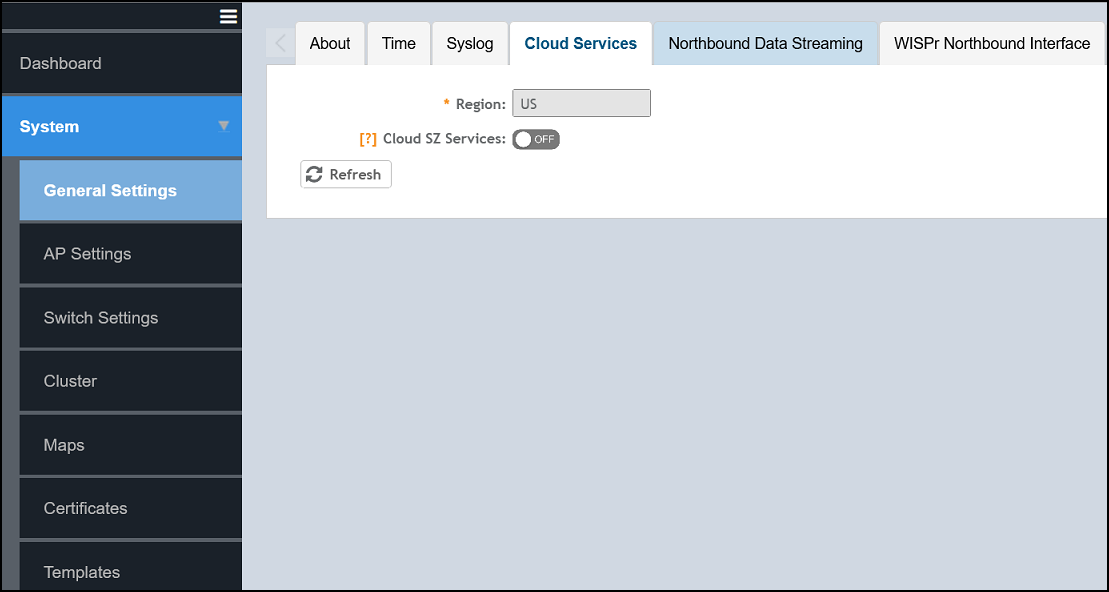
- Select .
- In the Region field, select the specific cluster region US, EU, or Asia from the dropdown to which you want to onboard the controller.
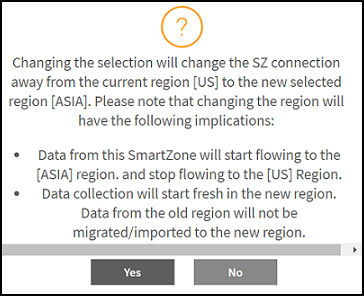
- Click Yes if you wish to change the region or select No to continue with the current selection and exit the window.
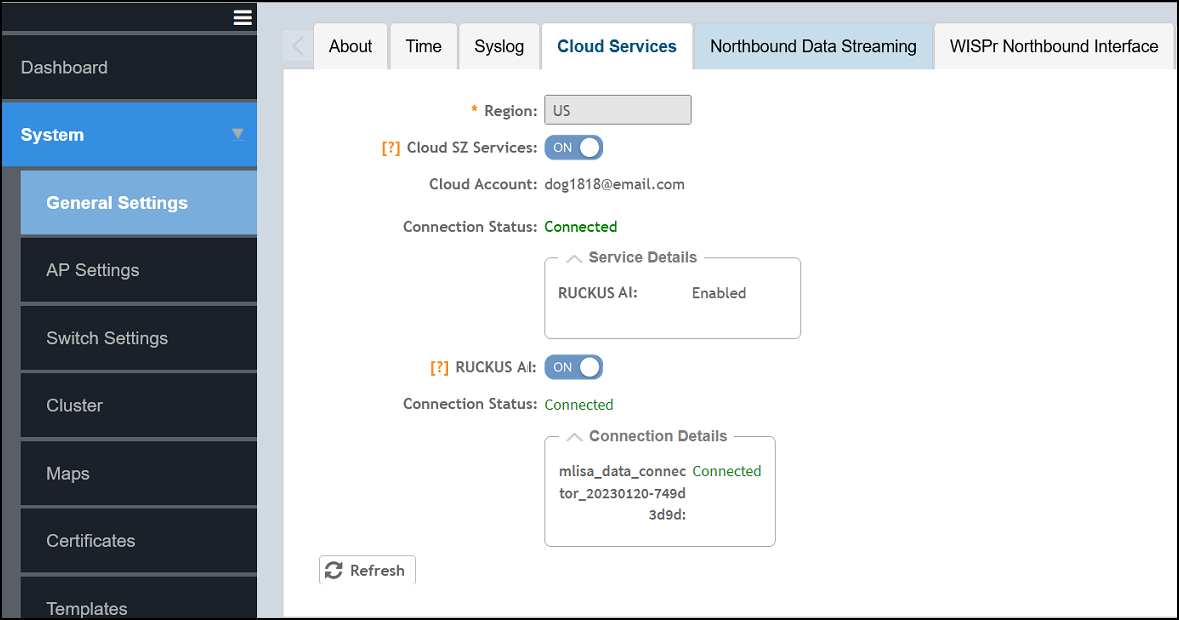
- Toggle the button to ON to enable Cloud SZ Services which displays the RUCKUS cloud single sign-on window that prompts you to log in with your RUCKUS Support credentials. After successful login, SmartZone is securely connected to your RUCKUS cloud account to use RUCKUS AI cloud services.
- Toggle the button to
ON to enable RUCKUS AI.
This will connect SmartZone to your RUCKUS AI
account and enable data streaming to the RUCKUS AI instance.The onboarding process will take a few minutes to complete after which the connection details are displayed. You can view the status of the onboarded controllers in RUCKUS AI as described in Step5.
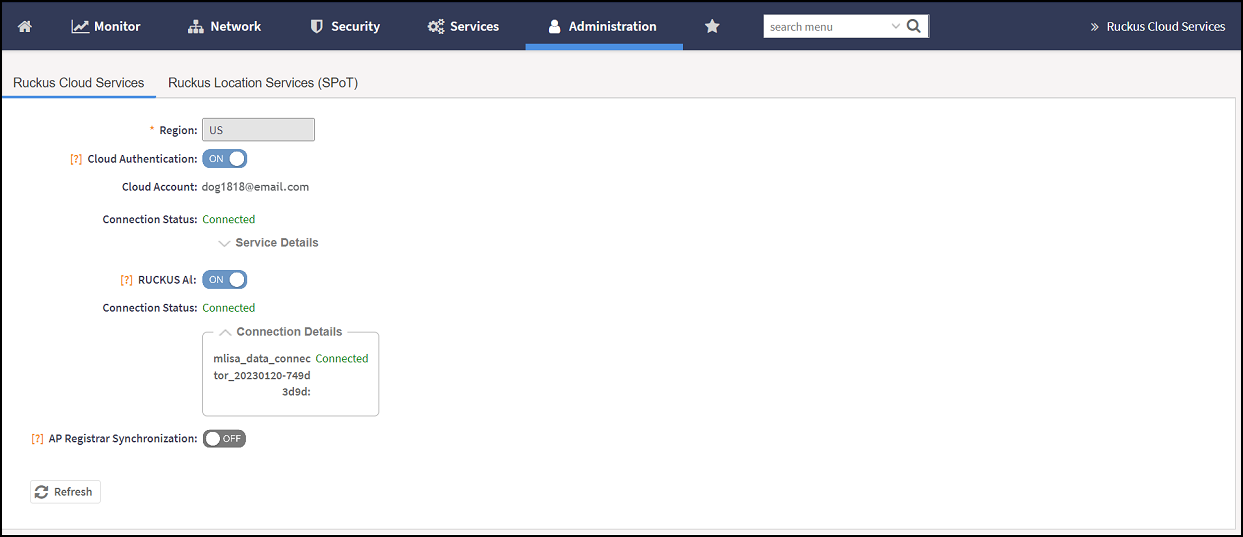
- Select . The RUCKUS Cloud Services tab is displayed.
- In the Region
field, select the specific cluster region US,
EU, or Asia from the
dropdown to which you want to onboard the controller.
- Click Yes if you wish to change the region or select No to continue with the current selection and exit the window.
- Turn on Cloud Authentication which displays the RUCKUS Cloud single sign-on window that prompts you to log in with your RUCKUS Support credentials. After successful login, SmartZone is securely connected to your RUCKUS Cloud account to use RUCKUS AI Cloud services.
- Toggle the button to
ON to enable RUCKUS AI.
This will connect SmartZone to your RUCKUS AI
account and enable data streaming to the RUCKUS AI instance.The onboarding process will take a few minutes to complete after which the connection details are displayed. You can view the status of the onboarded controllers in RUCKUS AI as described in Step5.
- Log in to RUCKUS AI
with the following RUCKUS AI URL for your
region using your RUCKUS Support credentials.The RUCKUS AI login process is managed through the RUCKUS Account Management system, a unified authentication platform designed to streamline the user login process and secure access to RUCKUS cloud services. Using the system, RUCKUS AI authentication follows a two-stage login process. You first enter your credentials on the login page, which serves as the primary authentication gateway. After successful validation, the system redirects you to the RUCKUS Identity Management (IDM) page for secondary authentication, ensuring secure access to RUCKUS AI.
- For US users, https://ruckus.cloud/ai or https://ruckus.cloud/analytics
- For EU users, https://eu.ruckus.cloud/ai or https://eu.ruckus.cloud/analytics
- For Asia users, https://asia.ruckus.cloud/ai or https://asia.ruckus.cloud/analytics
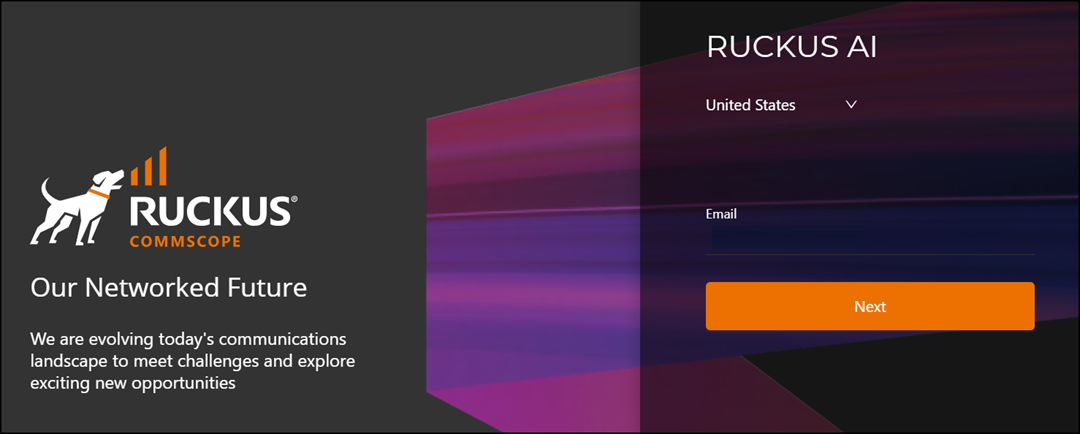
- Enter your registered email address and click Next. The IDM login page to access RUCKUS AI is displayed.
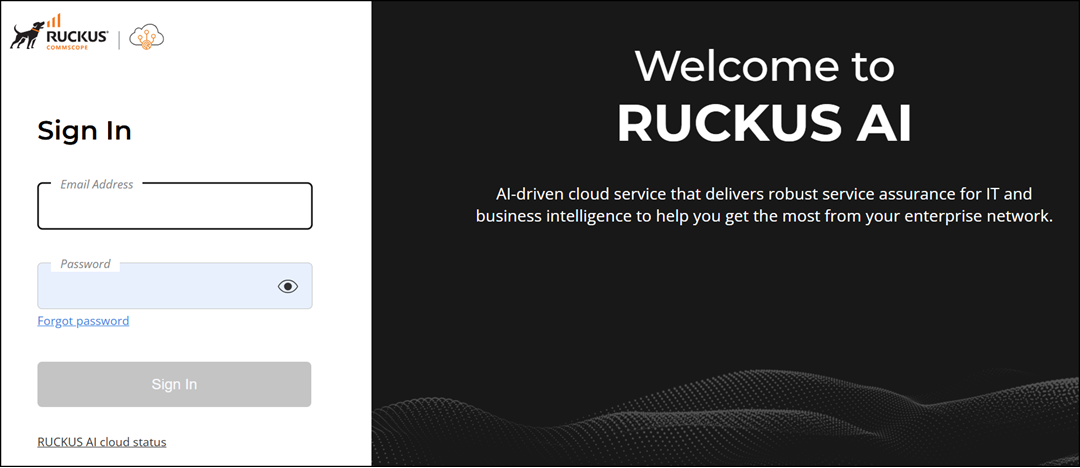
- Enter your RUCKUS AI email address and password.
- Click Sign In. The RUCKUS AI dashboard loads in your browser.
- On the Navigation
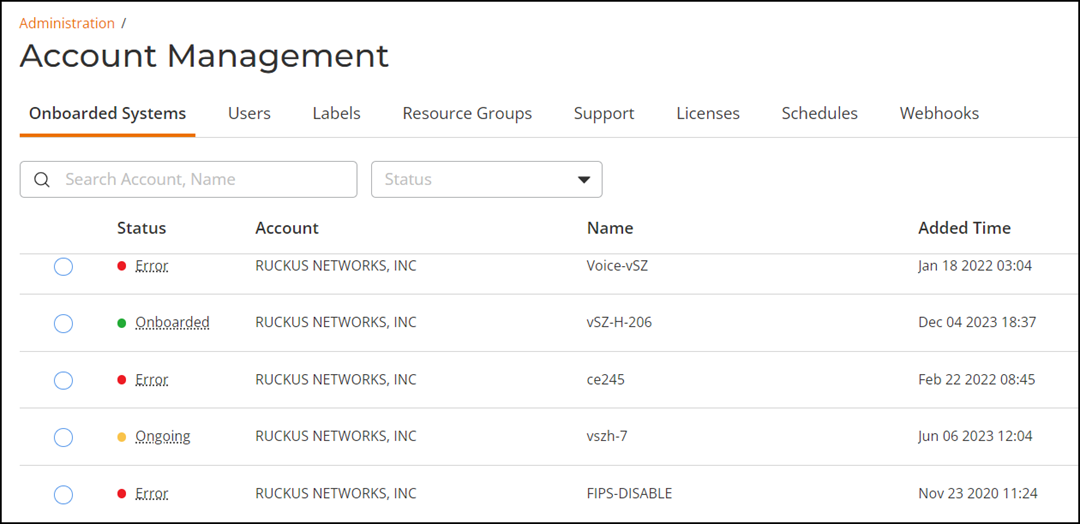
bar, click and verify the status of the onboarded SmartZone controller is
green.
The SmartZone controller name is retrieved from the controller at the time of onboarding. However, if the name is changed after onboarding the controller, RUCKUS AI will not display the updated controller name.
If the controller has onboarded and connected successfully, and if data is transmitted to RUCKUS AI, the status is displayed in Green. If the controller is offboarded and not sending any data, the status is displayed in Grey. If the onboarding is in progress, the status is displayed in Yellow. If the connection to the controller is lost, or when data is not transmitted, the status is displayed in Red.
- On the Navigation
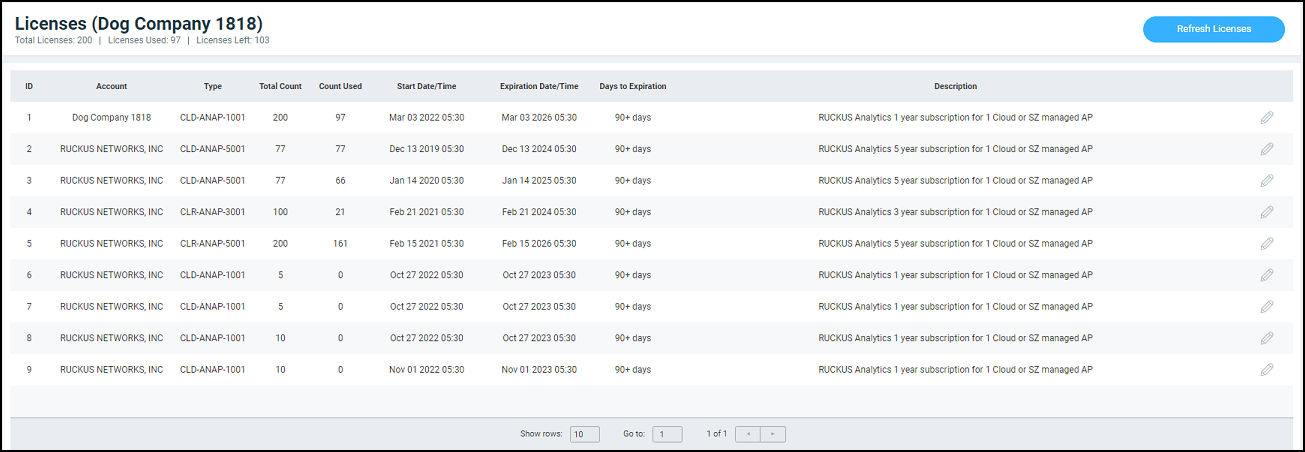
bar, click to manage and assign the licenses to the desired access points
(APs).
A RUCKUS AI license is required for each device, either a switch or an AP. The RUCKUS AI license is assigned to the switches automatically. In a switch-only deployment, you must configure an AP MAC address in the SZ staging zone. It does not need to be a physical AP; configuration in the staging zone is sufficient.
- Click the
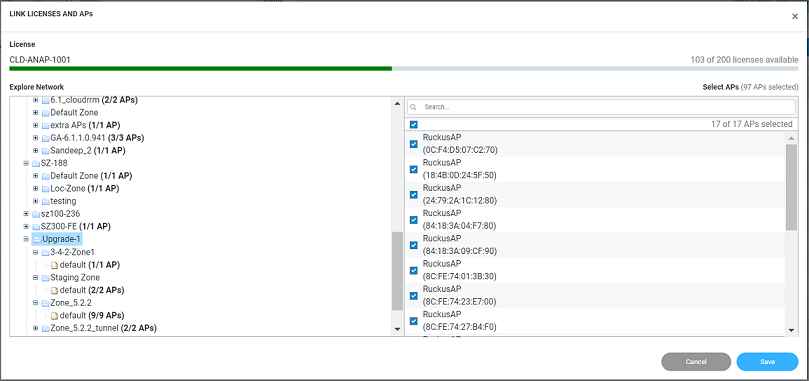
 icon to assign licenses to the APs. The Link Licenses and APs dialog box is displayed.Note: After the controller is onboarded and connected successfully, you may need to wait up to 30 minutes for the details of your network to be available and display the AP hierarchy for license allocation.
- From the Explore Network column on the left, select the controller from
which you want to link the APs and license.
You can select APs from different levels of SmartZone hierarchy. Based on your selection, the Select APs column on the right is populated with individual APs within the selected hierarchy level.
To choose all the APs listed in the column, select the check box on top of the column. You can also choose the APs individually by selecting the check box next to each AP. The number of APs selected from the total APs associated with the network is displayed on top of the column, and also within brackets in the network tree structure.
Note: If new APs are added to a system, licenses are not automatically assigned to them. You must manually assign licenses to new APs that are added to a system.If an AP is already assigned a license, it will be unavailable and you will not be able to select it. A message is also displayed next to the AP stating the license to which it is assigned.
You can use the search bar to find an AP by the AP name or the AP MAC address. You can also see the number of APs matching the search string (name or MAC address) specified in the search bar.
The Orphaned APs column displays the APs that are no longer connected to the network. For example, the AP location may have changed or the AP may have lost network connectivity, and therefore there is no account for the AP in the network.
You cannot find or search for an orphaned AP within the network. Pause the pointer over the Orphaned APs section for more information about scenarios in which an AP can become orphaned. The MAC address of the orphaned AP is displayed. The license associated with the orphaned AP is no longer valid, so you can release the license to be assigned to another AP within the network.
- Select the APs and click Save to assign the license.

When more than one organization is involved in the onboarding of a controller, a primary account holder is defined as the one that owns the SmartZone controller, and the secondary account holder is the one that possess RUCKUS AI license but does not own the controller. For example, in a typical channel partner model, where a partner and its end-customer are involved, the end-customer could be the primary account holder, and the channel partner is the secondary account holder. In this case, the secondary account holder can onboard the controller directly to the secondary account by using his Ruckus Support credentials. In this arrangement, networking data from the SmartZone network of the primary account holder will be streamed directly to the RUCKUS AI account of the secondary account, and the allocation (and thus consumption) of licenses happens in the secondary account. Do note that in this case, the primary account will have no access to the data in RUCKUS AI, unless the secondary account holder invites the primary account holder as a 3rd party user.
Whenever a controller is onboarded to a secondary account, emails will be sent to the admins of the primary account to inform them of the event. Primary account holder will be able to cease this data streaming to the secondary account by logging into the SmartZone and offboard the SmartZone from RUCKUS AI.