Activating the RUCKUS AI License
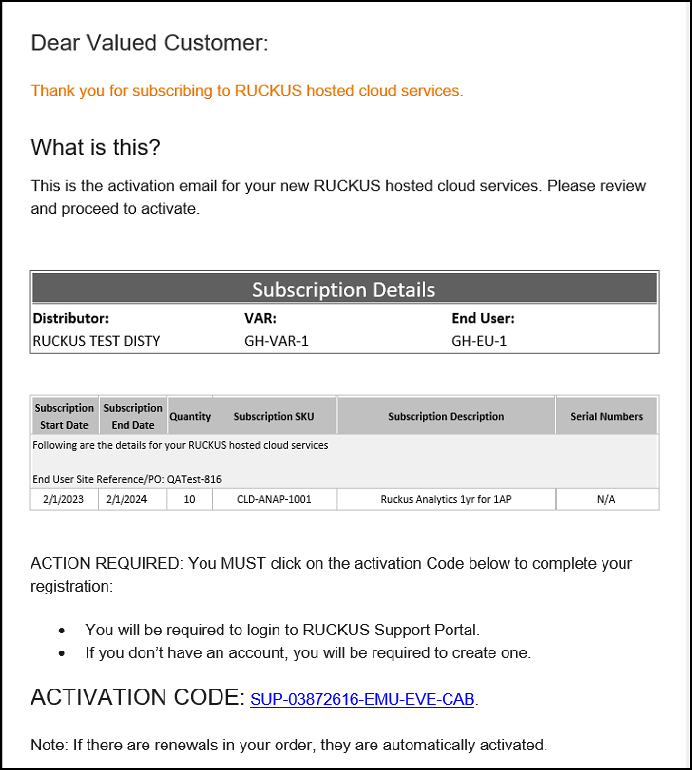
Every purchased license has its own unique activation code, and must be activated for the license to become valid. You receive the activation code in a separate Support Purchase Acknowledgment (SPA) email message for each license. Depending on the product, you may receive up to three different SPA email messages for all of your licenses.
Note: The first three characters of the
activation code indicate the license type to which the code is applicable.
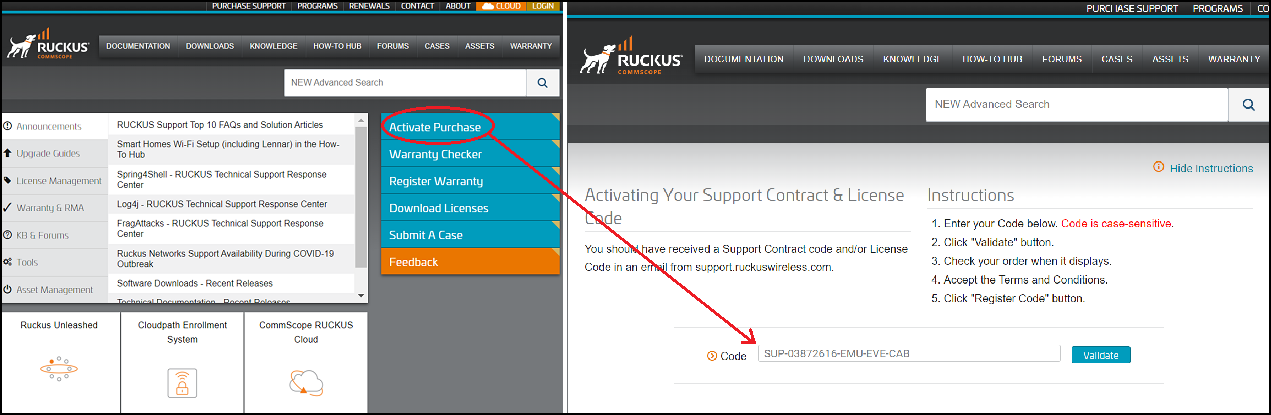
You can initiate the activation process by either clicking the Activation Code link in the SPA email message or using the Activate Purchase option on the RUCKUS Support website ( https://support.ruckuswireless.com).
- Open the SPA email message that you received from RUCKUS, and verify the End User Account information. Only a registered user can complete the activation process.
- Click the Activation Code link
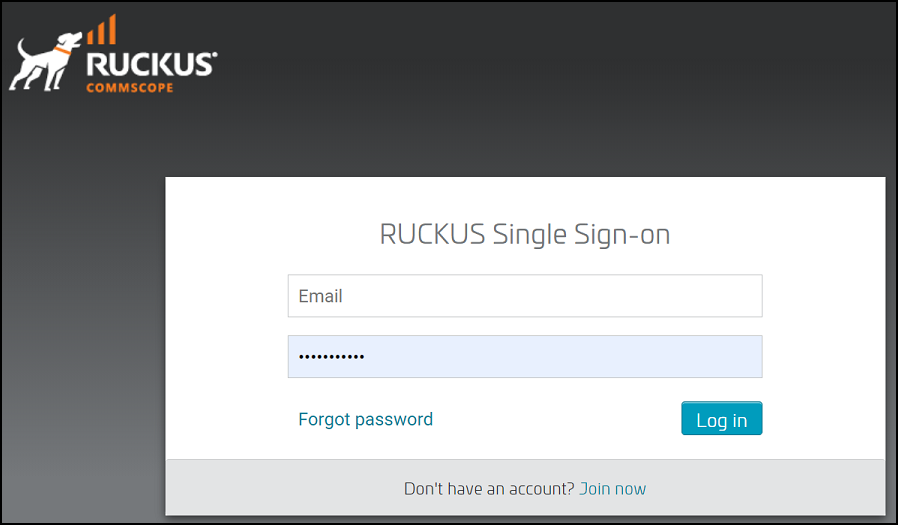
in the email message. You are redirected to the RUCKUS Support website ( https://support.ruckuswireless.com). If you are not logged in to the website, the RUCKUS Single Sign-on window is displayed.
- Log in to the website using your
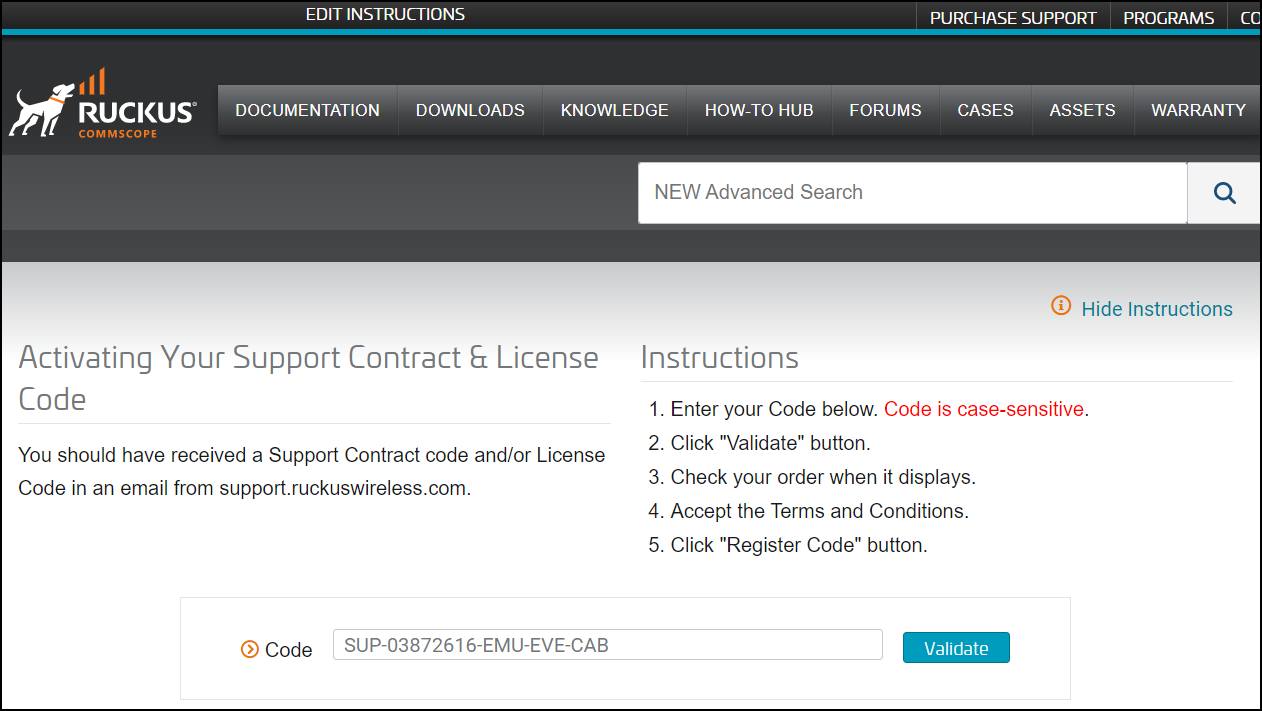
credentials.Note: Ensure you log in as a valid user in the End User Account. Only valid users are authorized to activate the licenses.Because you have initiated the activation process by clicking the Activation Code link in the email message, the code is populated by default.If you have initiated the activation process using the Activate Purchase option on the RUCKUS Support website ( https://support.ruckuswireless.com), you must manually enter the activation code received in the SPA mail.
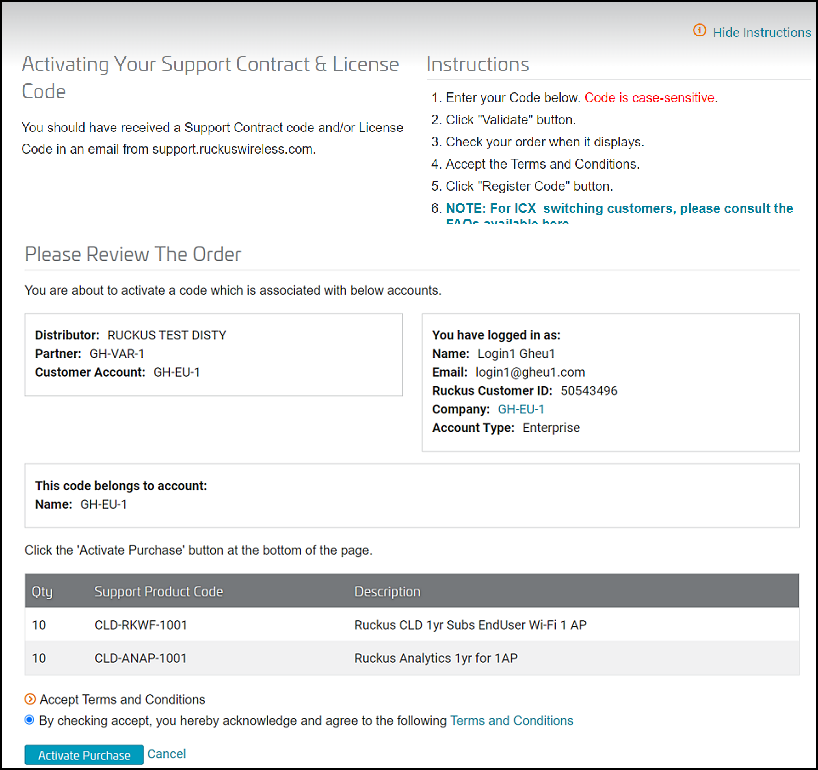
- Click Validate. After the successful validation of the license code, you can review the purchase order and user account details.
- Accept the terms and conditions, and click Activate Purchase.
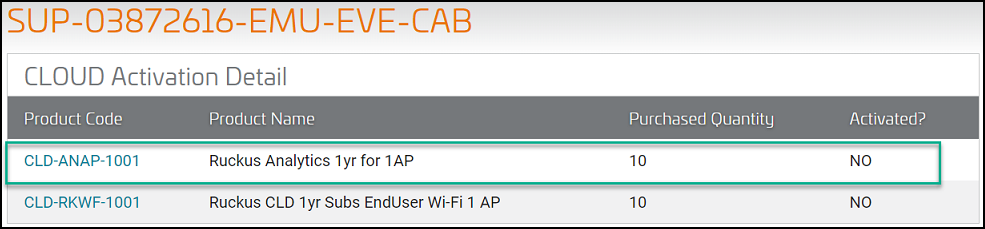
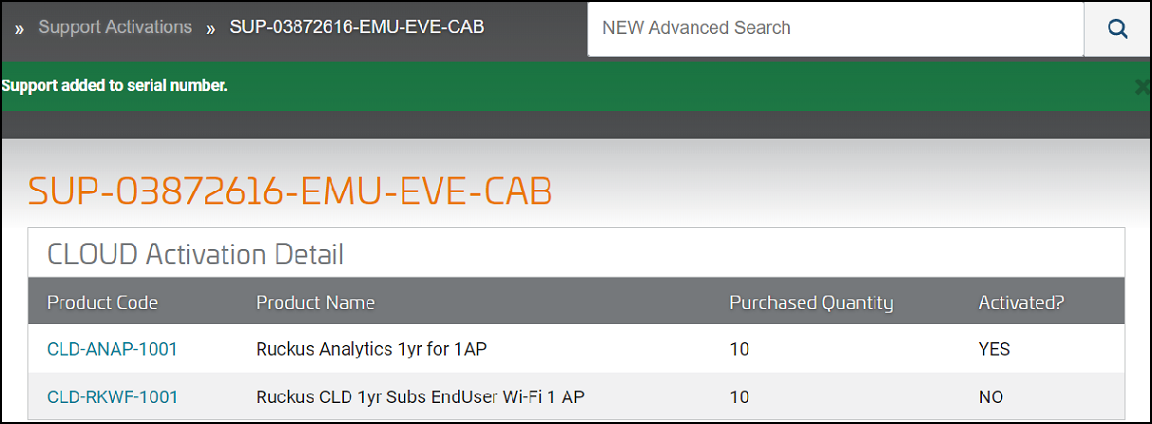
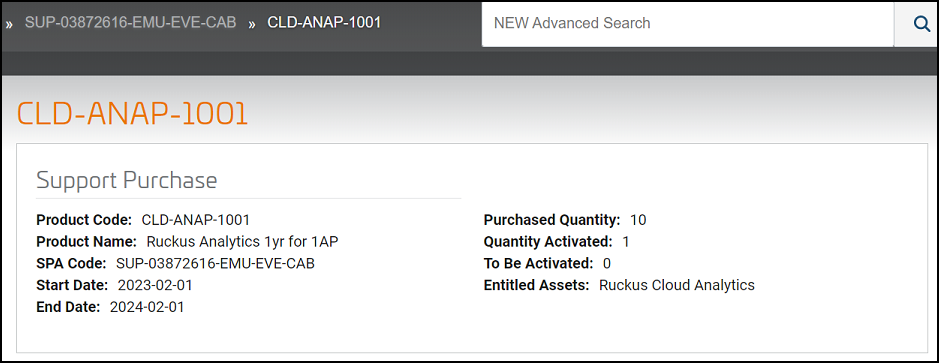
- Click the license entry for RUCKUS AI (CLD-ANAP) to activate the license. Note: A single Activation Code can carry multiple assets that are part of the original Purchase Order and Sales Order. Therefore, there may be multiple line items within one Activation Code. Each line item must be activated. For example, if you have Cloud WiFi, Cloud Switching, and RUCKUS AI purchased under the same Purchase Order, you will see three entries and each must be activated separately.The Entitling Your Asset For Support page is displayed.
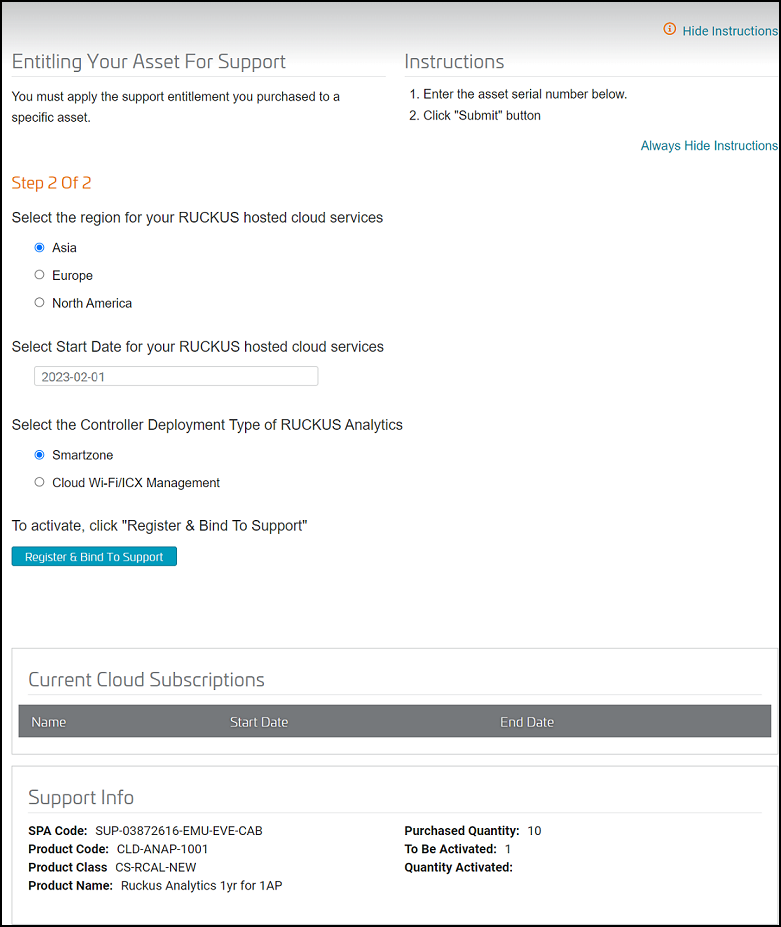
- In the Entitling Your Asset For Support page, select the following
options:
- The region where you want to maintain your RUCKUS AI data. Currently, the supported regions are Asia, Europe, and North America.
- The Controller-type to which to attach the license: On-prem controller (SmartZone) or RUCKUS Cloud controller
- Select the subscription start date. You can select any
date within 180-day activation grace period as the subscription start
date. The dates beyond the activation grace period is disabled in the
calendar date picker.
Note: Once the start date is selected, the subscription end date is automatically calculated by adding the purchased subscription duration to the selected start date; thereby ensuring full term of the subscription to the customer.
- Click Register & Bind To
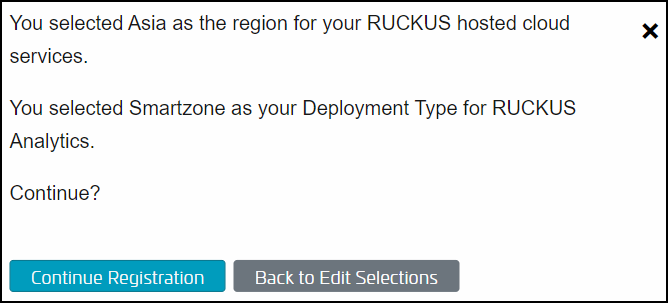
Support to activate the license. A confirmation dialog box is displayed.
- Click Continue Registration to proceed with the selected
options.If the asset is successfully activated, a green banner with a confirmation message "Support added to serial number" is displayed.