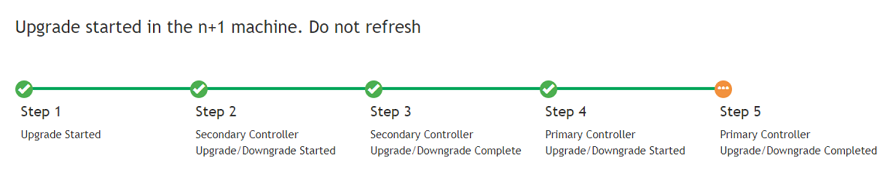
Upgrading the RUCKUS IoT Controller with N+1 Configuration
- Upgrade SmartZone to the
supported version. Note: Refer to Upgrading the AP Firmware Using SmartZone 100 or Virtual SmartZone Controller for more information.
- Upgrade the AP firmware using
SmartZone 100 or the Virtual SmartZone Controller. Note: Refer to Upgrading the AP Firmware Using SmartZone 100 or Virtual SmartZone Controller for more information.
- Ensure that the primary controller is active, and the secondary is running.
- Upload the image file from the primary controller (the same as the normal controller). The image file is automatically copied to the secondary controller.
- Select the version number, and click the Set button.
- After a couple of minutes, the primary controller is upgraded and rebooted.
- Wait for the primary controller to become active or perform a manual fallback to the primary controller.
- Upload the licenses to the controllers.
Refer to Activating a License for more information.Refer to "Configuring the N+1 Feature" in the RUCKUS IoT Controller Configuration Guide.