Creating the Google Web Application Project
The steps given here are only very high-level to inform you what information you will need to collect from your Google project that is needed on the Cloudpath UI-side configuration. You need to refer to your Google developer's documentation for all the information about creating your application.
- Go to https://console.developers.google.com.
- Sign in to your Google account.
- Create and name your API web-application project.
- During creation of your application, you may see a field called "Authorized Javascript origins." Leave this field blank.
- When you get to the "Authorized redirect URIs" field, the entry must be in this format: ${ENROLLER_URL}/enroll/google/, where $ {ENROLLER_URL} is the external URL to which the user is redirected. For multiple redirect URLs, enter one path on each line.
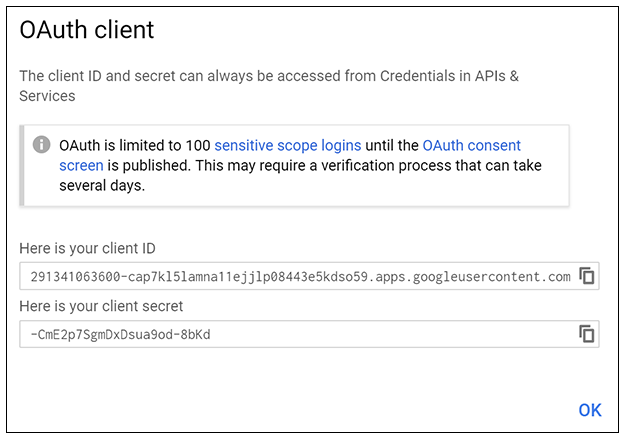
- At some point during the process, you will be notified of the following information that you need to take note of because you will need this information for Cloudpath configuration: