How to Set Up the LinkedIn App
- Navigate to
http://developer.LinkedIn.com.Entire section updated for Rev B of 5.8 - Sign in to your LinkedIn account.
- Click Create app.
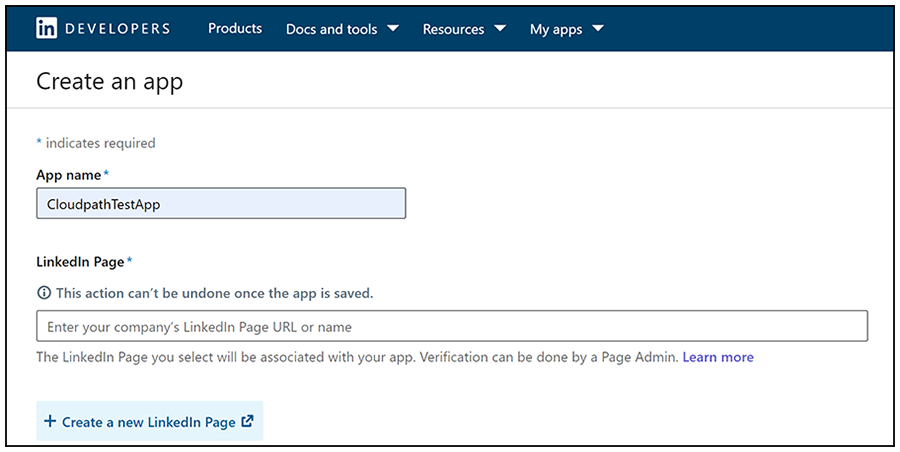
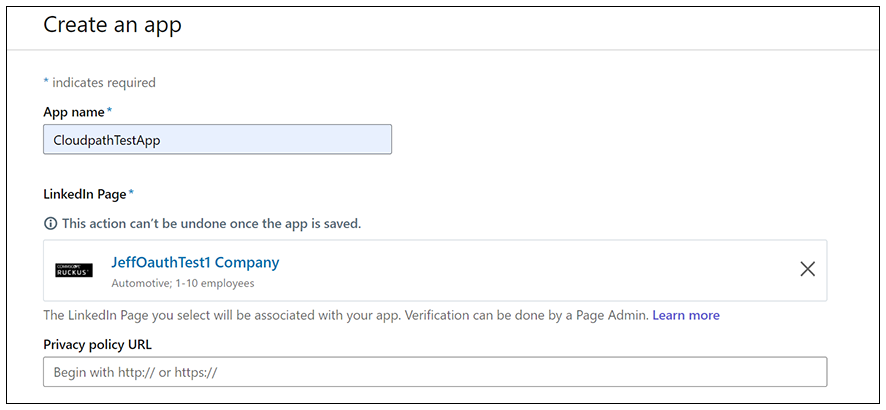
- The Create an app page displays. The top part of that page is shown below:
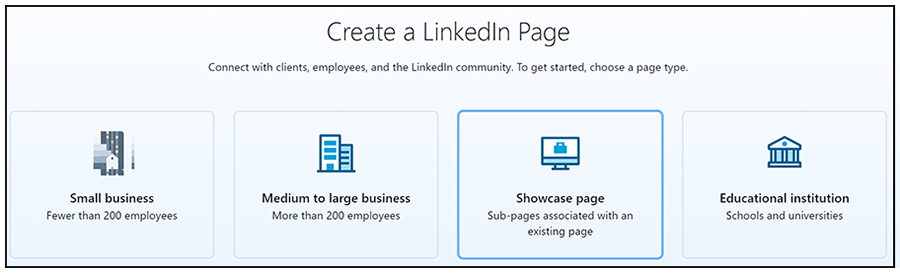
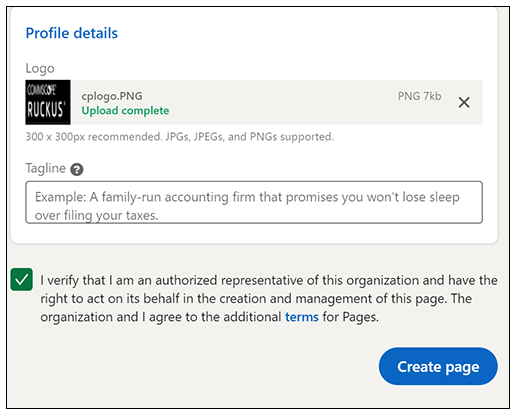
- Enter the name of your application, then click + Create a new LinkedIn Page to enter information about your company. The following screen is displayed.
- Click on the applicable button for your business; the example below shows the
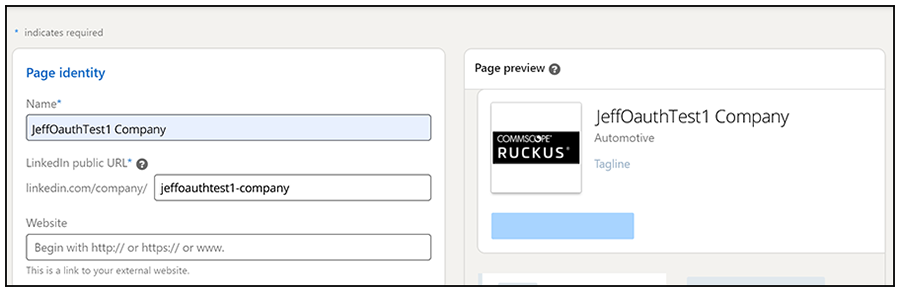
screens for a "Small business."
- Name: Enter the name of your company.
- LinkedIn public URL: This field will be generated based on what you enter in the "Name" field.
- Website: This field is optional.
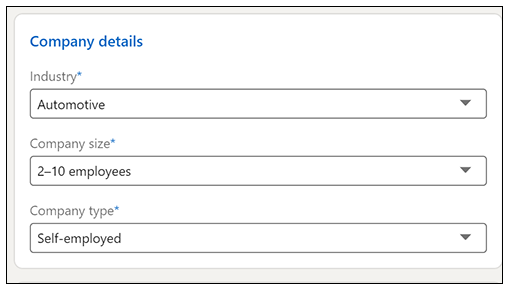
Select the appicable options from the drop-down lists.
- Logo: Upload a logo if desired.
- Tagline: Enter a tagline if desired.
- Verification checkbox: Read and check this box in order to proceed.
- Click on the tab in your browser that has the original "Create an app" page
that you already started.
- App name: The name of the application you created is displayed.
- LinkedIn Page: Start typing the name of your application, then select it.
- Privacy policy URL: Optional field.
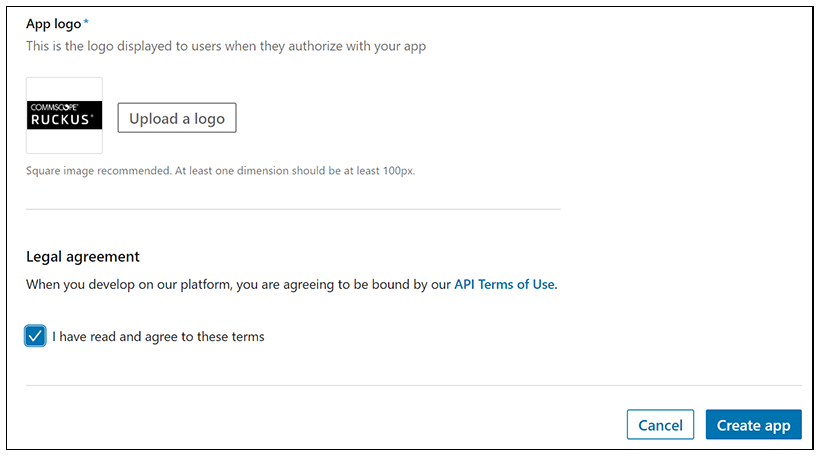
Upload your logo, check the legal agreement, then click Create app.
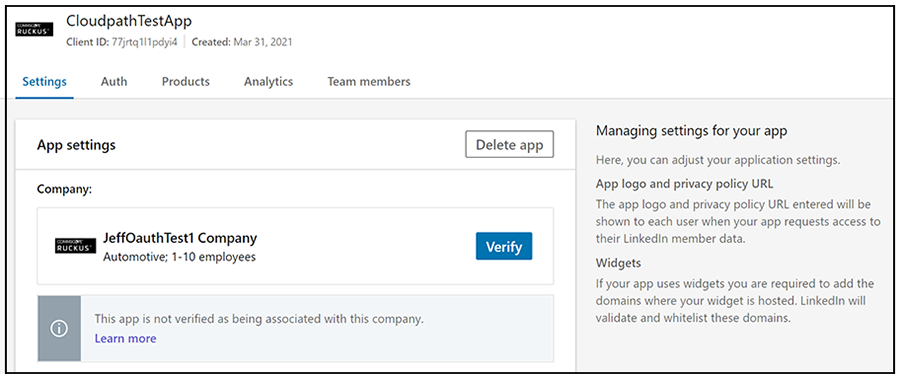
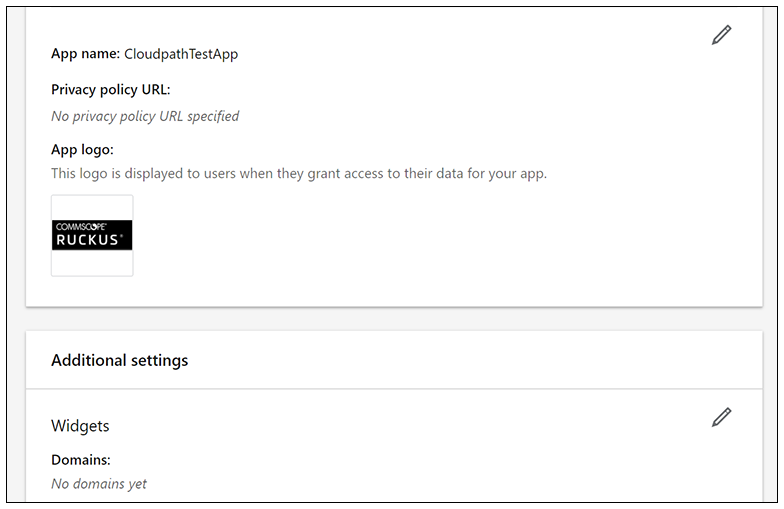
The application is created, and you are returned to a screen that provides the information you just configured. The screen that is displayed is shown below in two parts:
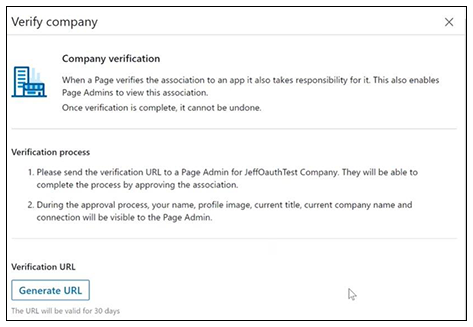
- To verify your company with your application, click the Verify button (see Application Created: Top Portion of Screen). The following screen is displayed.
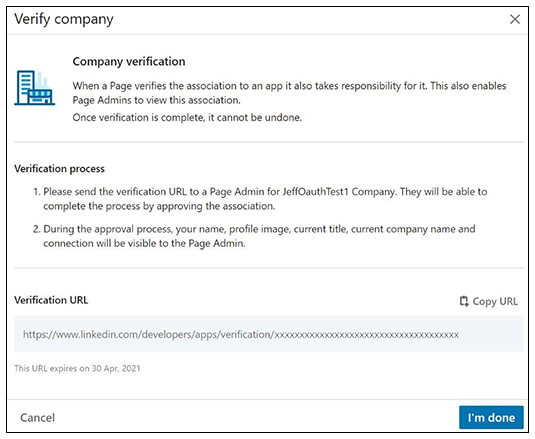
- Click the Generate URL button. The URL is generated, as shown in the following screen.
- Copy the URL (and click I'm done.)
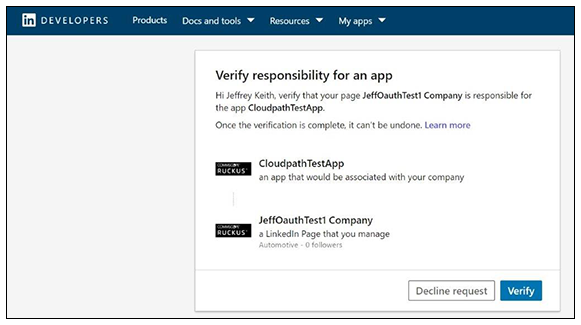
- Paste the URL into a new tab on your browser (and click on the highlighted link as you paste it into the browser). You will receive the following screen, which shows the example company "JeffOauthTest1 Company" created earlier.
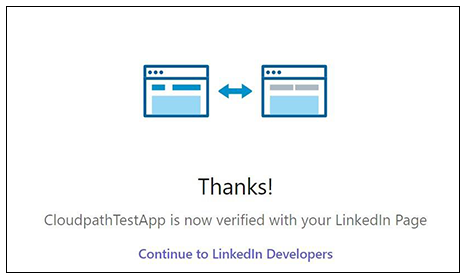
- Click Verify. A successful verifcation will yield the following screen.
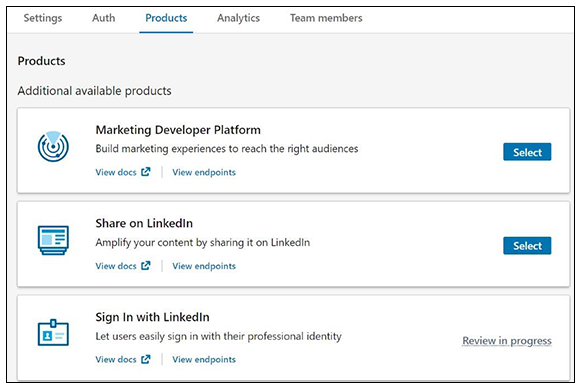
- From the Developer's page, click on the Products tab, then sign in with
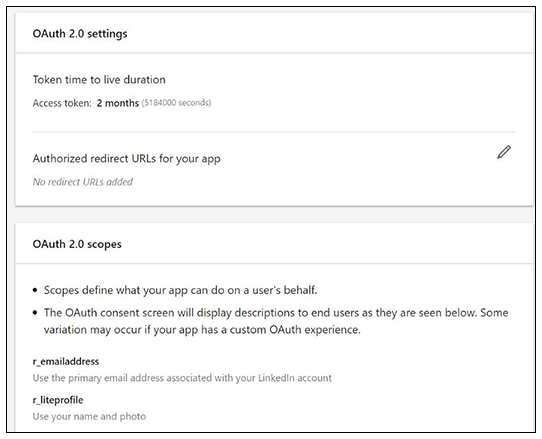
LinkedIn.Note: You can refresh the page after a few minutes to check if the review has completed. You will also receive an email notification once you application has been verified as being associated with your company. Once verification is successful, the "Sign in with Linked In" step adds the "r_emailaddress" and "r_liteprofile" scopes to the OAuth 2.0 scopes (as shown in Auth Tab Settings of Newly Created Application - Bottom Part of Screen). These scopes allow the Oauth integration to use the primary e-mail address associated with the LinkedIn account as well as the person's name and photo. Without these scopes being successfully added, the Oauth integration fails.
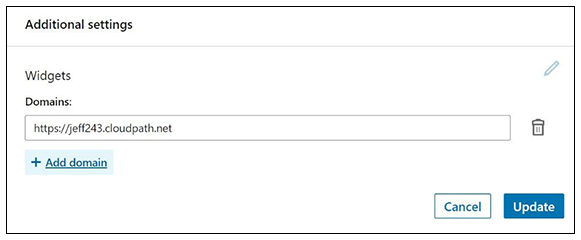
- On the Developer's page, go to the Settings tab, then scroll down to the "Widgets" area, use the pencil icon to add your domain, and click Update.
- Click the Auth tab of the Developer's screen. An example figure is shown below in two parts:
- In the OAuth 2.0 settings section, use the
pencil icon to enter the Redirect URLs. Note: These must be acceptable Redirect URLs and must include the full enrollment URL + "/linkedin". An example is:
https://jeff243.cloudpath.net/enroll/JackTest/Production/linkedin.You obtain the "Redirect URL" during workflow creation when you add a step to "Authenticate to a third party." For more information, refer to How to Add LinkedIn Authentication to the Workflow. (Cloudpath Third-Party Authentication Setup for LinkedIn shows the Redirect URL, which appears once you have checked the "LinkedIn Supported?" box when adding the third-party authentication step.)
You can add multiple URLs.
The following figure shows the Redirect URL section after adding a URL:
- Click Update to save configuration changes to your application.
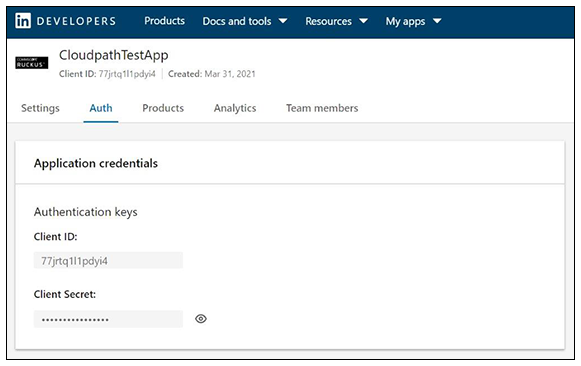

Make a note of your Client ID and Client Secret from Auth Tab Settings of Newly Created Application - Top Part of Screen. You need this information to set up the LinkedIn authentication within Cloudpath.