Enabling the Verified Access API on the Google Developer's Site
Verified access is required for the
non-interactive authentication of Chromebook devices, but is an optional step if you
are
using a Chromebook device configuration within an enrollment workflow to onboard Chromebook
devices.
For this step, you need to have a Google developer's account and Google administrator account.
Follow these steps to enable the verified access API:
Note: You can also refer to
Google developer's documentation for more information.
- Log in to the Google developer's console.
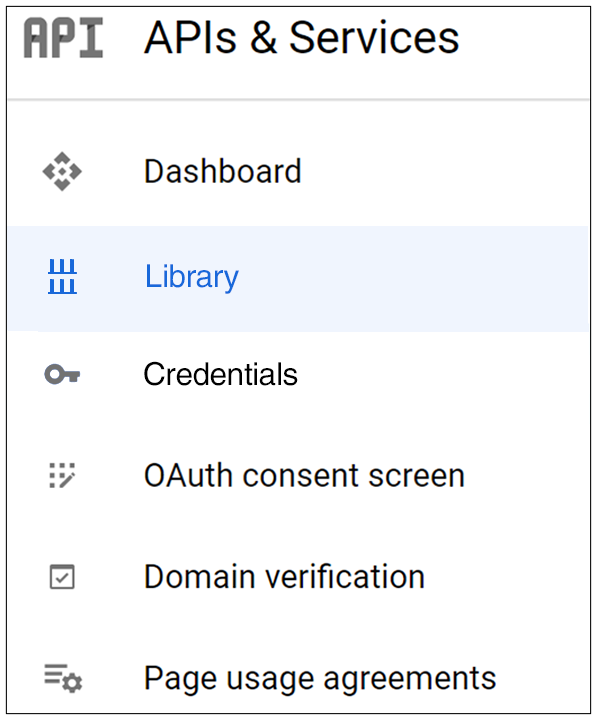
- Go to APIs & Services > Library.
- From the APIs & Services > Library area of the UI, search on "Chrome Verified Access API."
- When the API appears, click on the name of the API, then click the Enable button.
- Go to APIs & Services > Credentials.
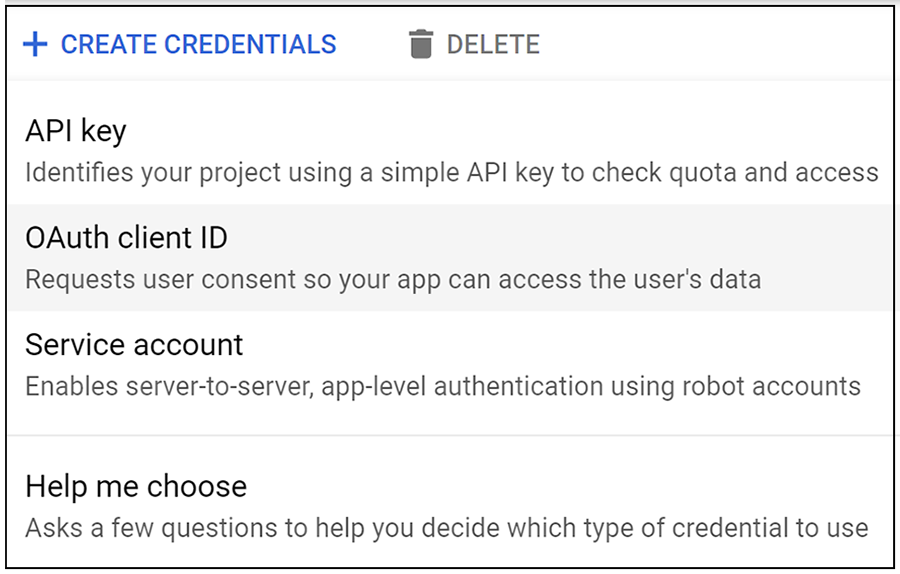
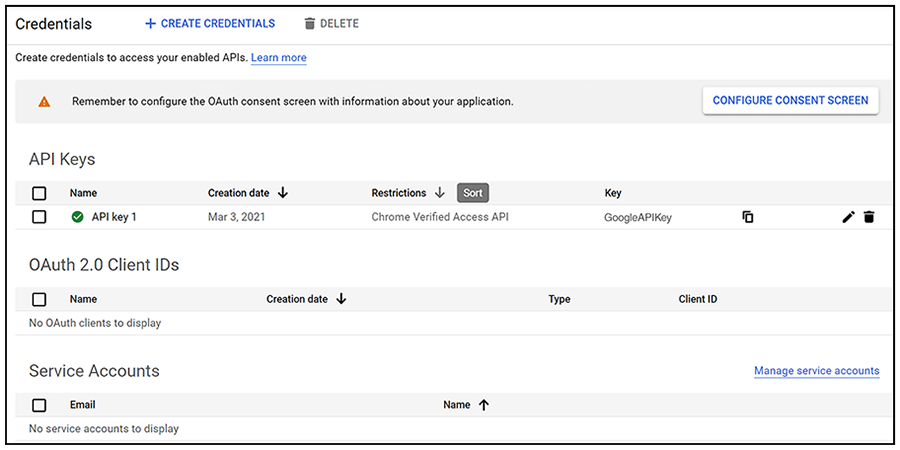
- At the top of the ensuing screen (see below), click Create Credentials > API key.
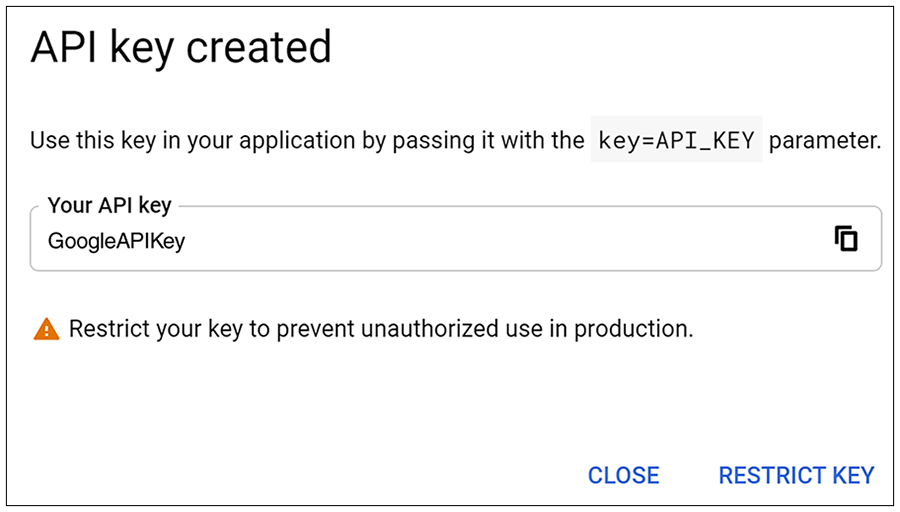
- You are presented with a screen that shows the newly created API key. The value
"GoogleAPIKey" in the screen below will be replaced with the actual key.
Note: You will need the API key during Chromebook configuration in the Cloudpath UI.
- Click RESTRICT KEY.
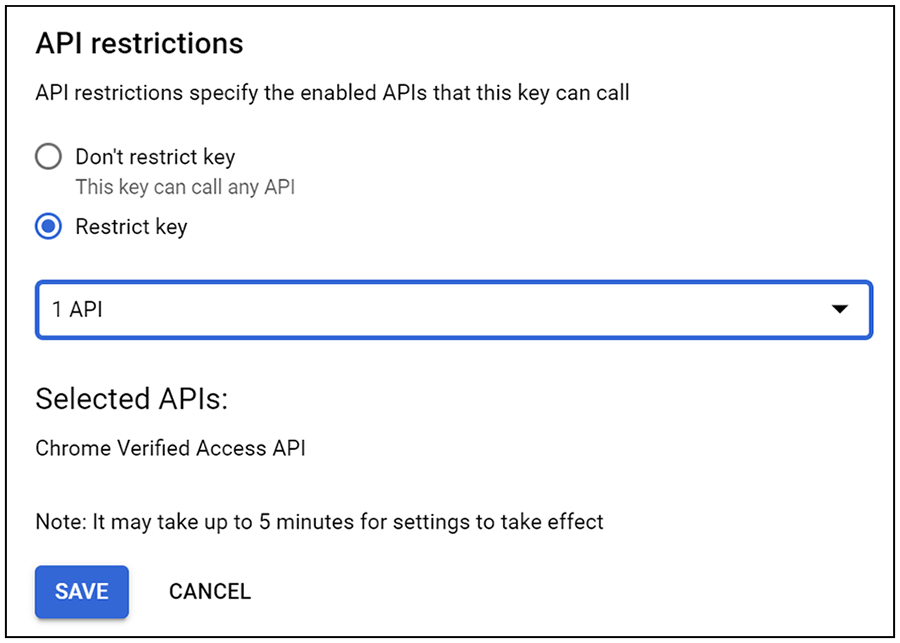
- On the ensuing screen, scroll to the bottom and do the following:
- Select the "Restrict key" radio button.
- From the drop-down list, select "Chrome Verified Access API."
- Click Save.
- Check that the main Credentials Screen - with the API key and the restrictions you set - is now displayed:
- Create a service account by performing the following steps:
- Click "Manage service accounts" in the main Credentials screen.
- In the ensuing screen, click + CREATE SERVICE ACCOUNT.
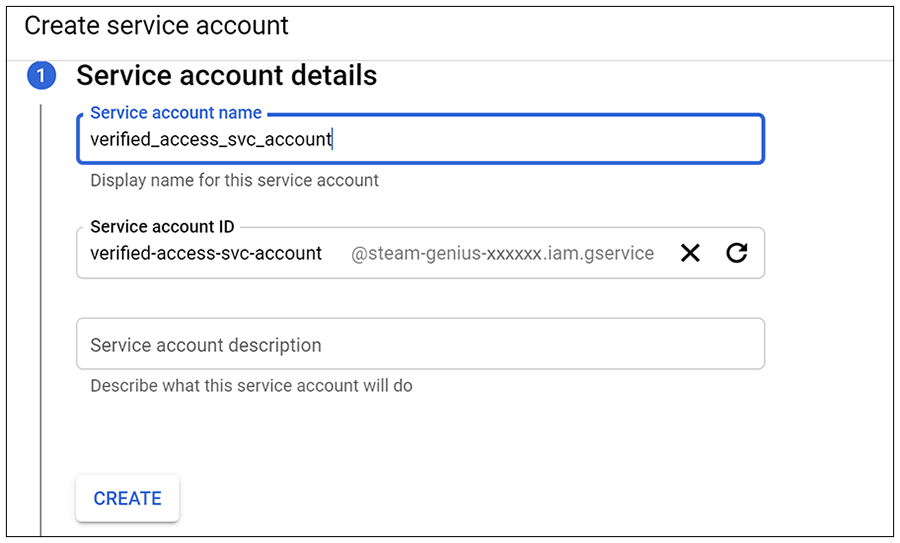
- In the Create Service Account screen, enter the credentials, then click Create.
- After you have created the service accound, click the DONE button.
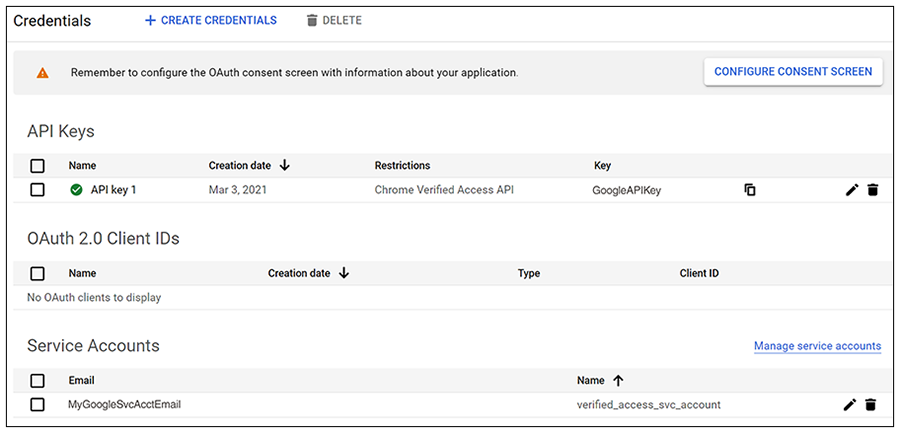
- You can now go back to the main Credentials screen (APIs & Services > Credentials) to confirm that the service account has been added, such as in the example screen below.
- Create a JSON key for the service account by following these steps:
- Click on the service account email link (shown under "Service Accounts" in the preceding screen).
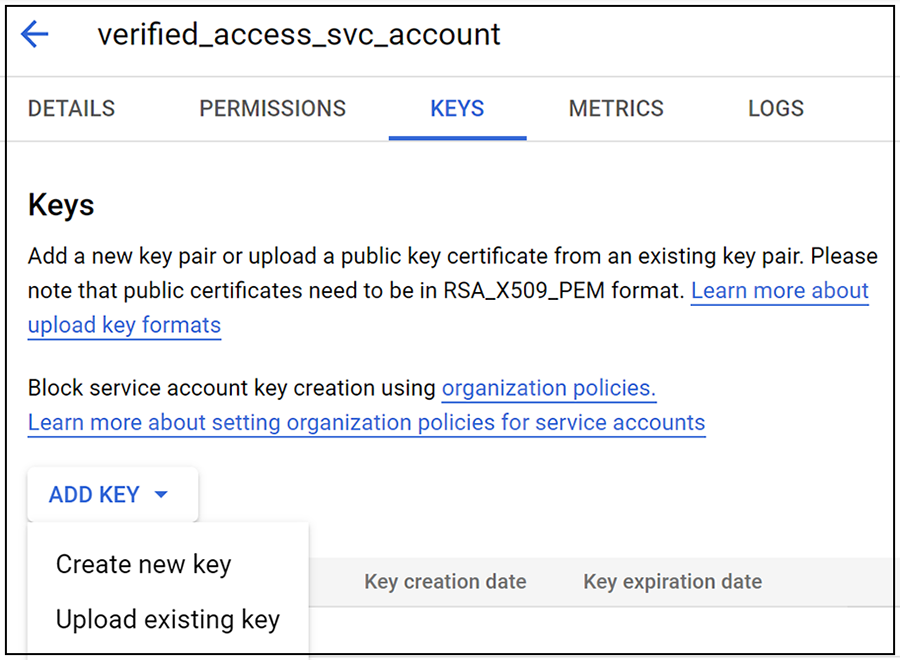
- In the ensuing screen, click KEYS near the top of the screen, then click the ADD KEY dropdown, then select "Create new key".
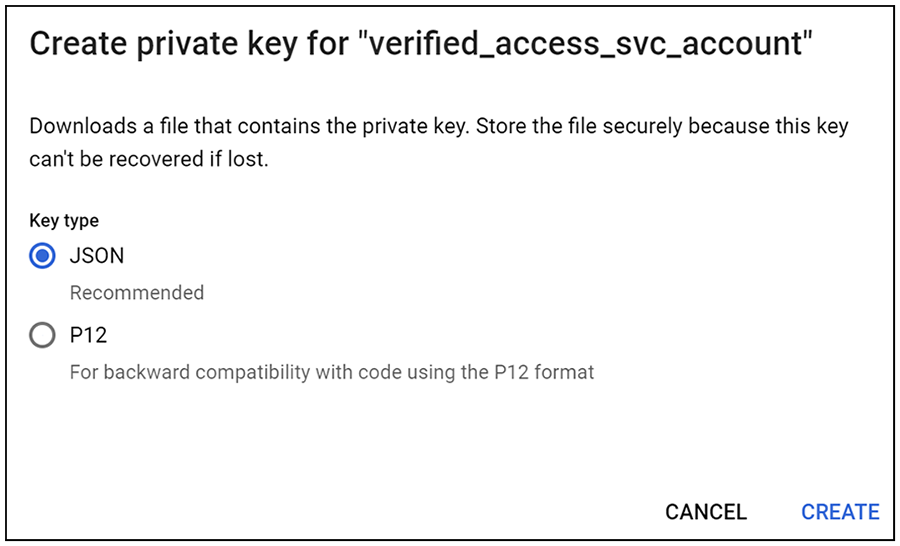
- On the popup window (below), with JSON selected, click Create.
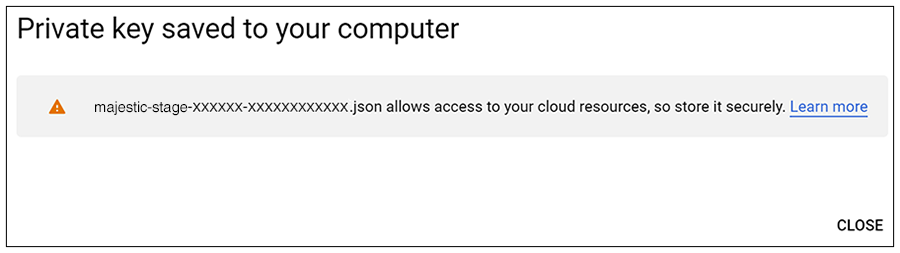
- The private key is then created and saved. Be sure to take note where the private key gets saved on your computer because you will need this key in the Cloudpath UI.
- Now, log in to the Google
admin console to perform steps related to user and browser or device settings:
- Go to Devices > Chrome > Settings.
- If performing a user enrollment, select the tab "USER & BROWSER SETTINGS"; if performing a device enrollment, select the tab "DEVICE SETTINGS".
- Set your options as desired.
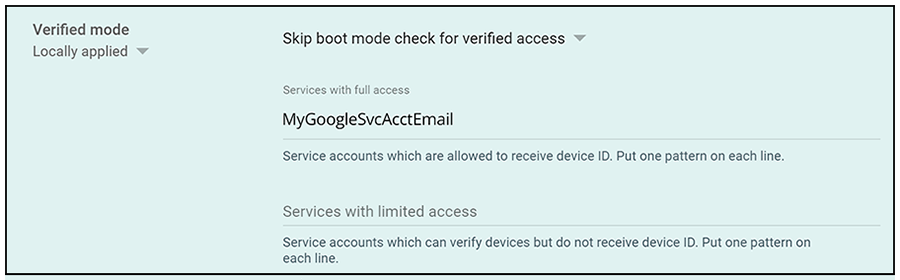
- Search for "Verified Mode" in the scroll list.
- For the Verified Mode portion:
- Select the desired "Verified Mode boot check" type.
- For the "Services with full access" field, enter the service account email address that you created from the Google developer's console. (Note: If you selected the "USERS & BROWSER SETTINGS" tab, this field is called "Service accounts which are allowed to receive user data.")
- Save your settings.