Installing RUCKUS IoT Controller on a VMware ESXi
- Download the RUCKUS IoT Controller distribution package in the .OVA file format from the RUCKUS Support website at https://support.ruckuswireless.com.
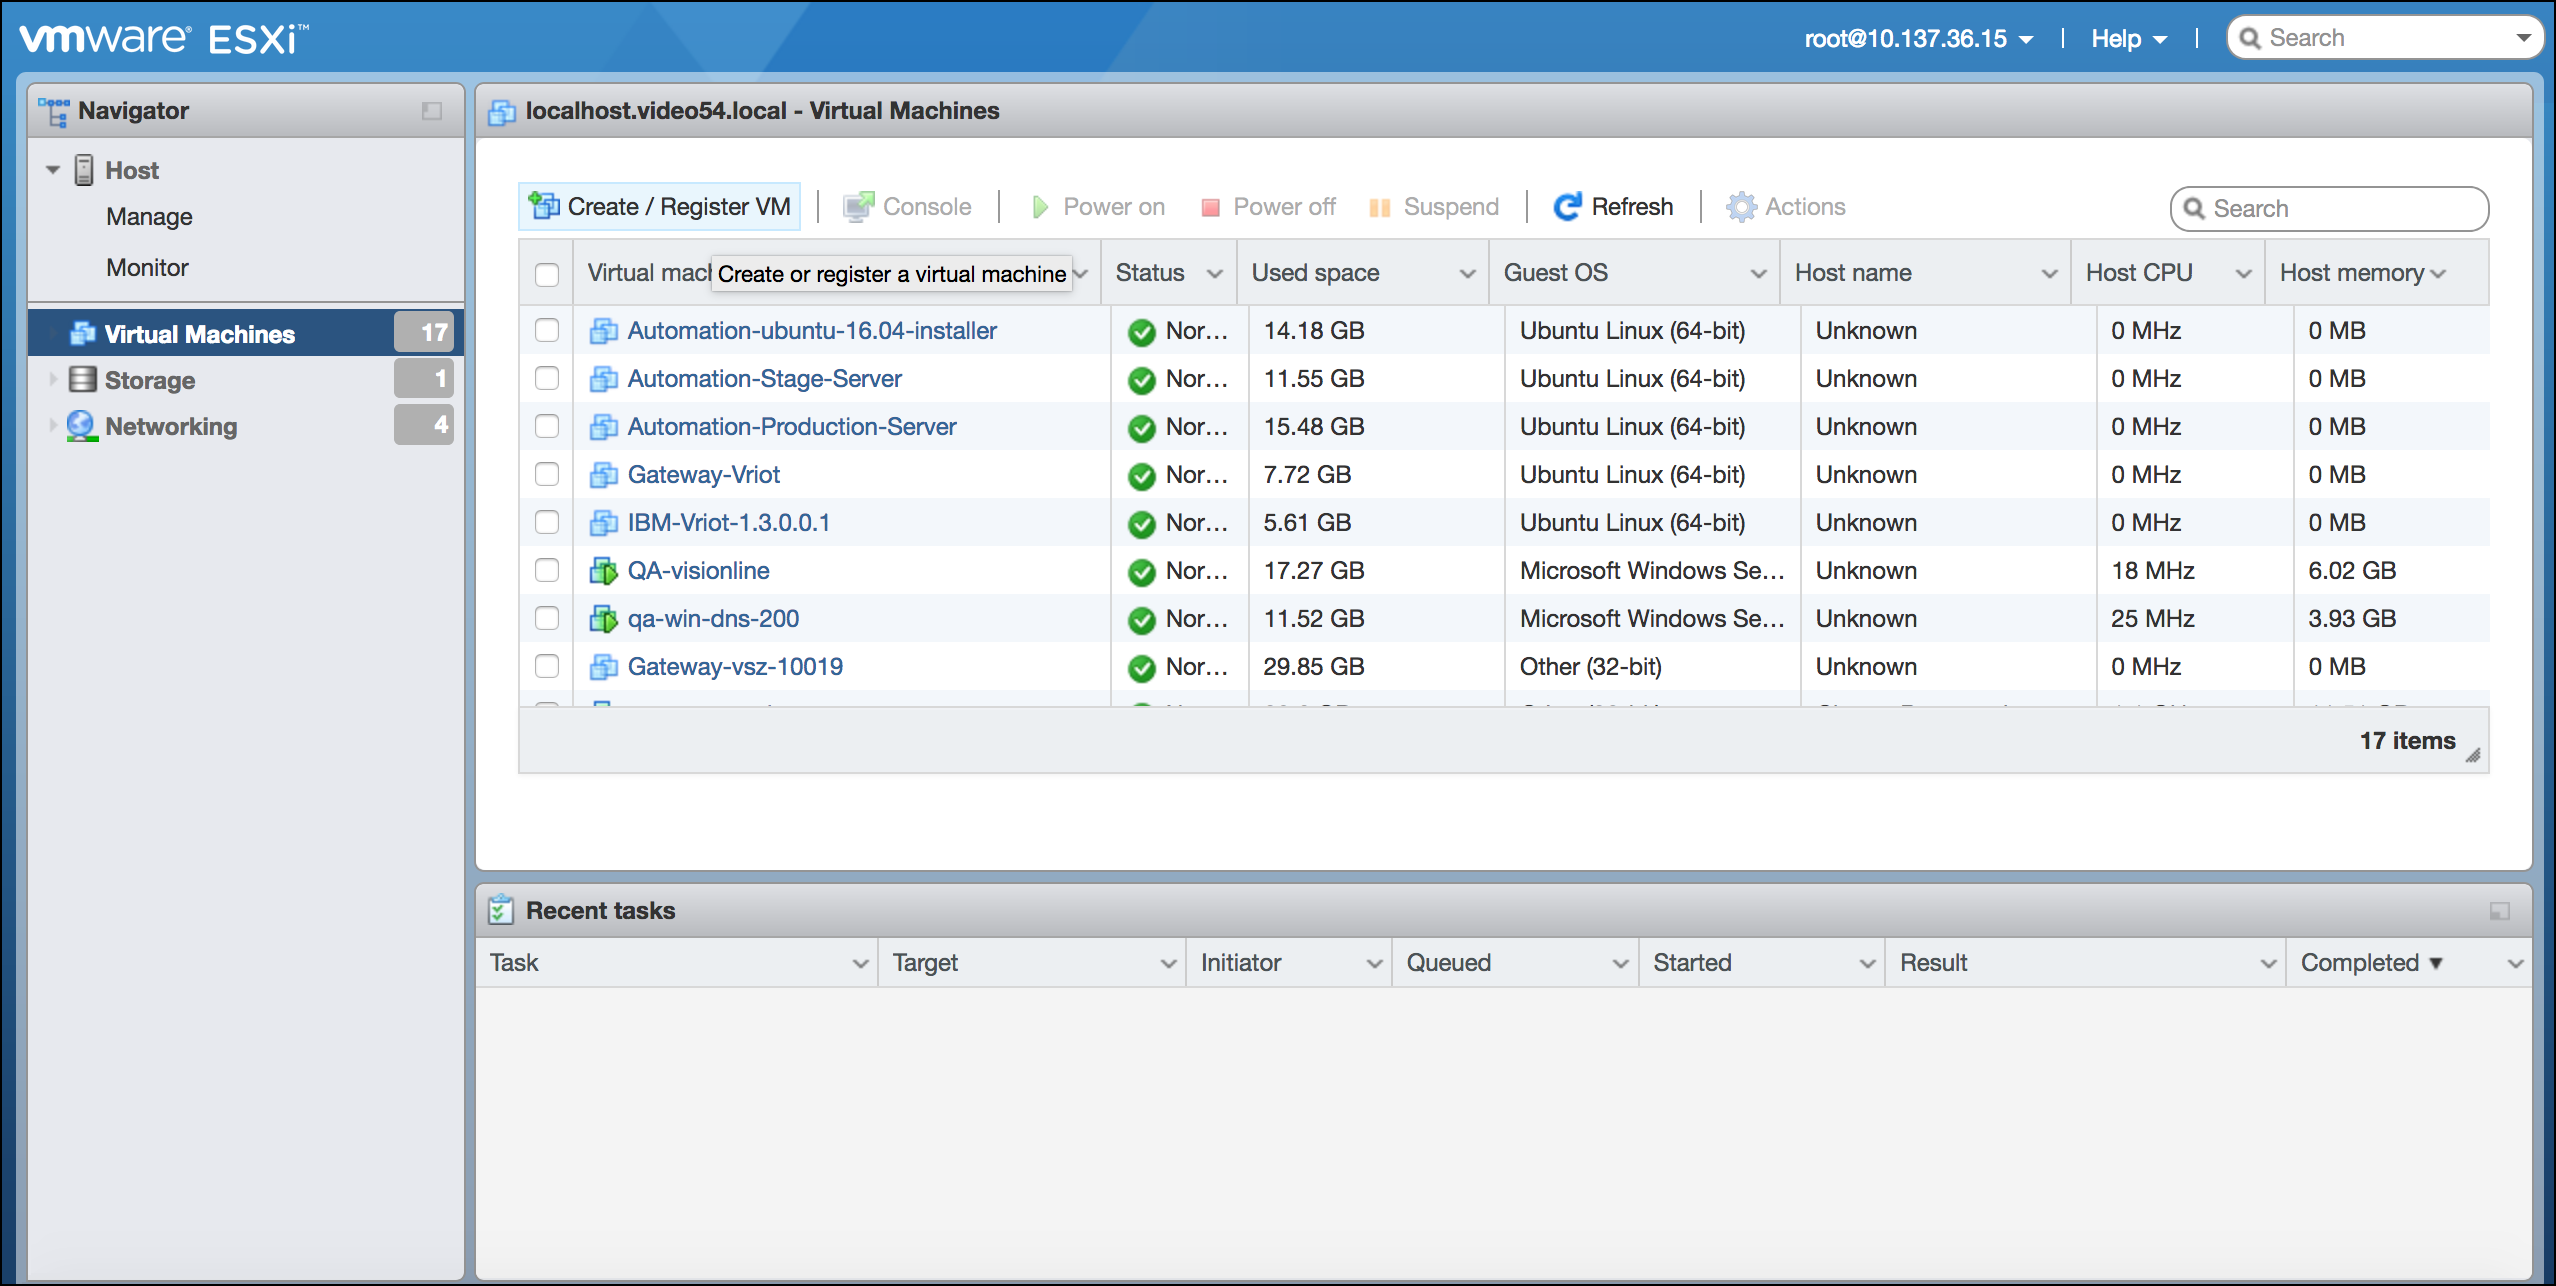
- Open VMware ESXi and select Virtual Machines from the Navigator pane.
- Click Create/Register VM.
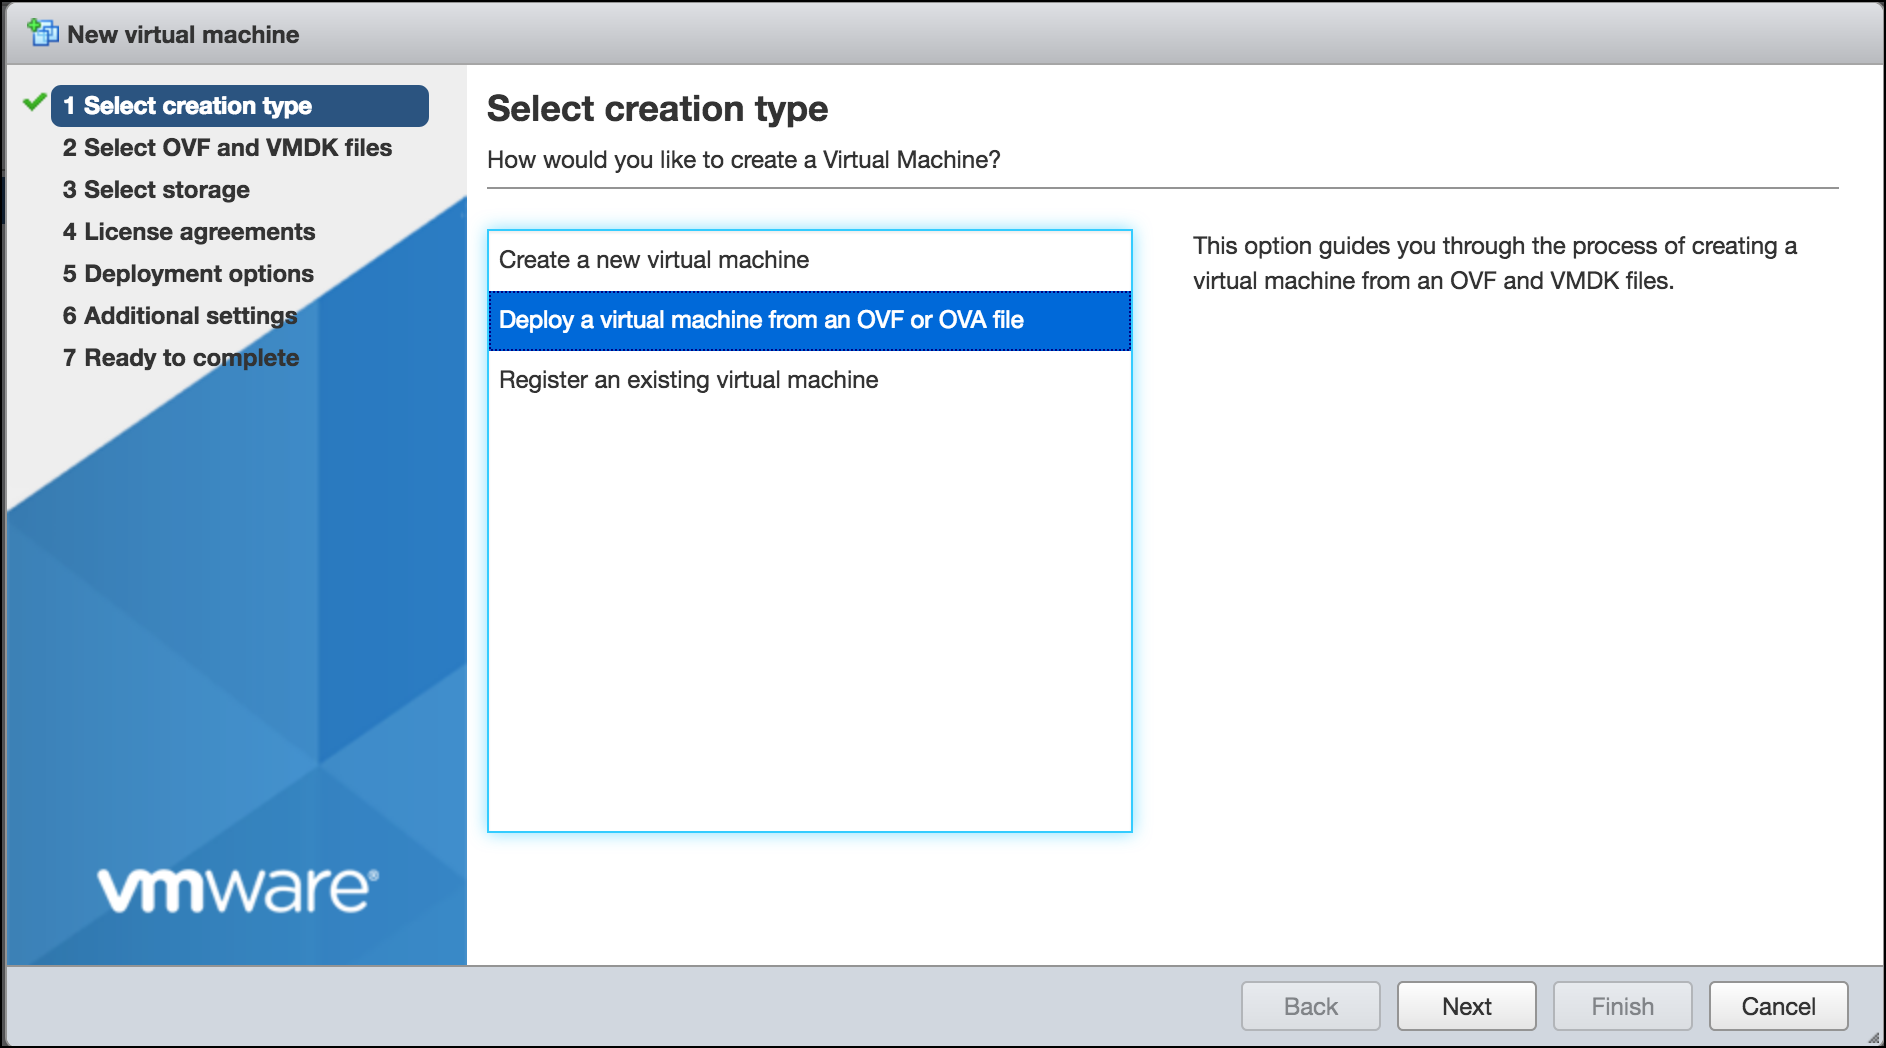
- On the New virtual machine page, click Select creation type, and select Deploy a virtual machine from an OVF or OVA file. Click Next.
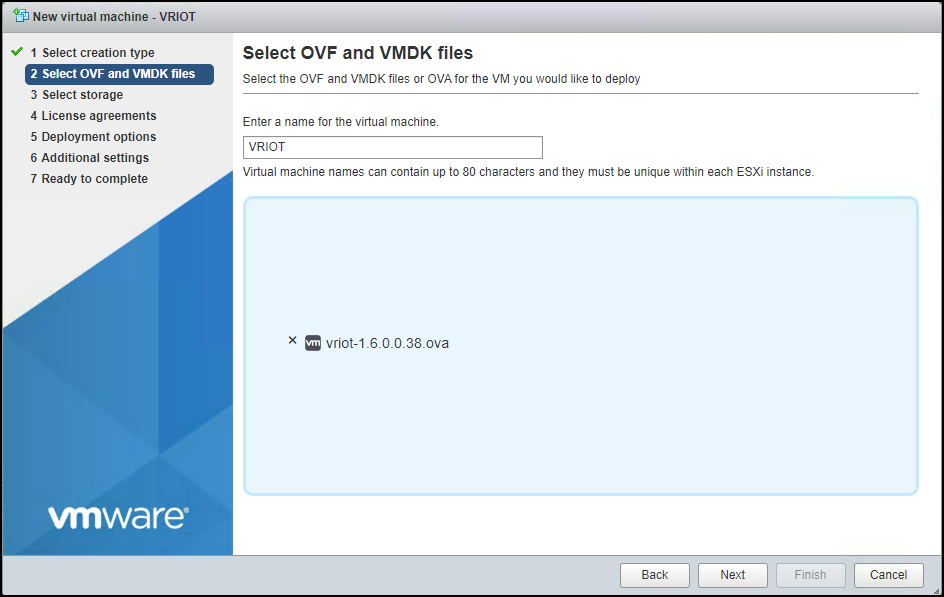
- Click Select OVF and VMDK files, enter a name for the virtual machine, and select the OVF file. Click Next.
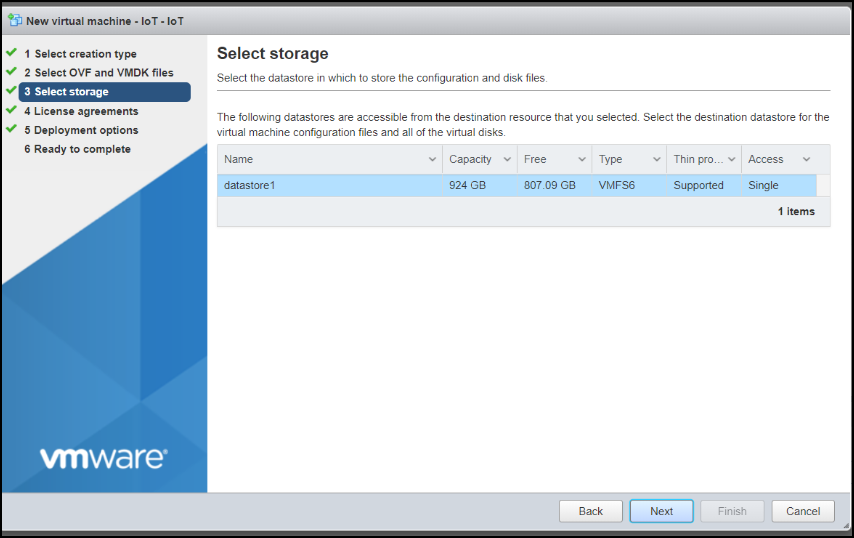
- Click Select storage, and select the datastore in which you want to save the configuration and disk files. Click Next.
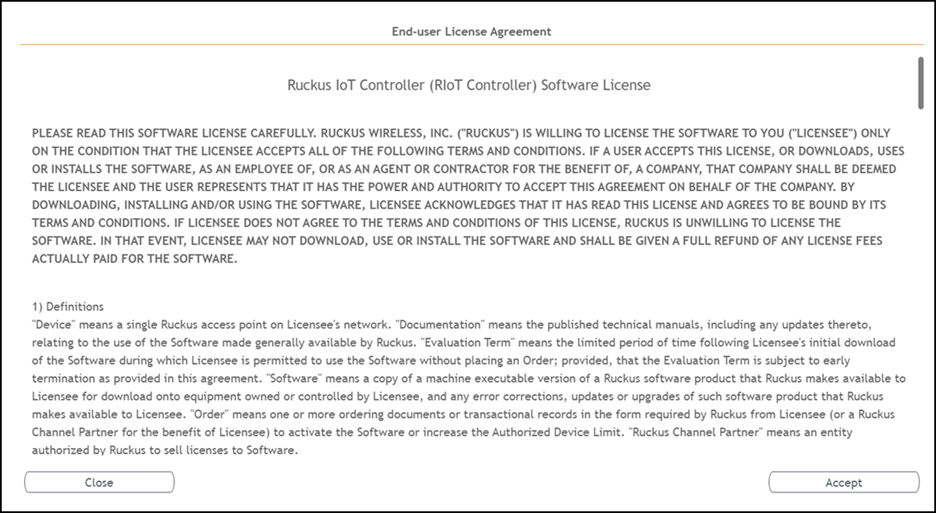
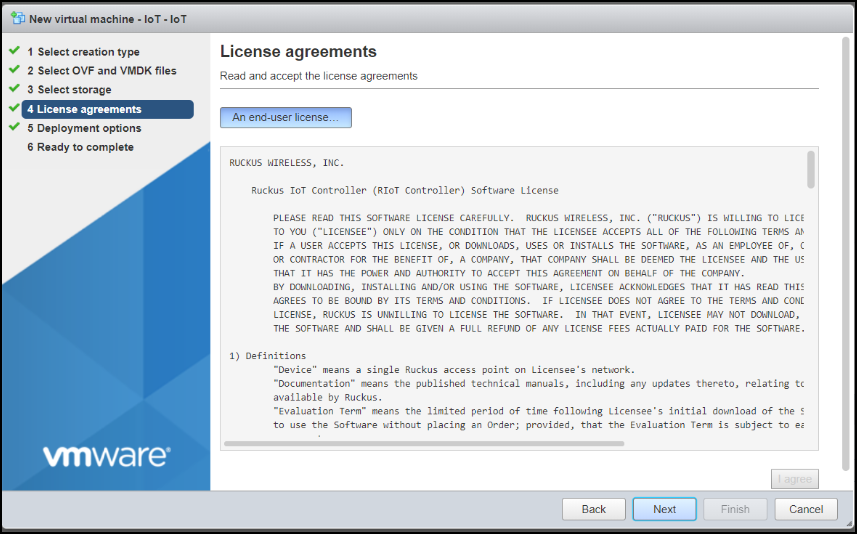
- Click License agreements to accept the terms and conditions of the software license and click I agree.
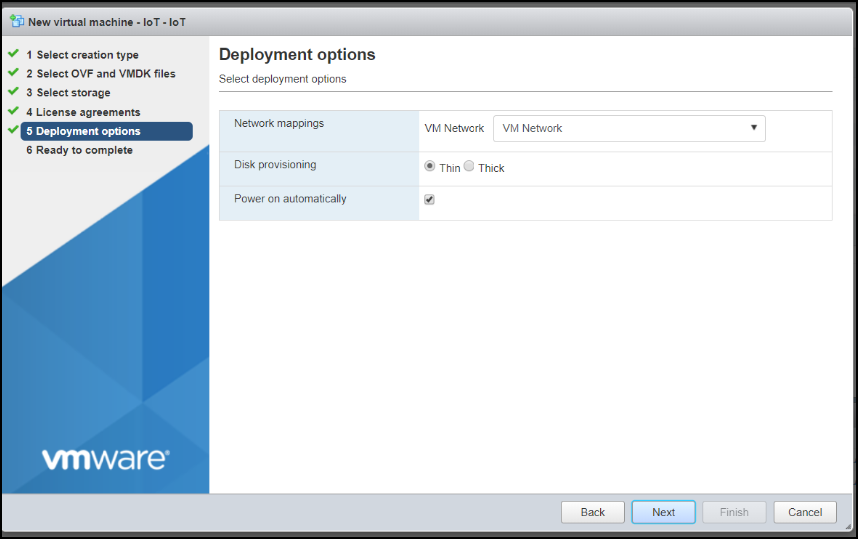
- Click Deployment options, and select the Network mappings and Disk provisioning. Click Next.
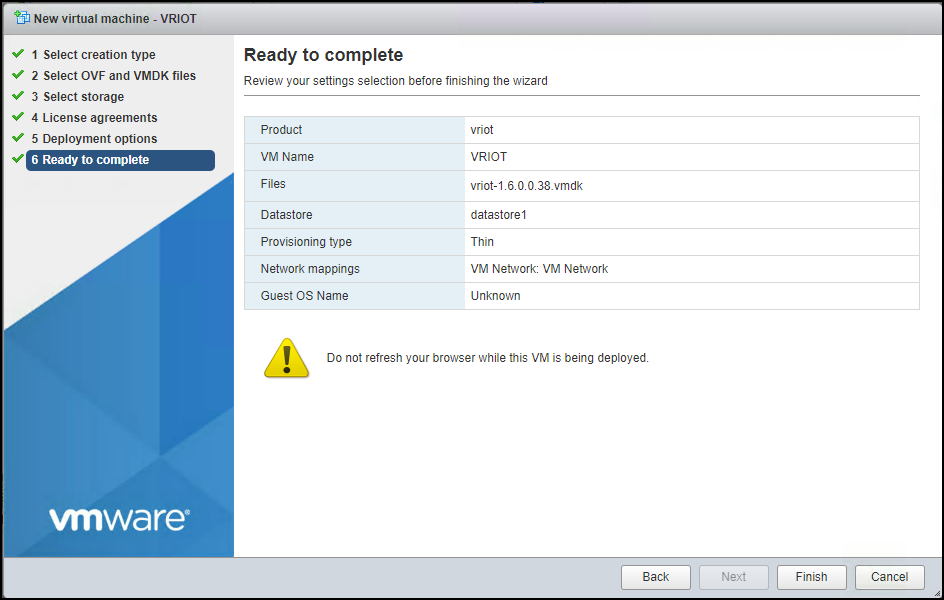
- Click Ready to complete and review the settings. Click Finish.
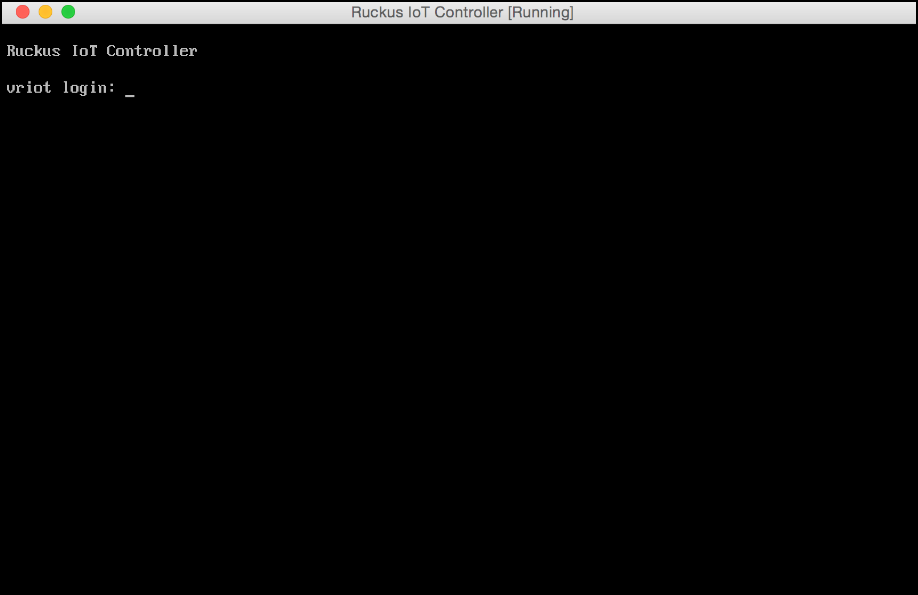
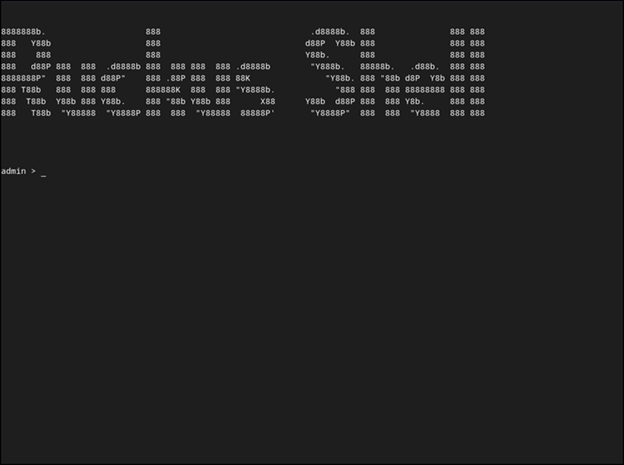
- Log in to the virtual machine using the username and password.
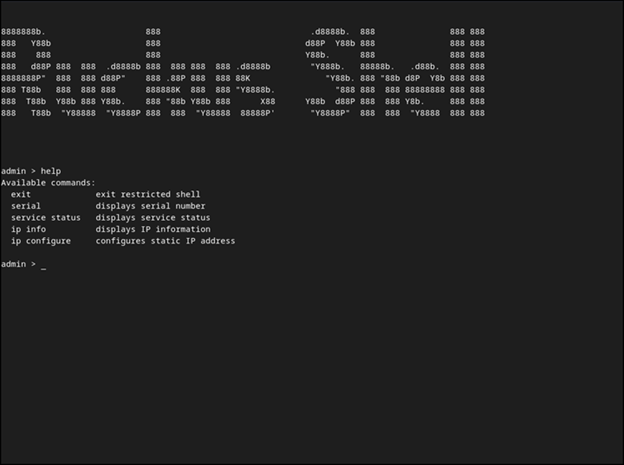
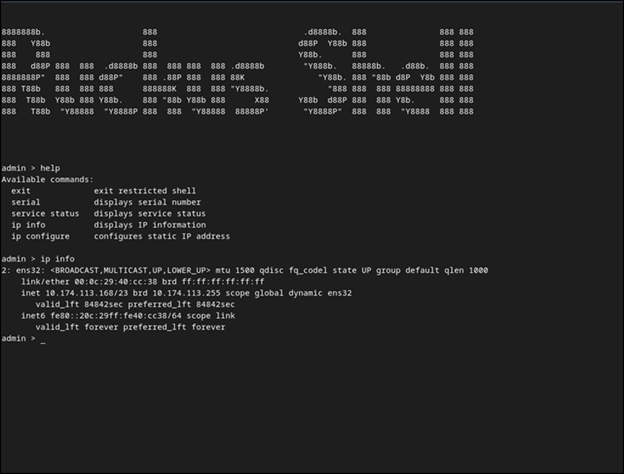
- Enter help at the admin prompt to view the list of available commands.
- Enter ip info at the admin prompt to get the IP address of the virtual machine.
- Open a web browser on your host machine and enter the IP address of the VM in the address bar.
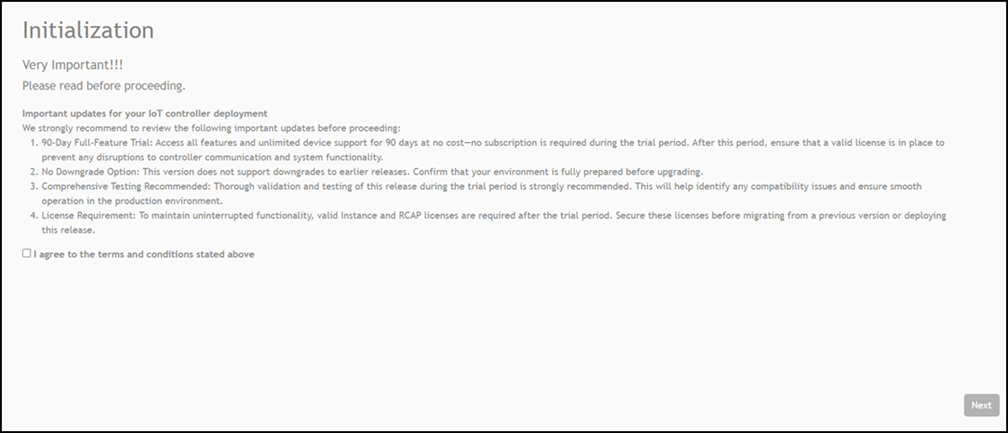
- Select I agree to the terms and conditions stated above and click Next.
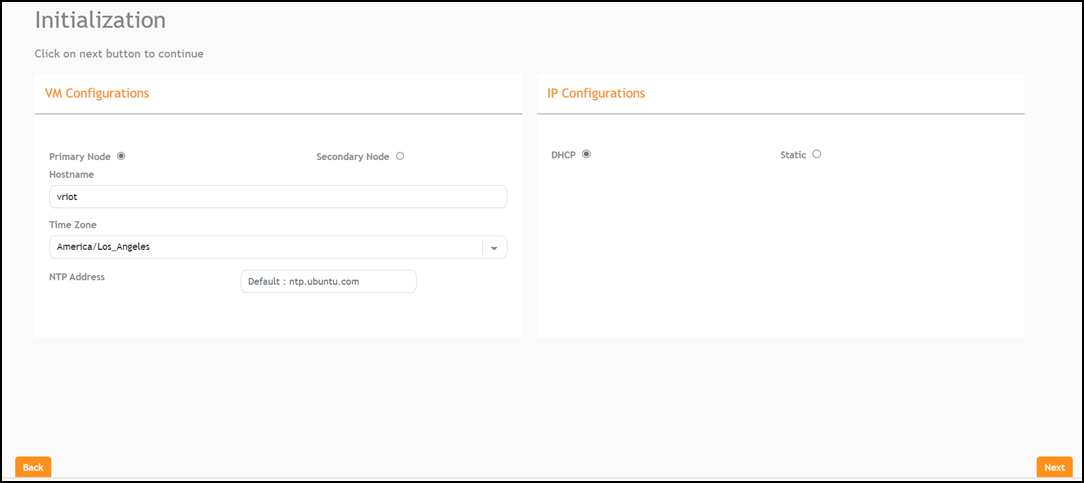
- Select Primary Node to configure the controller as standalone or select Secondary Node to add the controller to the HA cluster. Enter the Hostname, Time Zone, and select the IP Configuration (DHCP or Static), and click Next.
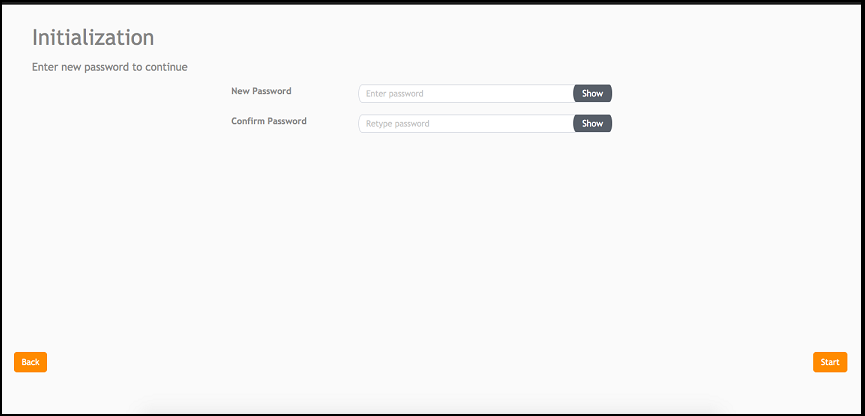
- Enter a new password and re-enter the new password in the Confirm Password field. Click Start.
- The End-user License Agreement page is displayed. Click Accept to accept the RUCKUS IoT Controller license.
=GUID-54BF4085-78C3-44BA-B69C-915CF7489C3A=1=en-US=Low.png "Displaying the CLI Window")
=GUID-EBEE54DF-1389-4EF5-9BE9-C1D338C08632=1=en-US=Low.png)
=GUID-66BADA96-0EAA-4CB6-9DBD-31E4B8F45F81=1=en-US=Low.png)